

Guía completa del mapa de Praetor - Lista de verificación Map Transition 100%
Por Team Wand
Progreso de descubrimiento
0 / 70
Inicia sesión para realizar un seguimiento de tu progreso
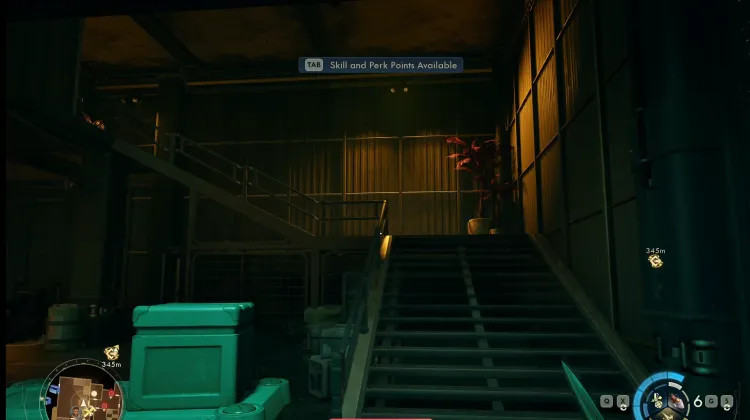
Automech Production (Floor 2)
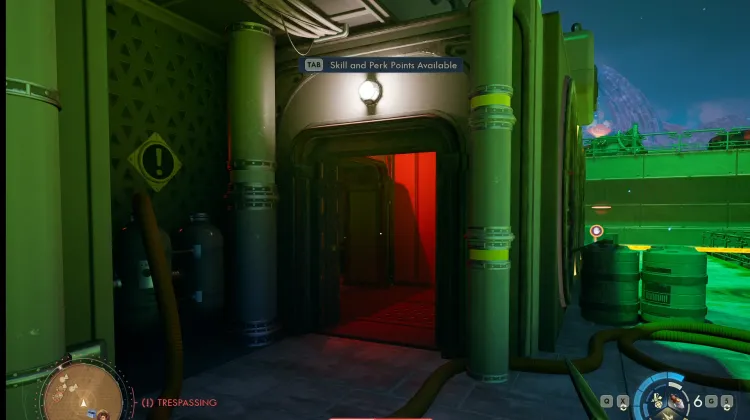
Chemical Factory (Sewers)
Sin imagen
Drop To Interstitial Reconfiguration (Floor 3)
Sin imagen
Elevator To - Placid Waters - Observational Oversight
Sin imagen
Elevator to Interstitial Reconfiguration (Lower Level)
Sin imagen
Elevator to Interstitial Reconfiguration (Lower Level)
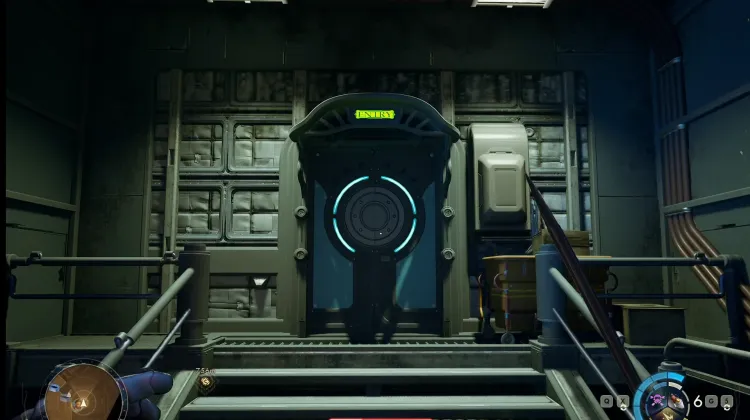
Elevator to Interstitial Reconfiguration (Lower Level)
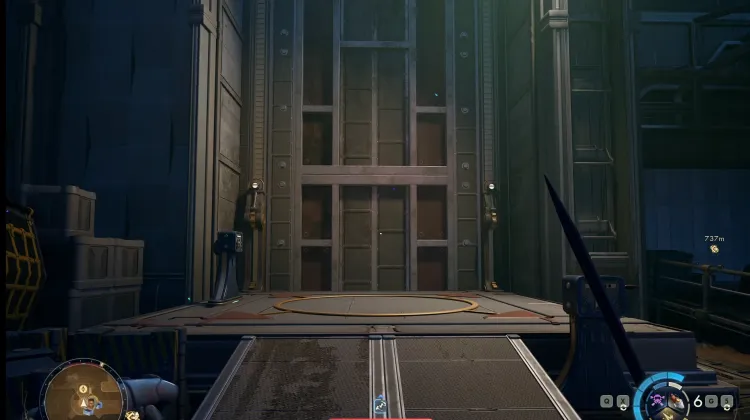
Elevator to Interstitial Reconfiguration (Upper Level)
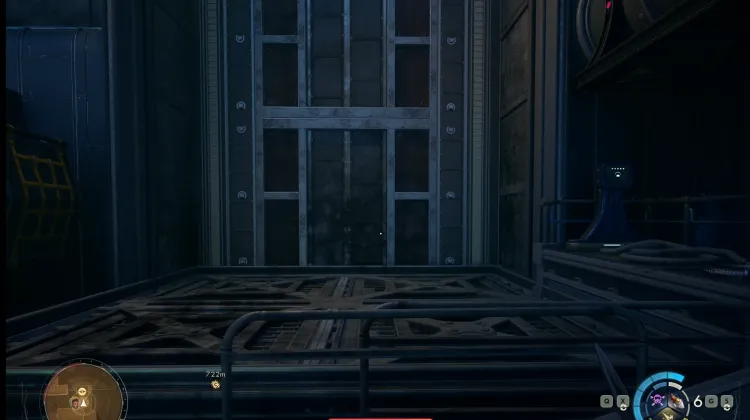
Elevator to Interstitial Reconfiguration (Upper Level))
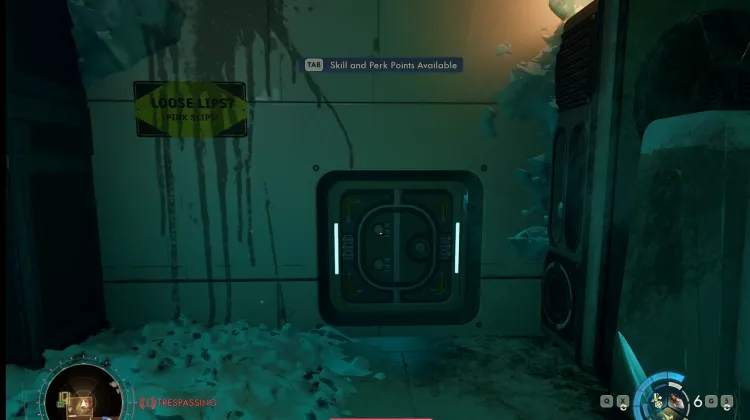
Hatch to Chemical Factory (Floor 1)
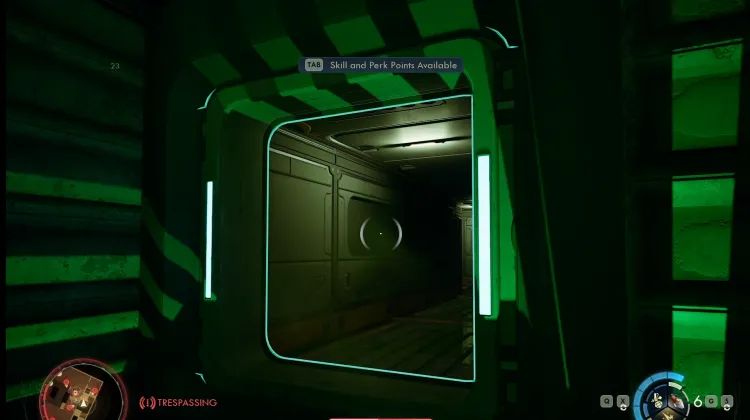
Hatch to Chemical Factory (Sewers)
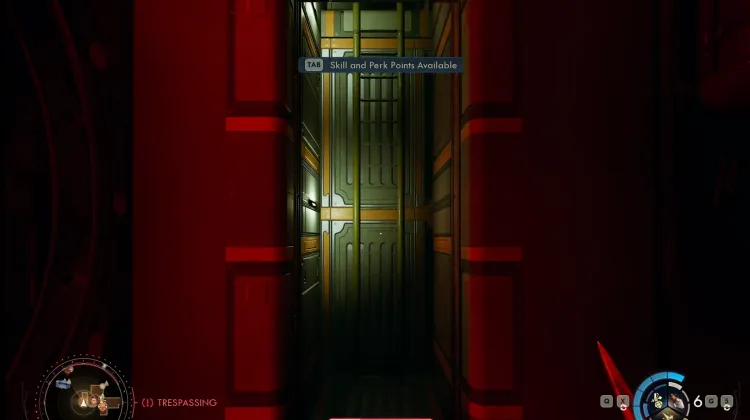
Ladder to Chemical Factory (Floor 1)
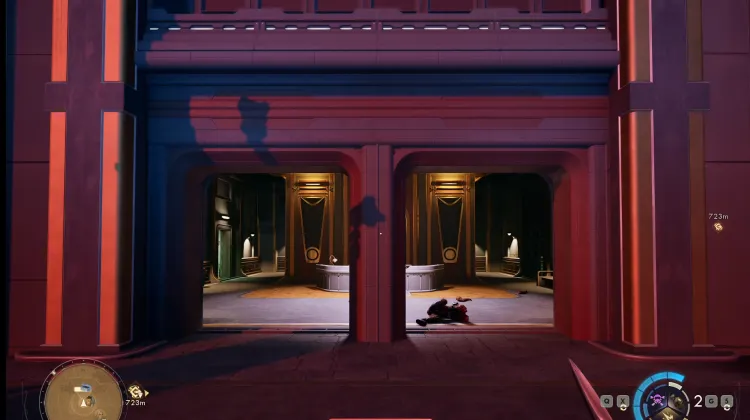
Map Transition
Sin imagen
Map Transition
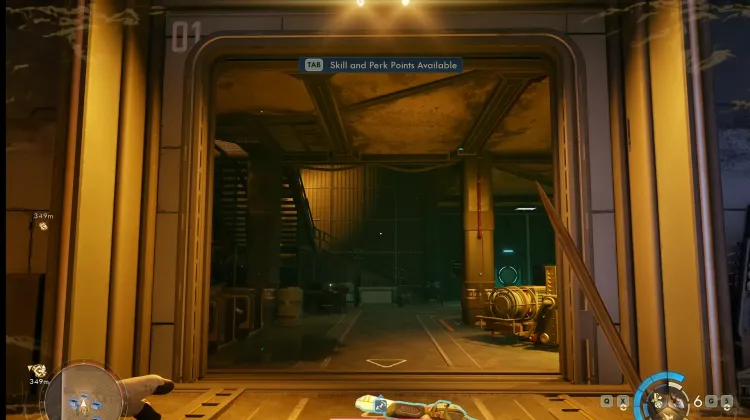
To Automech Production (Floor 1)
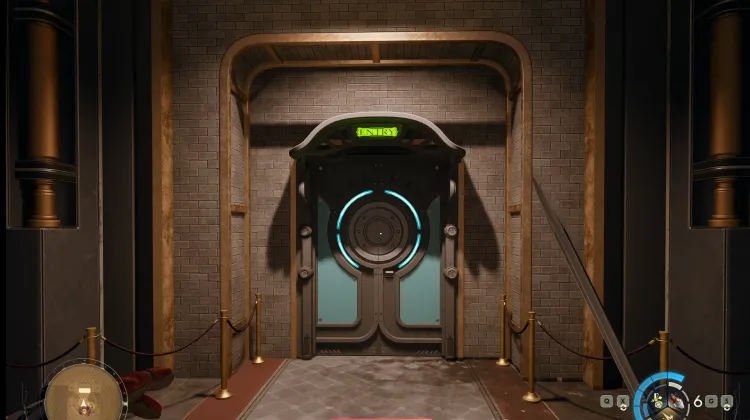
To the Tomb of the Matriarch (Upper Level)
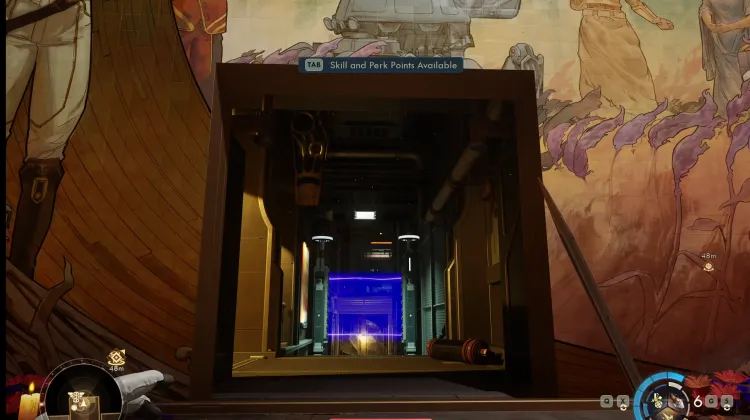
To Tomb of the Matriarch (Lower Level)
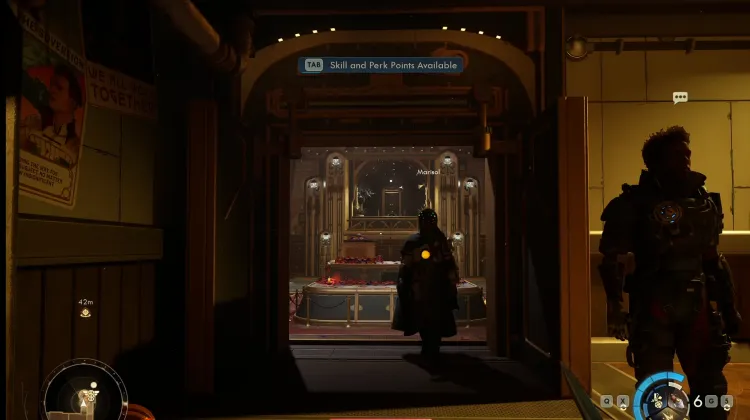
To Tomb of the Matriarch (Upper Level)
Sin imagen
To - Central Control - The Academy - Lower Floor
Sin imagen
To - Central Control - The Academy - Main Floor
Sin imagen
To - Central Control - The Academy - Main Floor
Sin imagen
To - Central Control - The Academy - Main Floor
Sin imagen
To - Central Control - The Academy - Upper Office
Sin imagen
To - Placid Waters - Cognitive Easement
Sin imagen
To - Tomb of the Matriarch - Upper Level
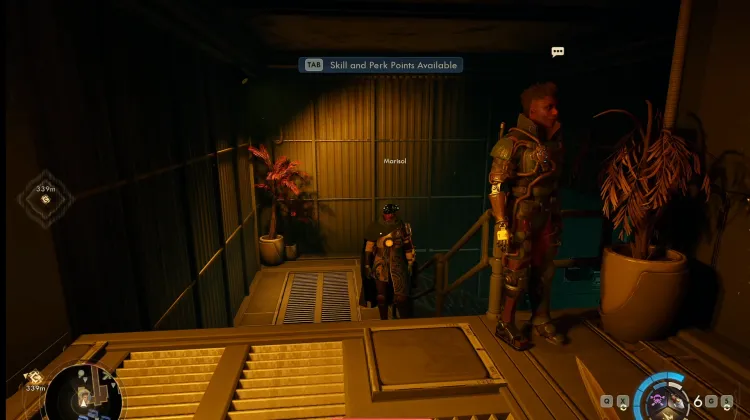
To Automech Production (Floor 1)
Sin imagen
To Automech Production (Floor 1)
Sin imagen
To Automech Production (Floor 1)
Sin imagen
To Automech Production (Floor 1)
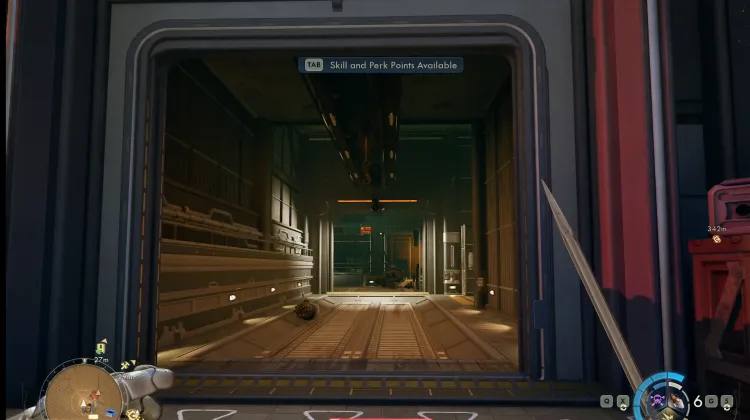
To Automech Production (Floor 1)
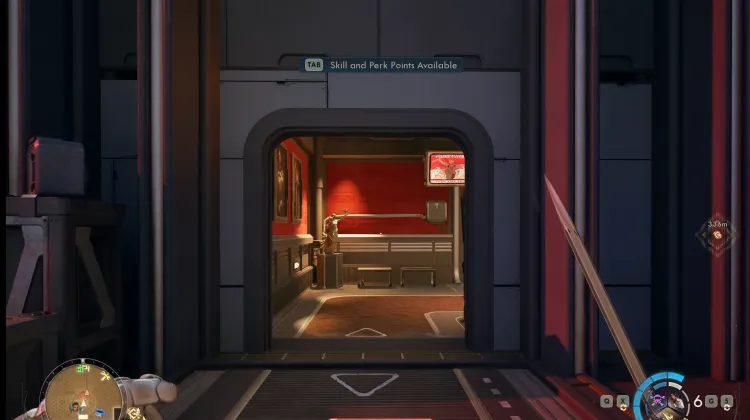
To Automech Production (Floor 1)
Sin imagen
To Automech Production (Floor 1)
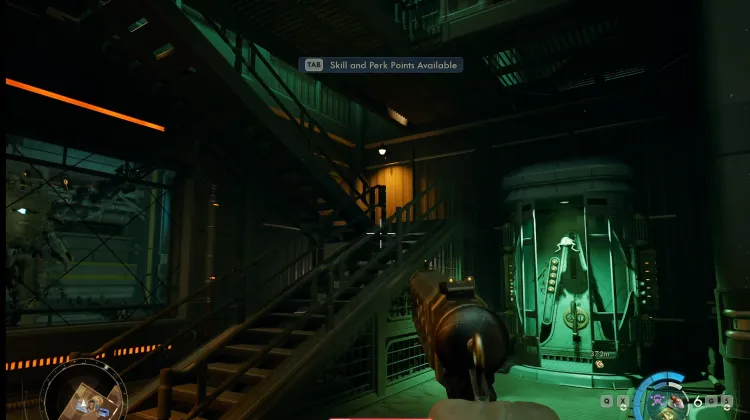
To Automech Production (Floor 2)
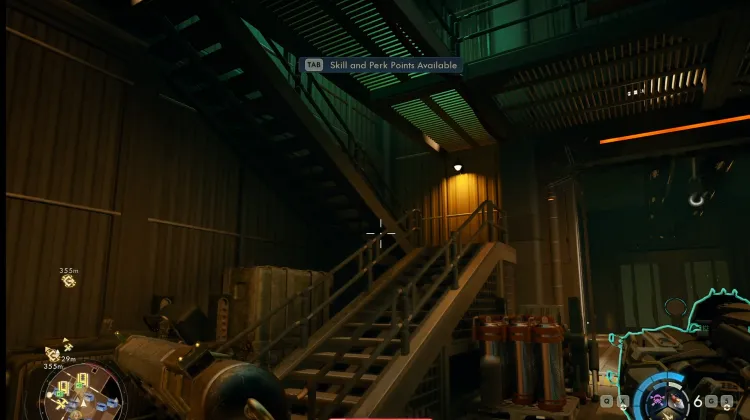
To Automech Production (Floor 2)
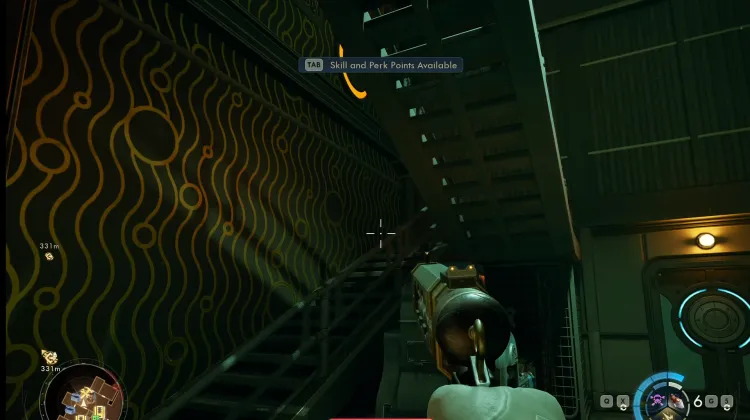
To Automech Production (Floor 2)
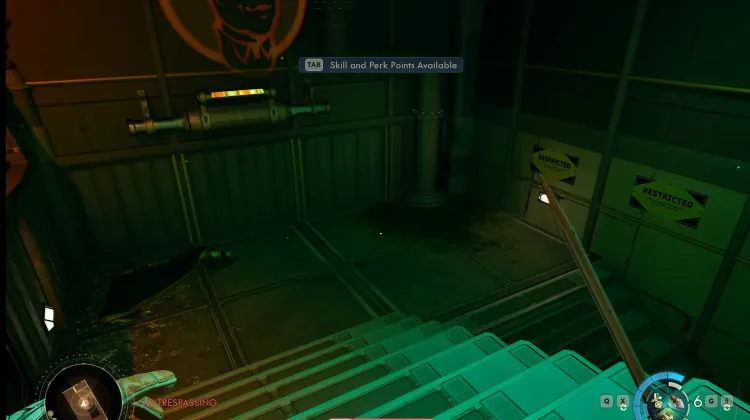
To Chemical Factory (Floor 1)
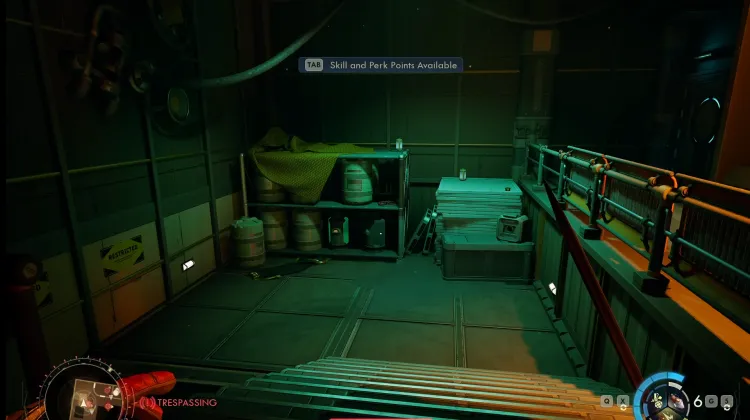
To Chemical Factory (Floor 1)
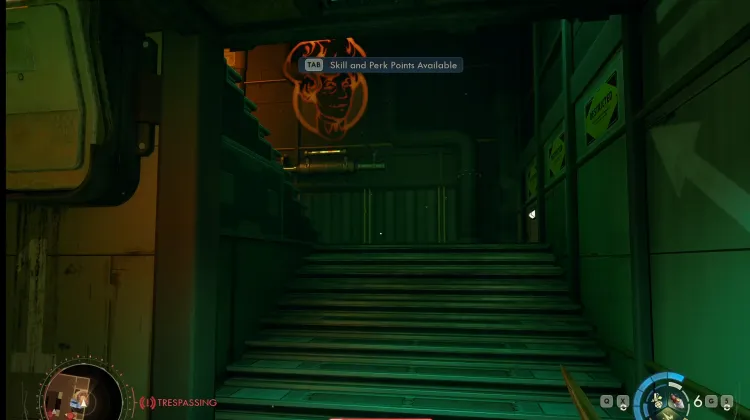
To Chemical Factory (Floor 2)
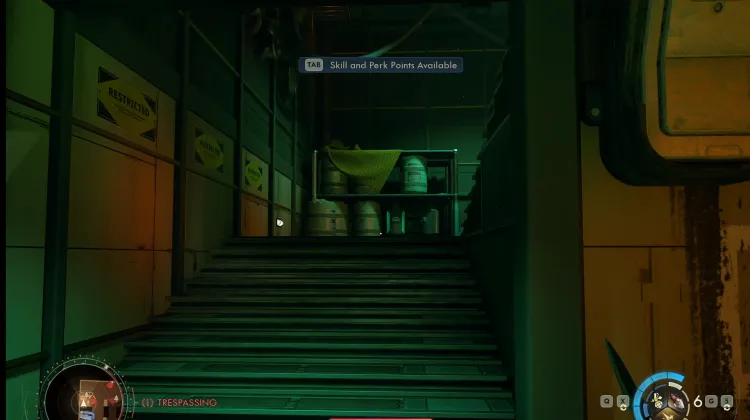
To Chemical Factory (Floor 2)
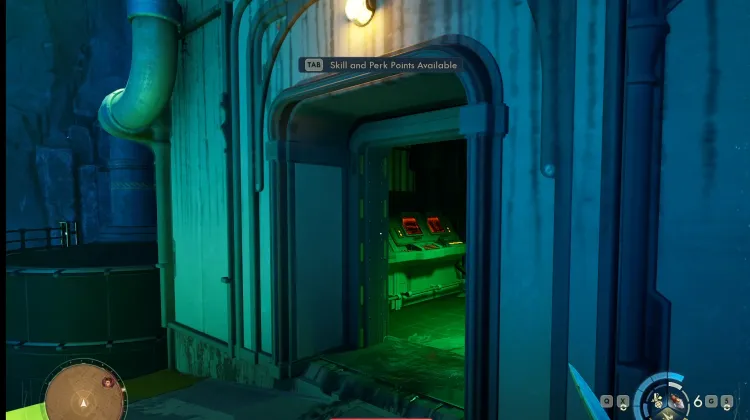
To Chemical Factory (Floor 2)
Sin imagen
To Interstitial Reconfiguration (Floor 1)
Sin imagen
To Interstitial Reconfiguration (Floor 1)
Sin imagen
To Interstitial Reconfiguration (Floor 1)
Sin imagen
To Interstitial Reconfiguration (Floor 1)
Sin imagen
To Interstitial Reconfiguration (Floor 1)
Sin imagen
To Interstitial Reconfiguration (Floor 1)
Sin imagen
To Interstitial Reconfiguration (Floor 1)
Sin imagen
To Interstitial Reconfiguration (Floor 1)
Sin imagen
To Interstitial Reconfiguration (Floor 2)
Sin imagen
To Interstitial Reconfiguration (Floor 2)
Sin imagen
To Interstitial Reconfiguration (Floor 2)
Sin imagen
To Interstitial Reconfiguration (Floor 2)
Sin imagen
To Interstitial Reconfiguration (Floor 2)
Sin imagen
To Interstitial Reconfiguration (Floor 2)
Sin imagen
To Interstitial Reconfiguration (Floor 3)
Sin imagen
To Interstitial Reconfiguration (Floor 3)
Sin imagen
To Interstitial Reconfiguration (Floor 3)
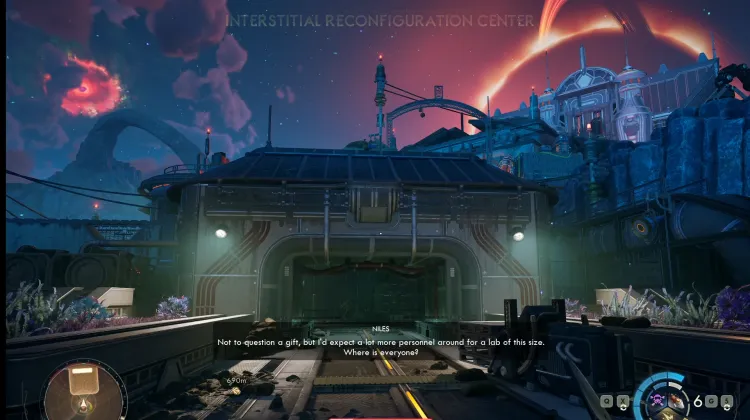
To Interstitial Reconfiguration (Lower Level)
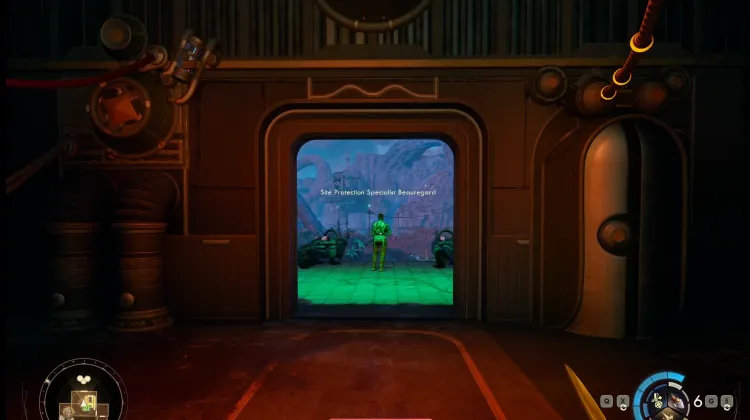
To Praetor
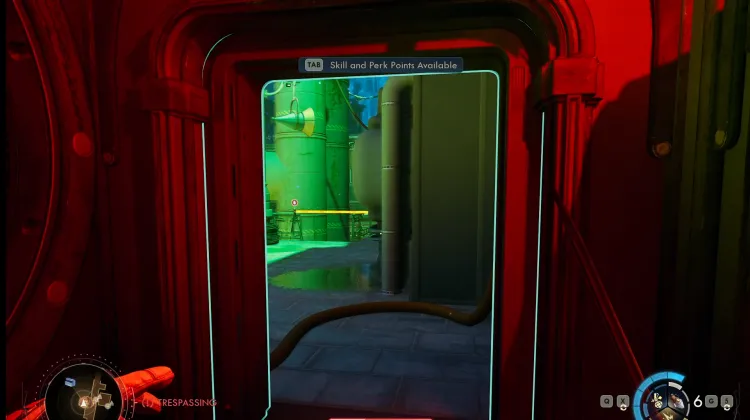
To Praetor
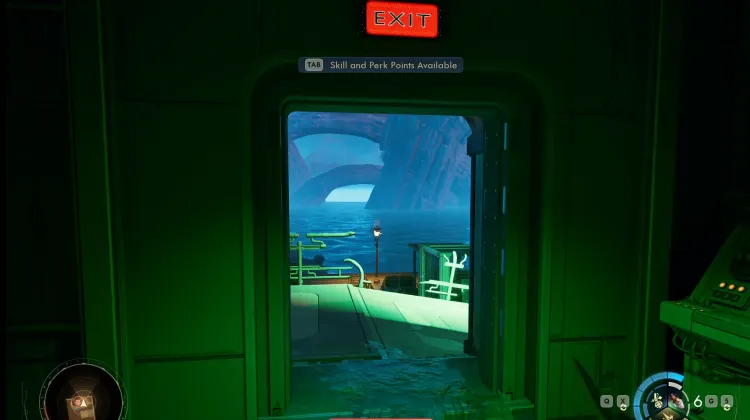
To Praetor
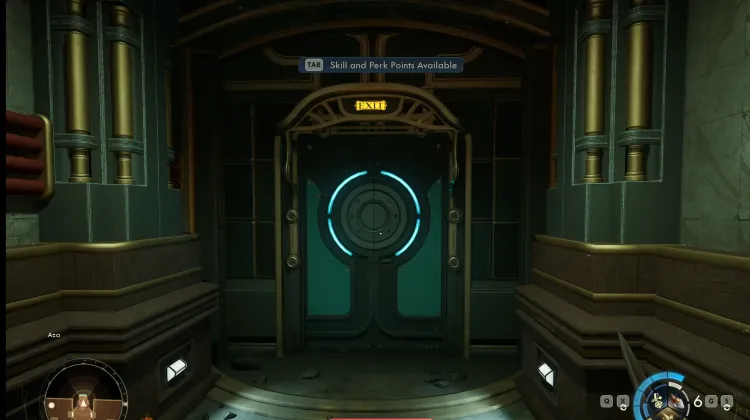
To Praetor
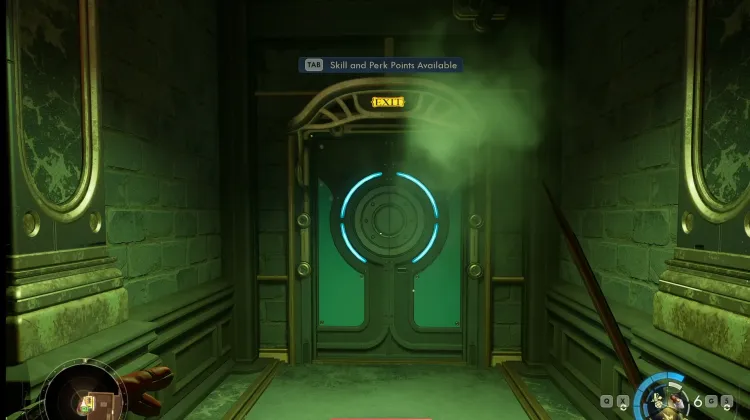
To Praetor
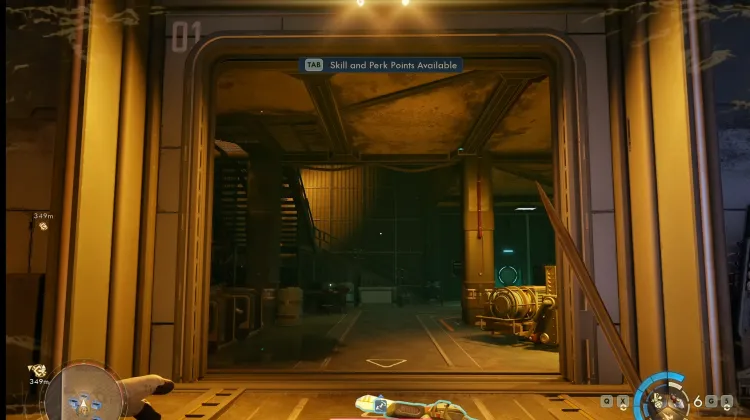
To Praetor
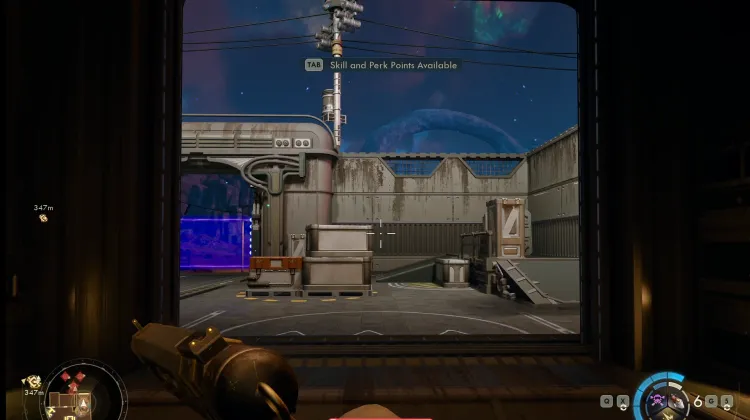
To Praetor
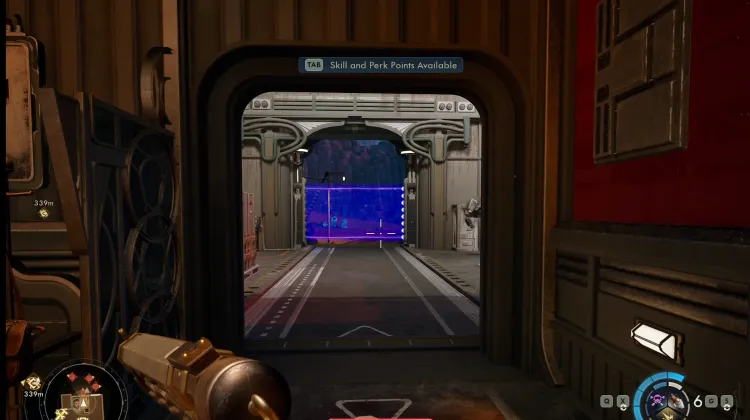
To Praetor
Sin imagen
To Praetor
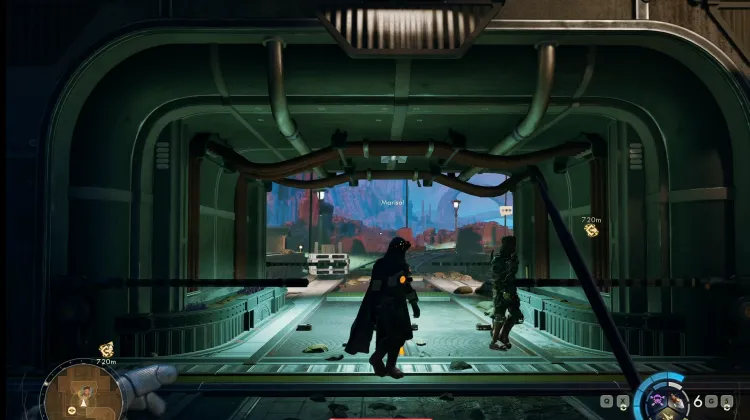
To Praetor
Sin imagen
To Praetor
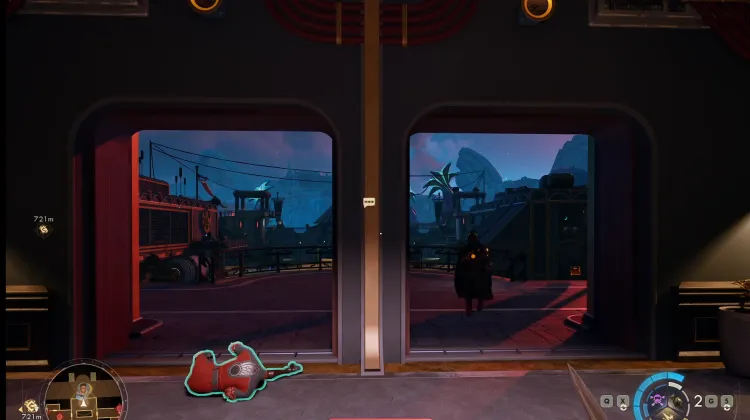
To Praetor
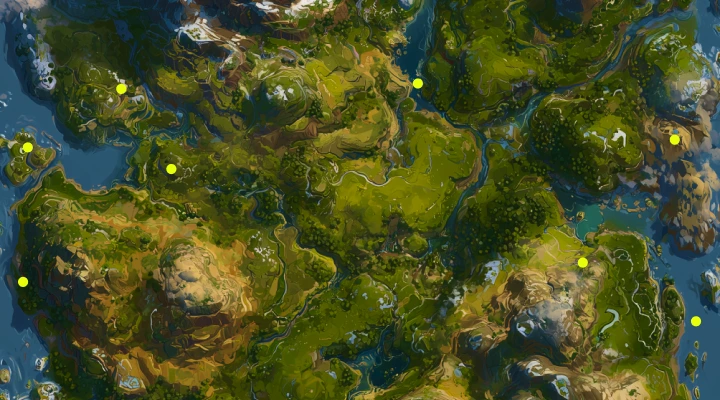
Compartir mapa de
¡Comparte el mapa de con tus amigos! También puedes incrustarlo en tu propio sitio web o blog.
Incrustar mapa
Incrusta este mapa en tu propio sitio web o blog copiando el siguiente código y añadiéndolo a tu HTML:
Preferencias de filtros de mapa
Este enlace incluye filtros de mapa. ¿Deseas usarlos o mantener tus filtros guardados?
¿Restablecer niebla de guerra?
Se borrarán todas las áreas descubiertas para este mapa. Esta acción no se puede deshacer.
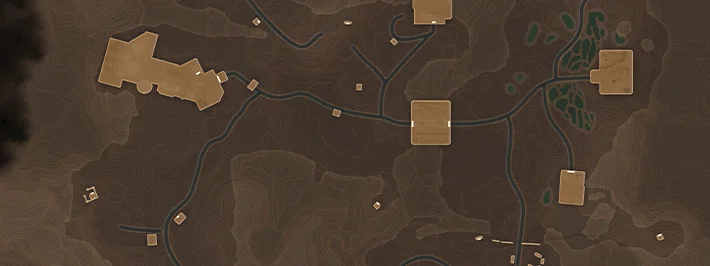
Mapa interactivo de Praetor
¿Ya lo has tachado de tu lista? Ahora descubre todo lo que puedes hacer con nuestros Mapas de juego interactivos. Filtra ubicaciones, establece pines personalizados y mucho más. ¡Descarga Wand para obtener funciones aún más increíbles como el Seguimiento de ubicación en directo y el Teletransporte!