
A Medical Facility
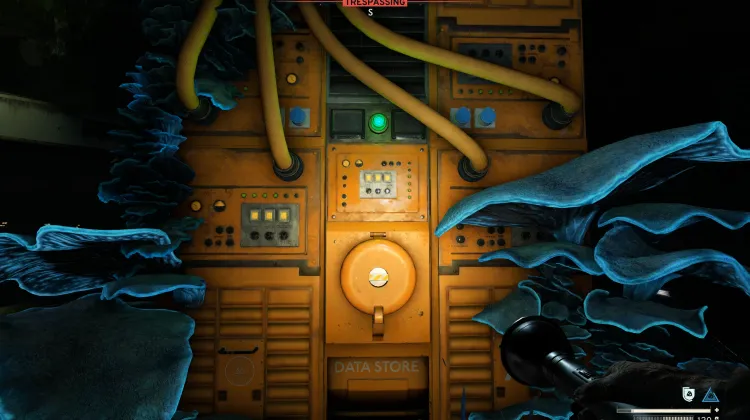
An "Escape" Waits with the Angel
Atomic Batteries In the Storeroom

Battery Request At The Skethermoor Depot
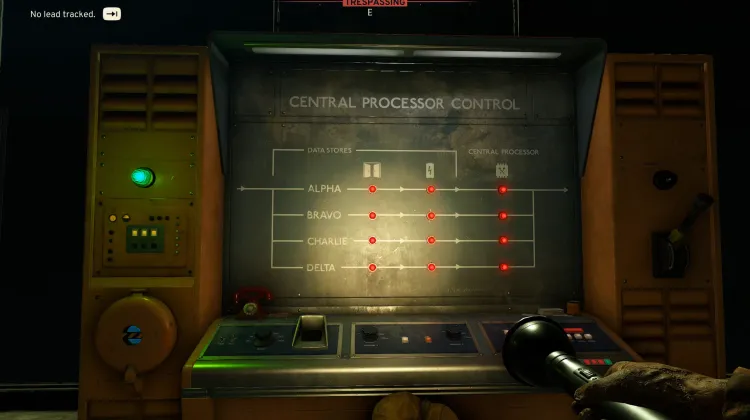
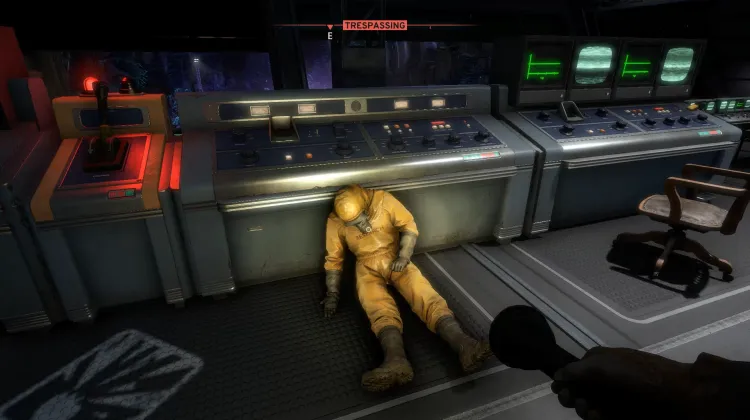
Central Processor is Offline
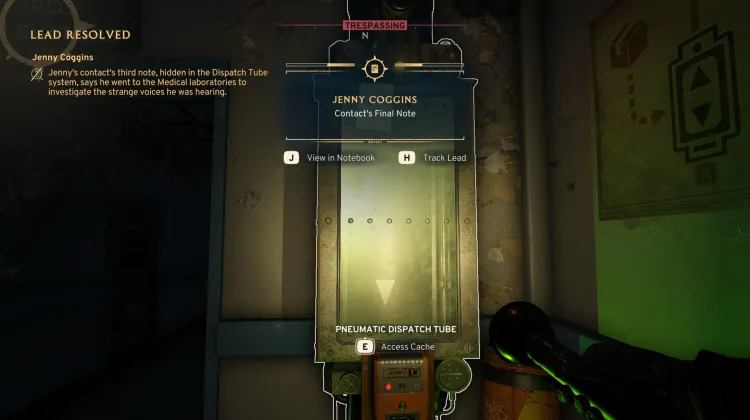
Contact's Final Note (DLC Wicked Isle)
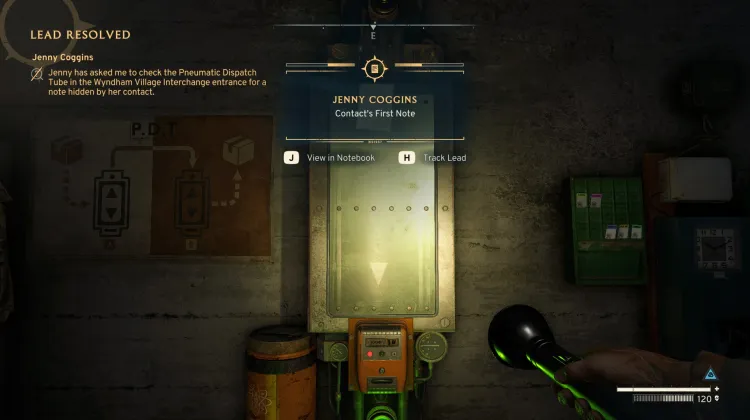
Contact's First Note (DLC Wicked Isle)
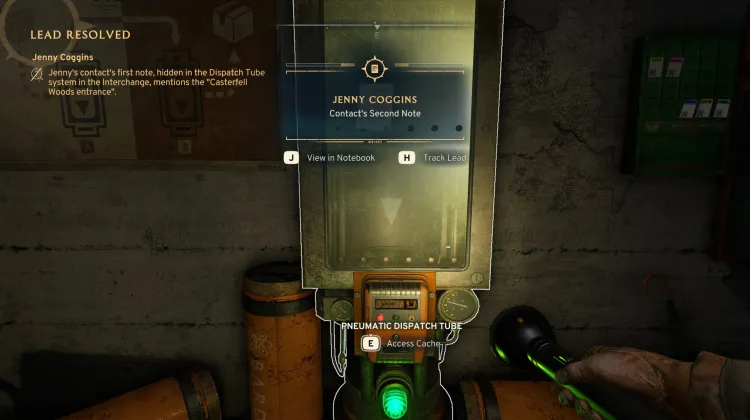
Contact's Second Note (DLC Wicked Isle)
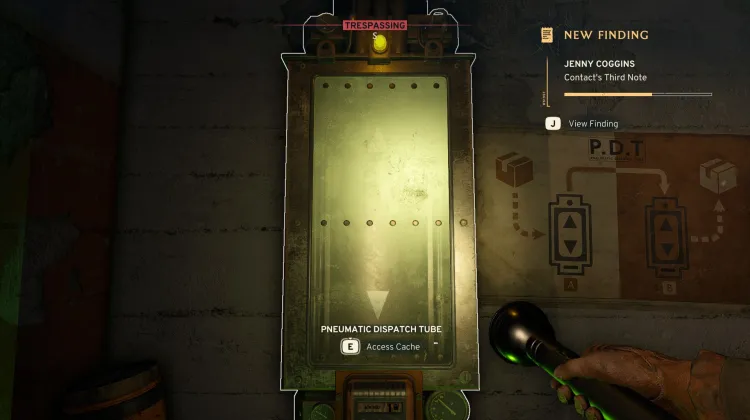
Contact's Third Note
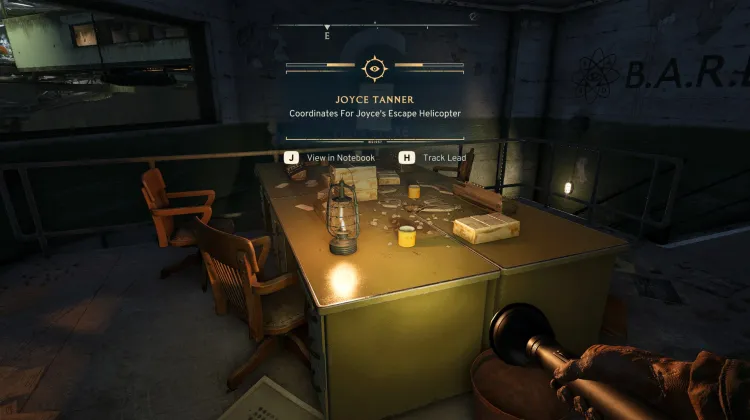
Coordinates For Joyce's Escape Helicopter
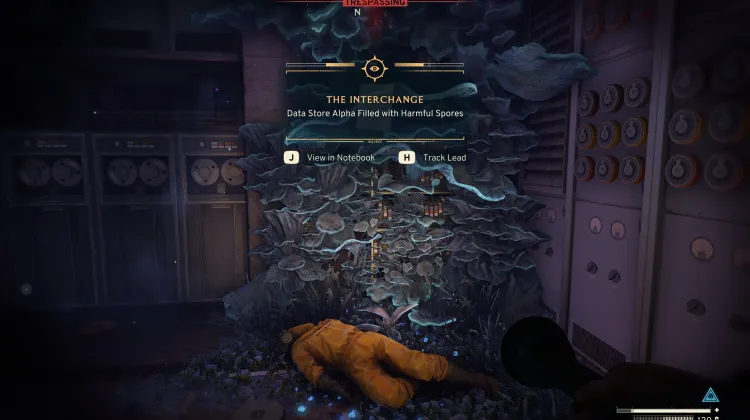
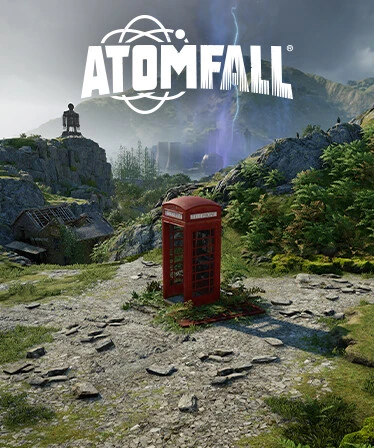
Data Store Alpha Filled with Harmful Spores
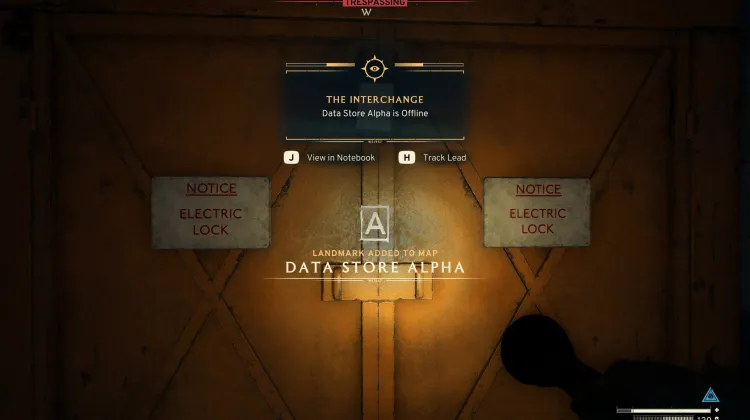
Data Store Alpha is Offline
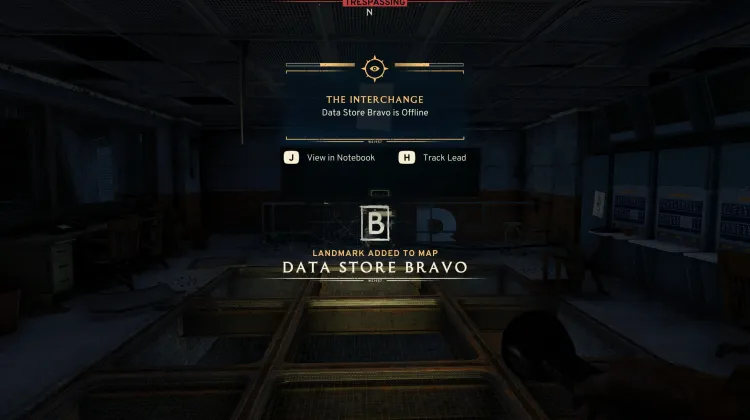
Data Store Bravo is Offline
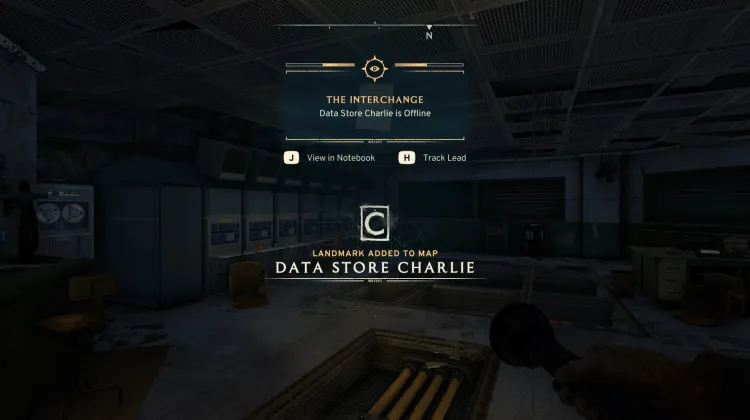
Data Store Charlie is Offline
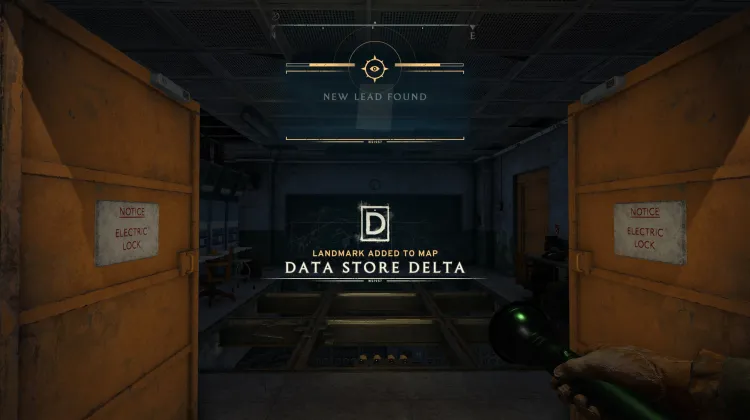
Data Store Delta is Offline

Dig Site Explosives Have been Armed
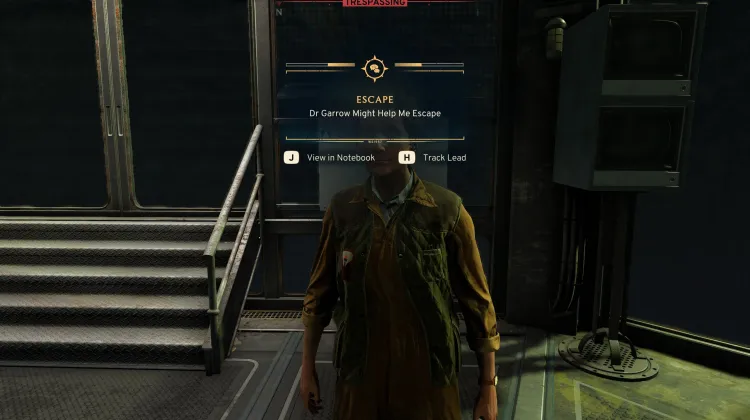
Dr Garrow Might Help Me Escape

Dr Holder is Waiting in the Medical Tunnels
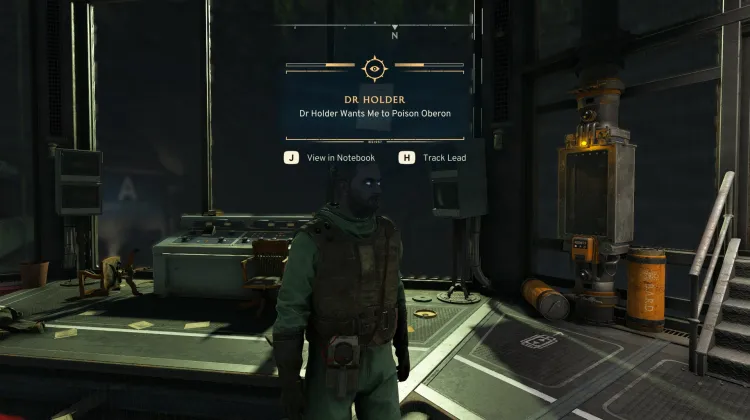
Dr Holder Wants Me to Poison Oberon
Finding Frank and his Signal Redirector
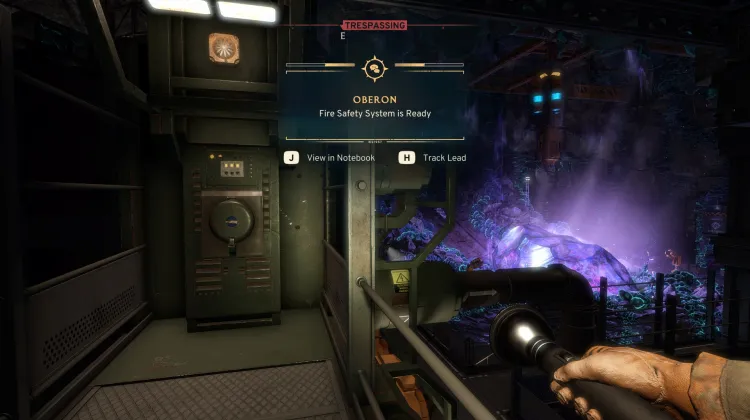
Fire Safety System is Ready
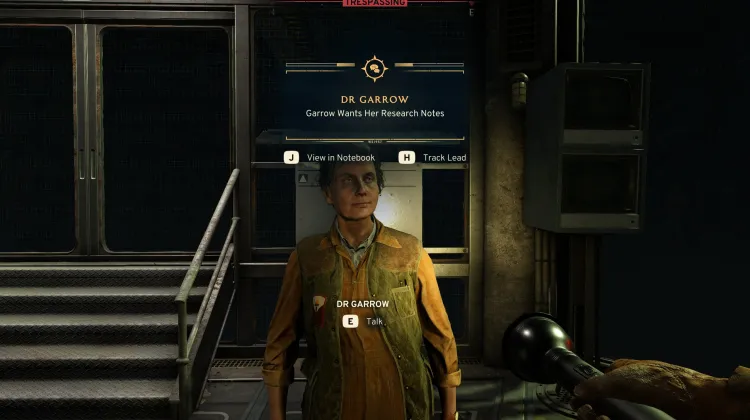
Garrow Wants Her Research Notes

Garrow Wants Me to Run the ERA Command at Dam Data Store
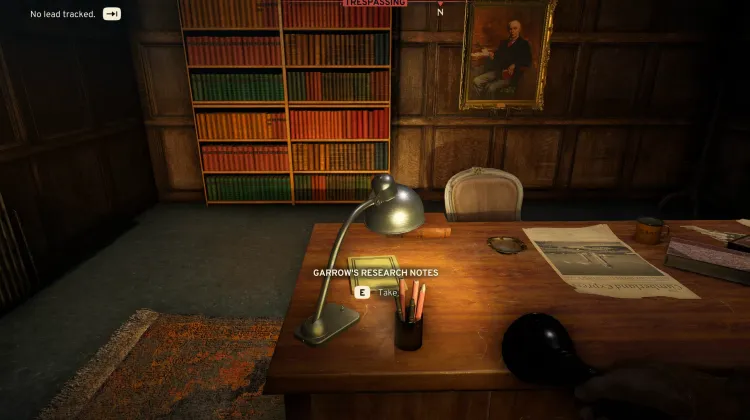
Garrow's Research Notes
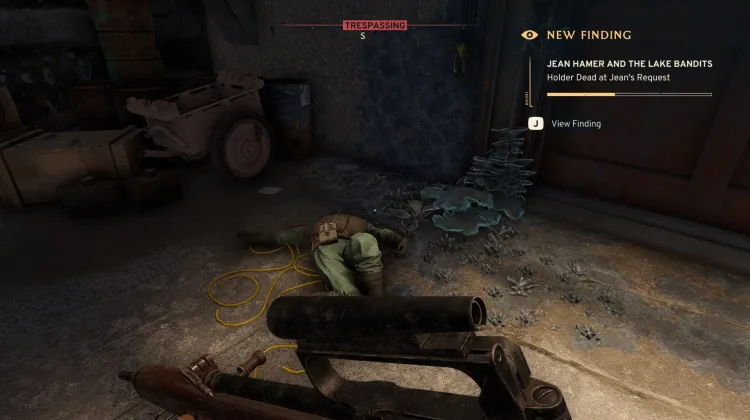
Holder Dead at Jean's Request (DLC Wicked Isle)
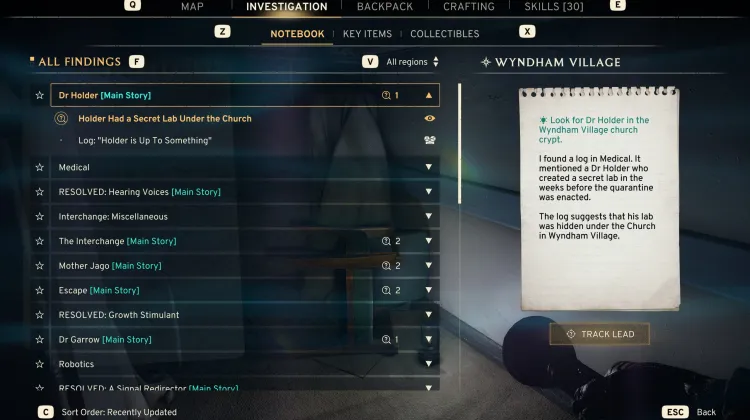
Holder Had a Secret Lab Under the Church
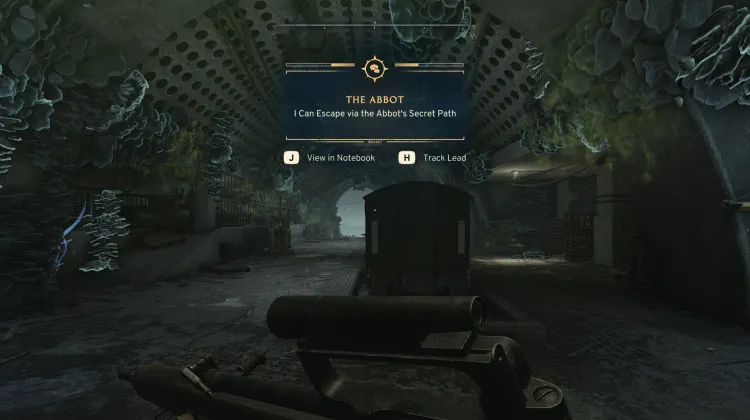
I Can Escape via the Abbot's Secret Path (DLC Wicked Isle)

I Can Escape With Captain Sims
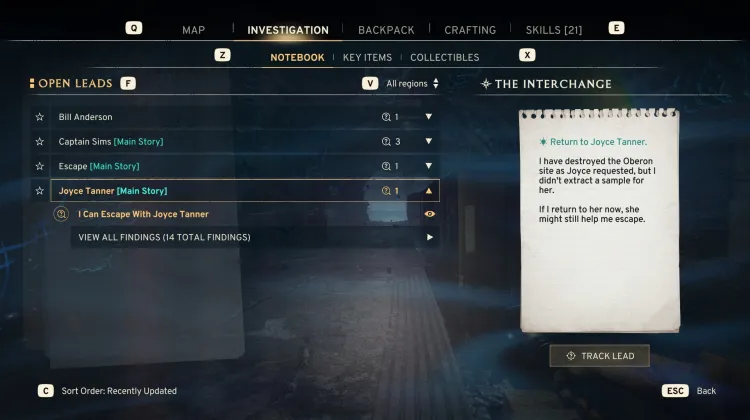
I Can Escape With Joyce Tanner
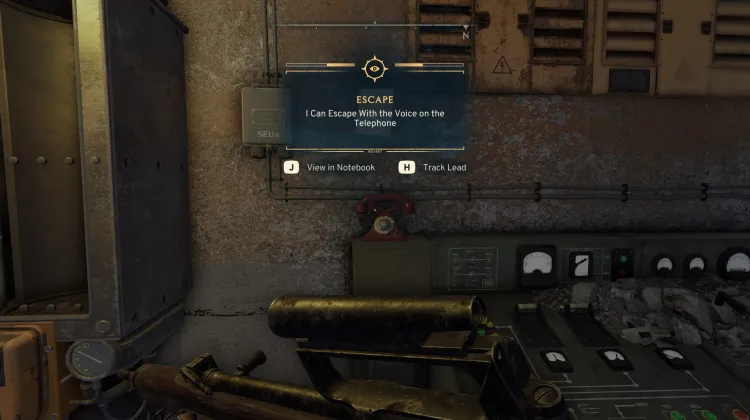
I Can Escape With the Voice on the Telephone
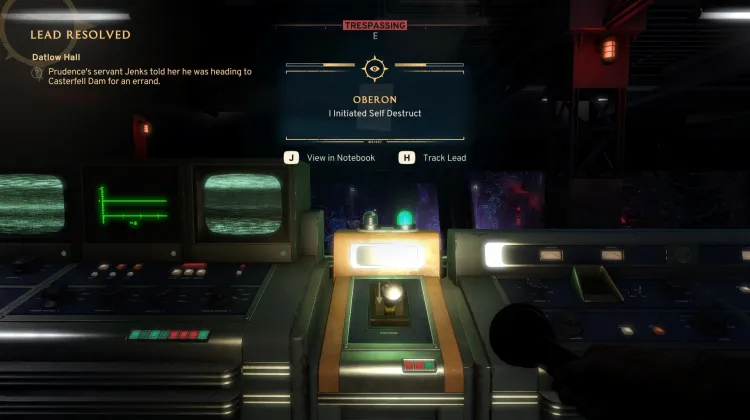
I Initiated Self Destruct
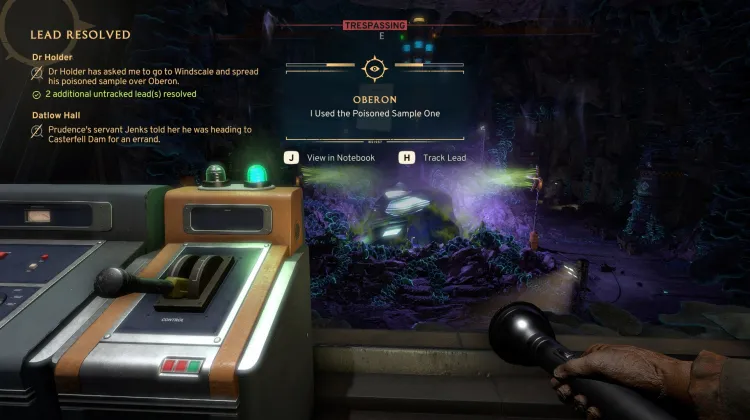
I Used the Poisoned Sample One
Initiating Self Destruct
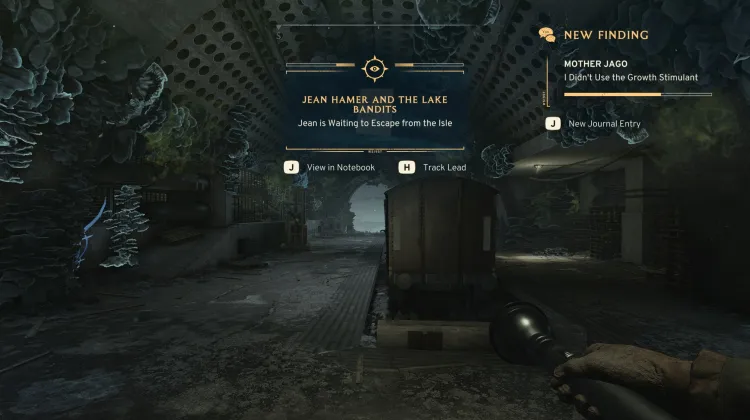
Jean is Waiting to Escape from the Isle (DLC Wicked Isle)
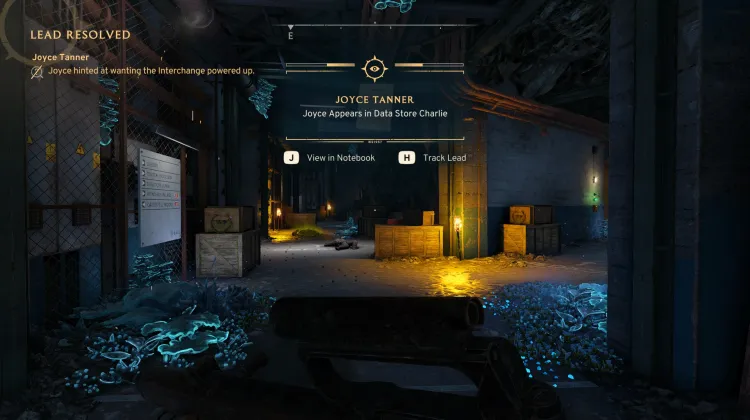
Joyce Appears in Data Store Charlie
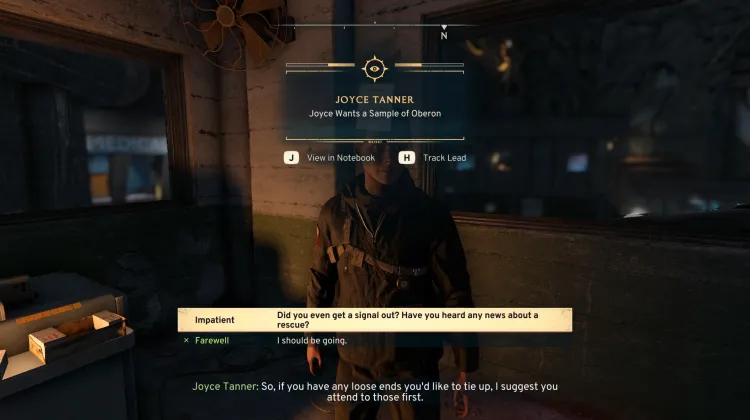
Joyce Wants a Sample of Oberon
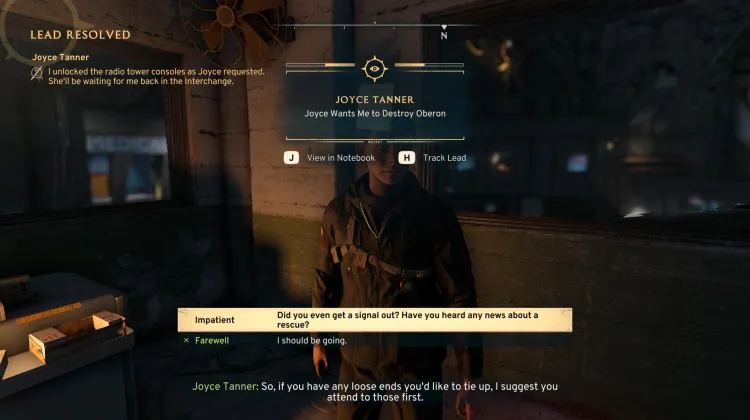
Joyce Wants Me to Destroy Oberon
Lead
No Image
Lead
Not Feeling So Well
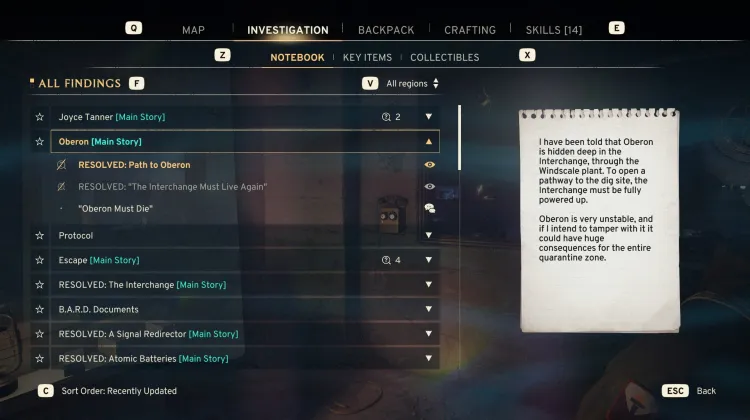
Path to Oberon
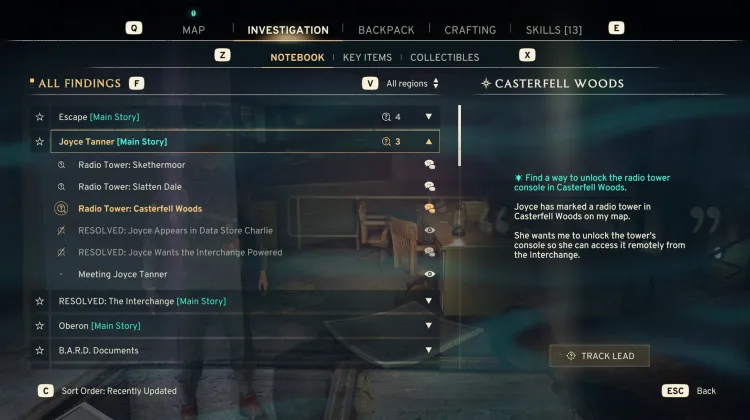
Radio Tower: Casterfell Woods
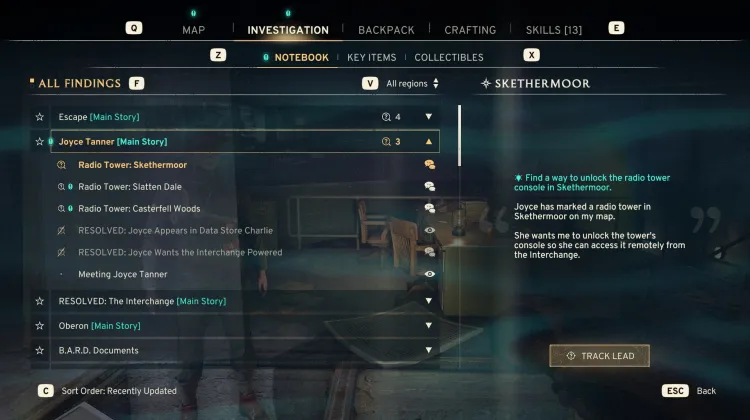
Radio Tower: Skethermoor
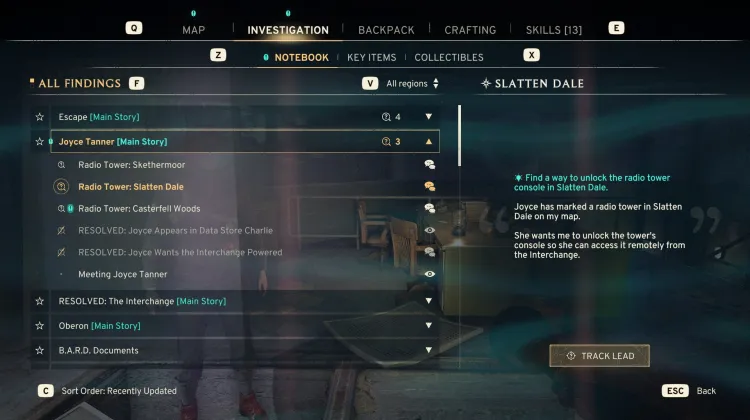
Radio Tower: Slatten Dale
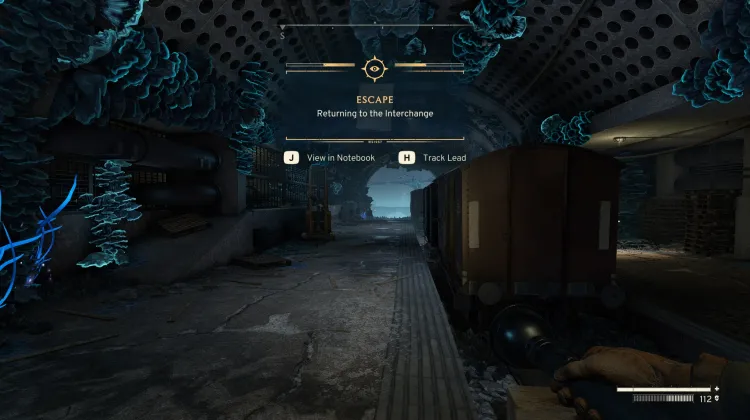
Return to the Interchange

Sample One
Selling Our Secrets For Booze
She Took the Stimulant into the Tunnels
Signal Redirector Plans Were Buried in Skethermoor
Spare Batteries at the Dam
Strange Noises From Below

Strange Voices told Me to Find Mother Jago
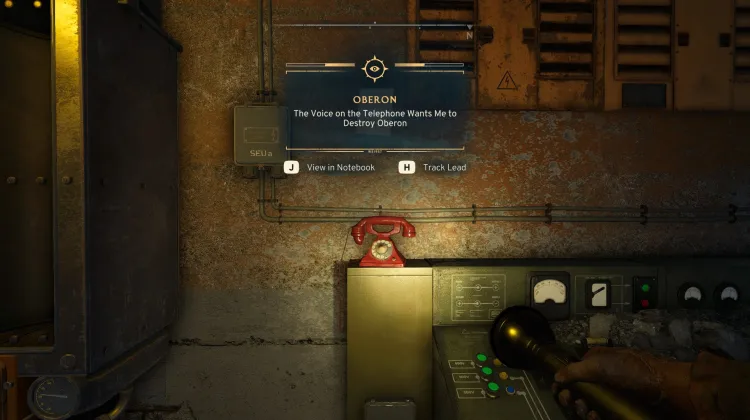
The Voice on the Telephone Wants Me to Destroy Oberon
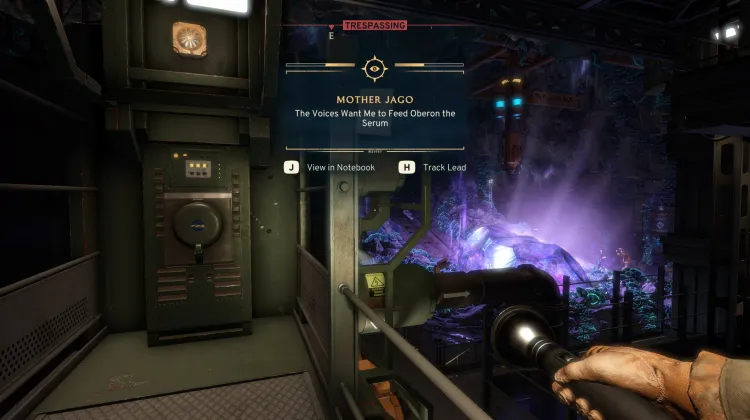
The Voices Want Me to Feed Oberon the Serum
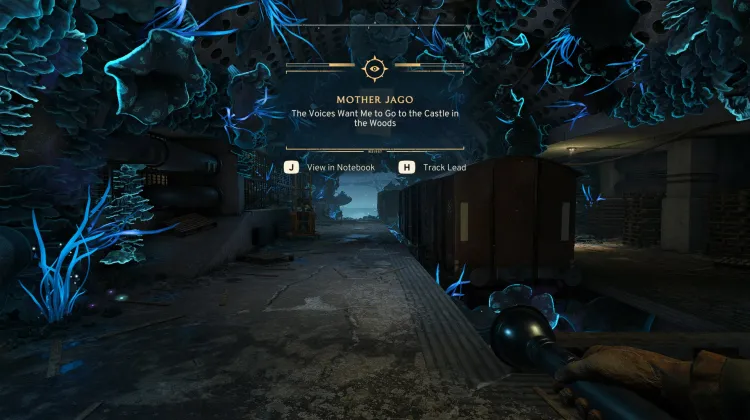
The Voices Want Me to Go to the Castle in the Woods
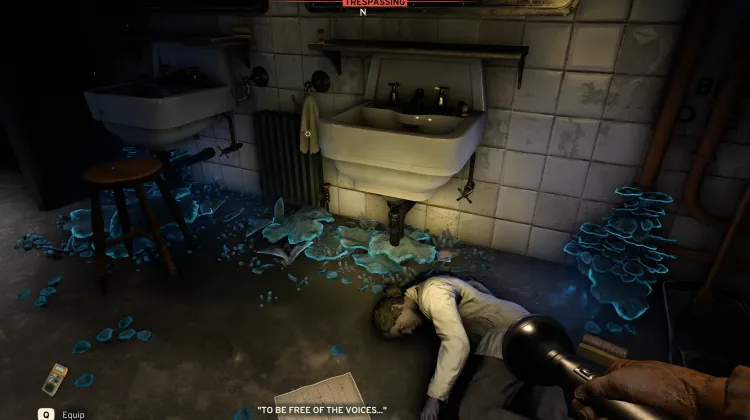
To be Free of the Voices
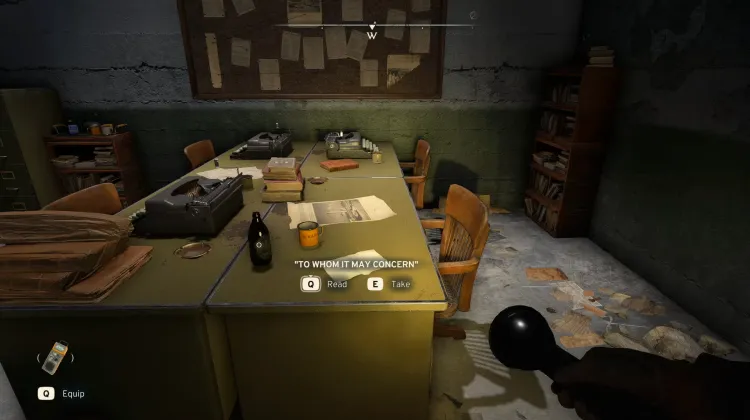
To Whom It May Concern
Map Filter Preferences
This link includes map filters. Would you like to use them or keep your saved filters?
Reset fog of war?
This clears all discovered areas for this map. This can't be undone.
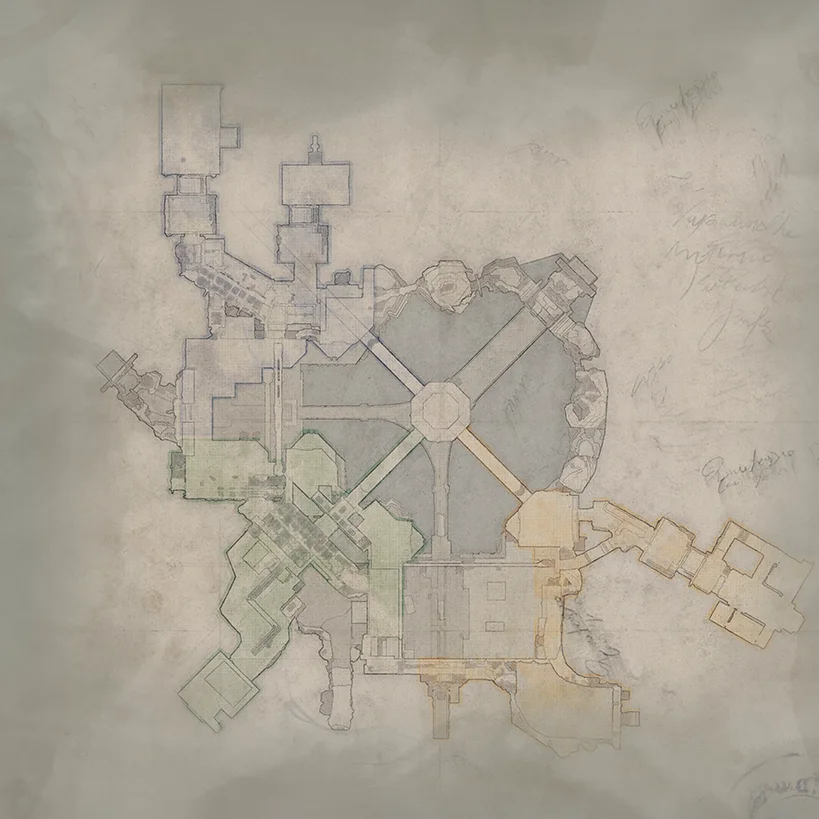
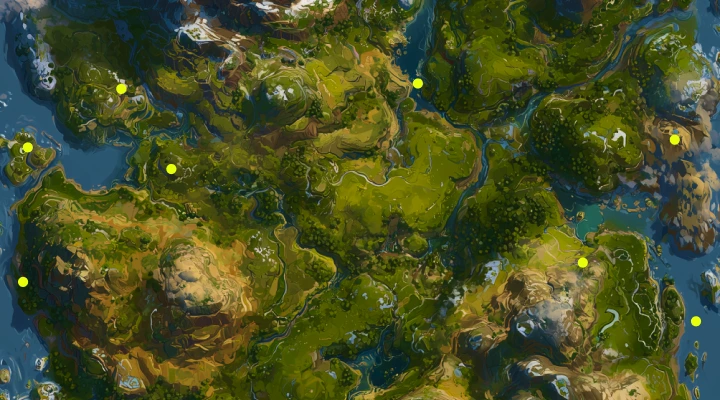
Interchange Interactive Map
Checked it off your list? Now check out everything else you can do with our Interactive Game Maps. Filter locations, set custom pins, and more. Download Wand for even more powerful features like Live Location Tracking and Teleport!