

Complete Horizon Point Station Map Guide - Map Transition 100% Checklist
By Team Wand
Discovery Progress
0 / 26
Please log in to track your progress
No Image
Central Dispatch - Lower Level
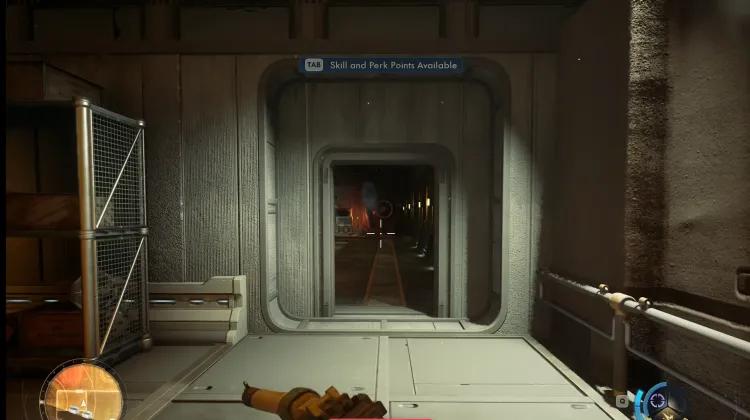
Central Dispatch - Main Level
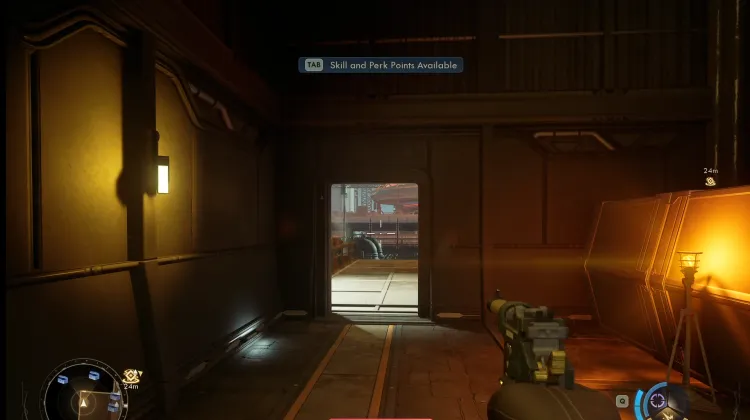
Central Dispatch - Main Level
No Image
Central Dispatch - Main Level
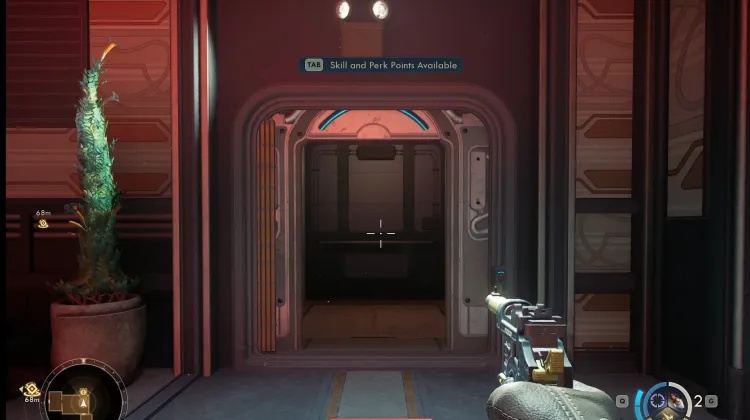
Elevator
No Image
Elevator - Main Level
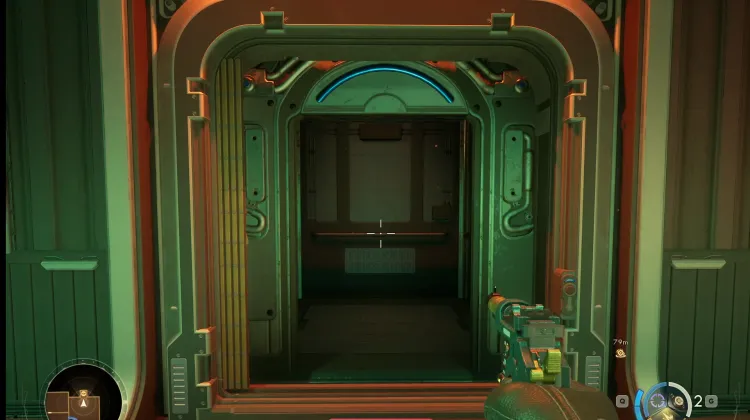
Elevator - Upper Level
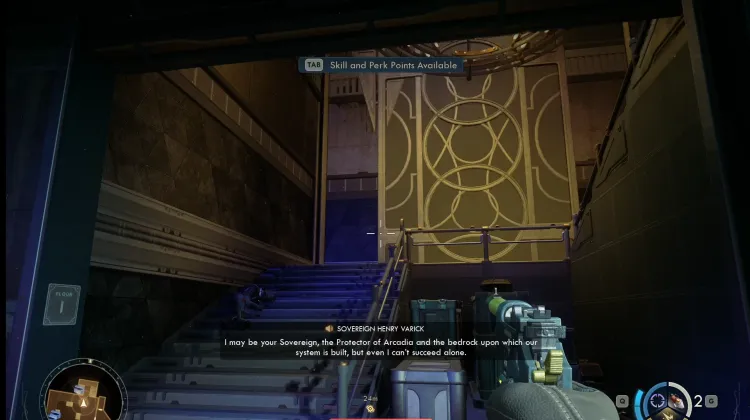
Map Transition
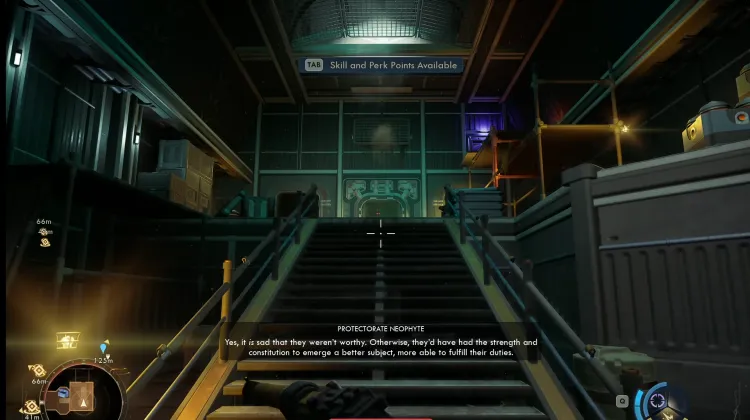
Security Ops - Upper Level
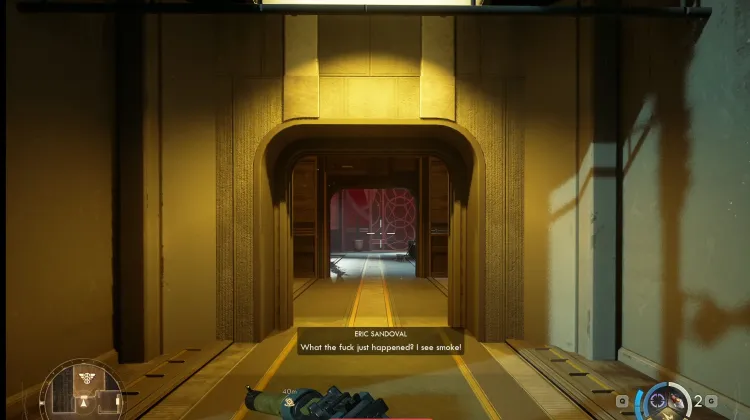
To Central Dispatch - Lower Level
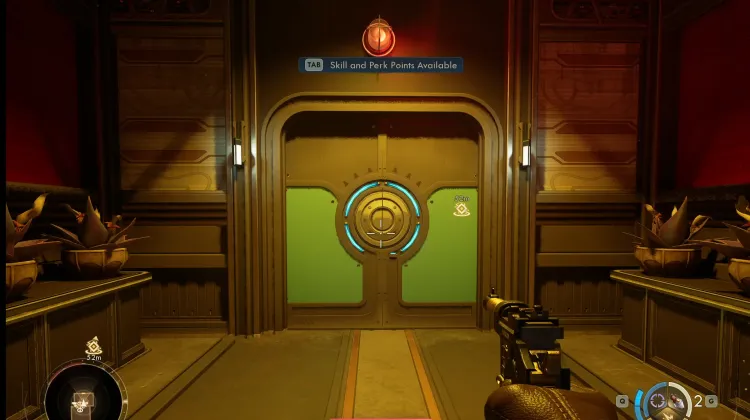
To Horizon Point Station
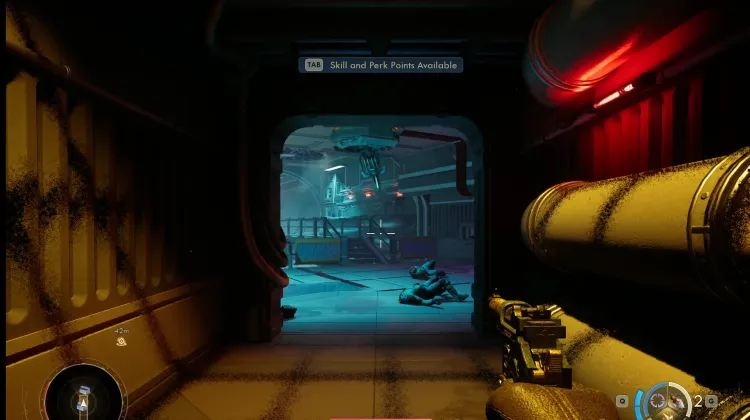
To Horizon Point Station
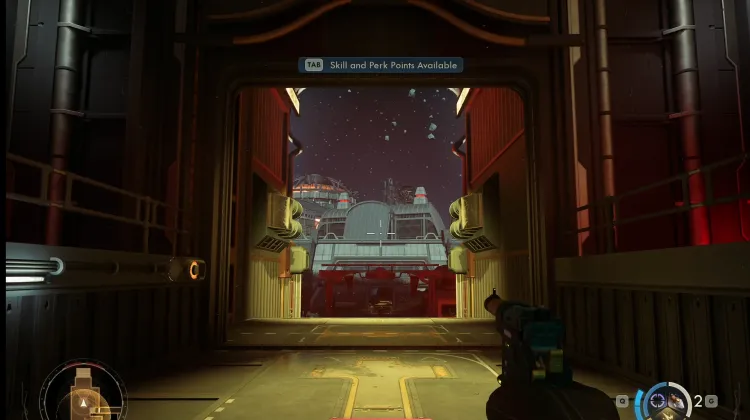
To Horizon Point Station
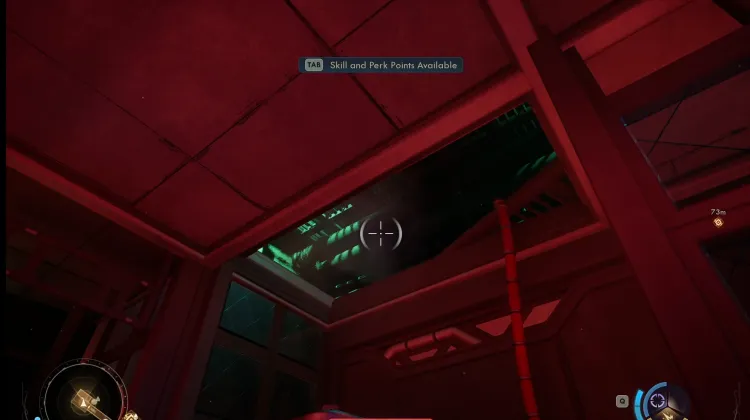
To Horizon Point Station
No Image
To Horizon Point Station
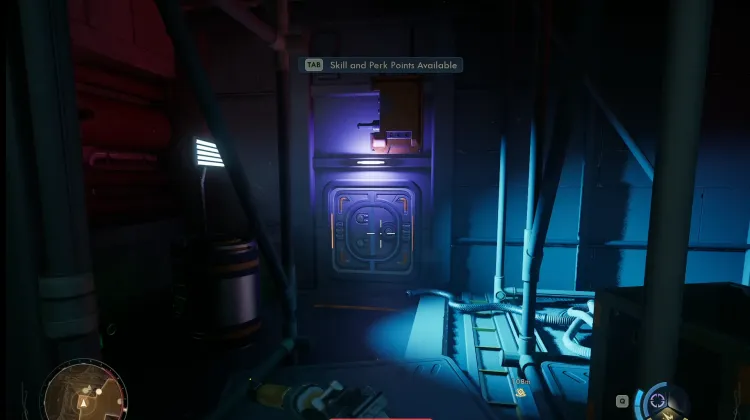
To Security Ops - Lower Level
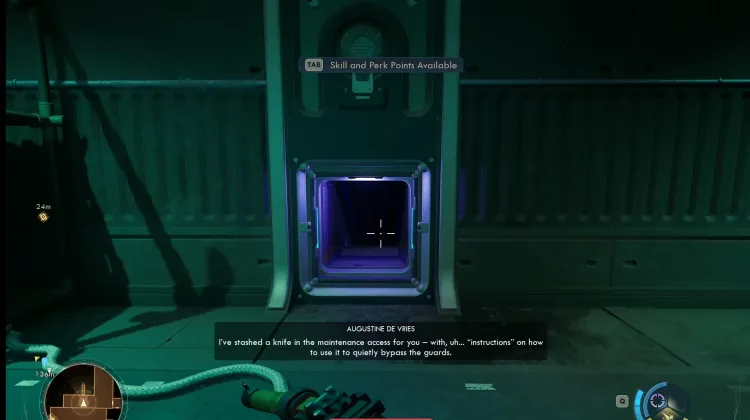
To Security Ops - Lower Level
No Image
To Security Ops - Main Level
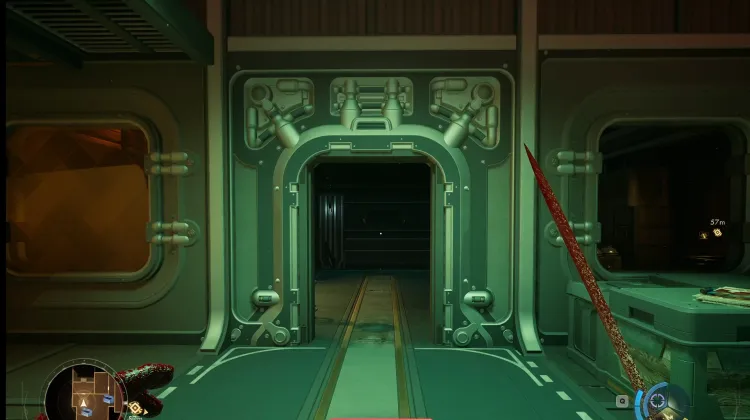
To Security Ops - Main Level
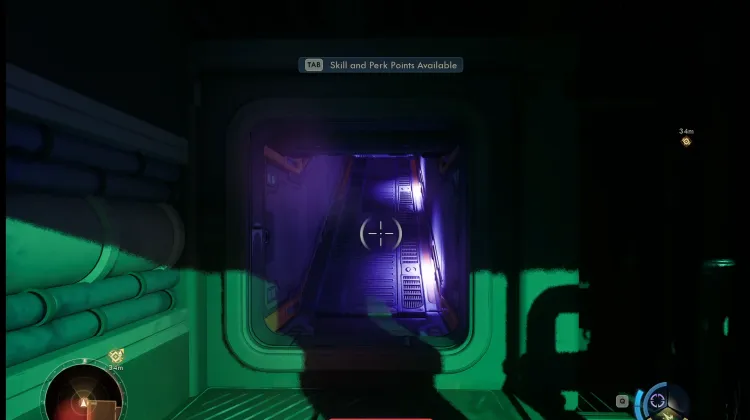
To Security Ops - Main Level
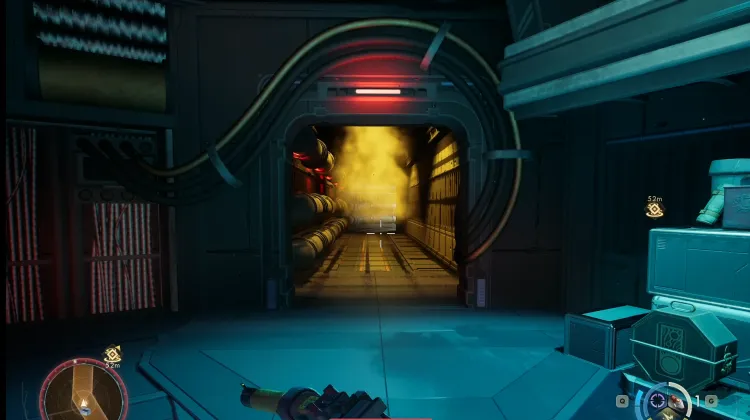
To Skip Labs - Lower Level
No Image
To Skip Labs - Lower Level
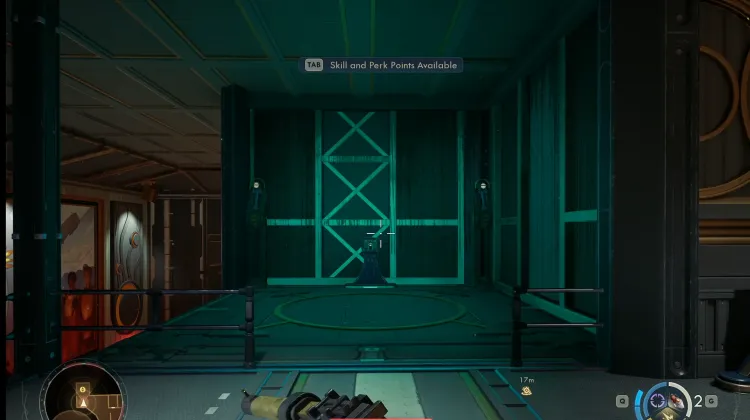
To Skip Labs - Lower Level
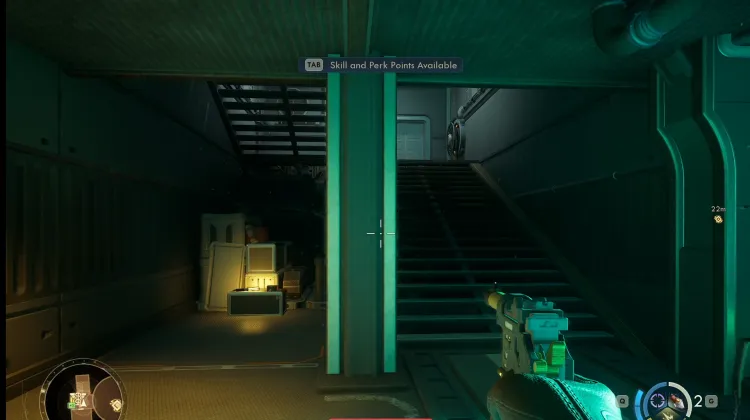
To Skip Labs - Lower Level
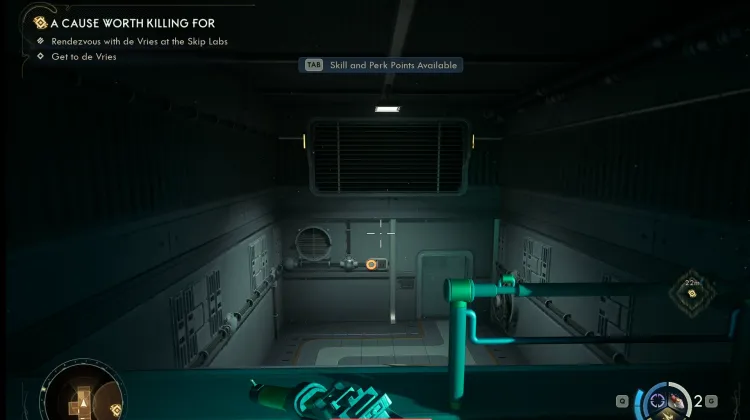
To Skip Labs - Main Level
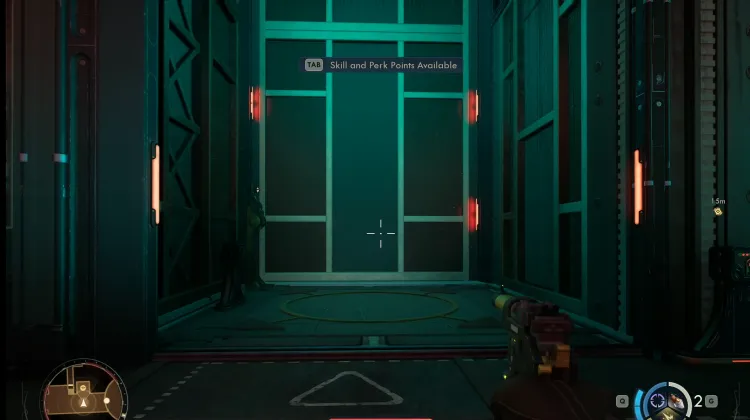
To Skip Labs - Main Level (Elevator)
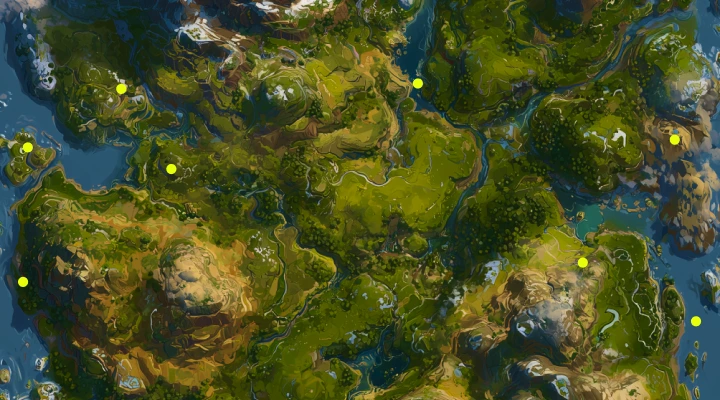
Share map for
Share the map for with your friends! You can also embed it on your own website or blog.
Embed Map
Embed this map on your own website or blog by copying the code below and adding it to your HTML:
Map Filter Preferences
This link includes map filters. Would you like to use them or keep your saved filters?
Reset fog of war?
This clears all discovered areas for this map. This can't be undone.
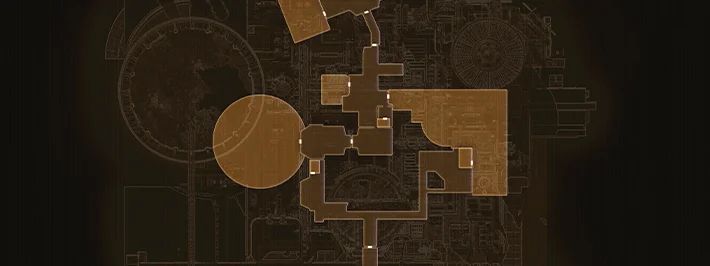
Horizon Point Station Interactive Map
Checked it off your list? Now check out everything else you can do with our Interactive Game Maps. Filter locations, set custom pins, and more. Download Wand for even more powerful features like Live Location Tracking and Teleport!