
Kompletny przewodnik po mapie Shoreline - Quest Items Lista kontrolna 100%
Przez Team Wand
Postęp odkryć
0 / 49
Zaloguj się, aby śledzić swój postęp
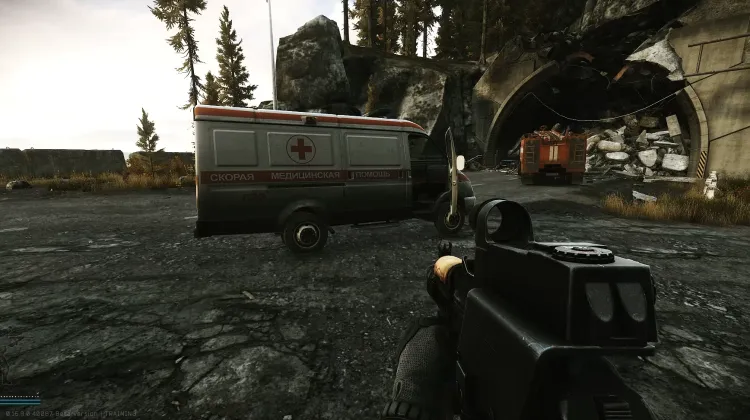
Ambulance #1 (Health Care Privacy - Pt. 1)
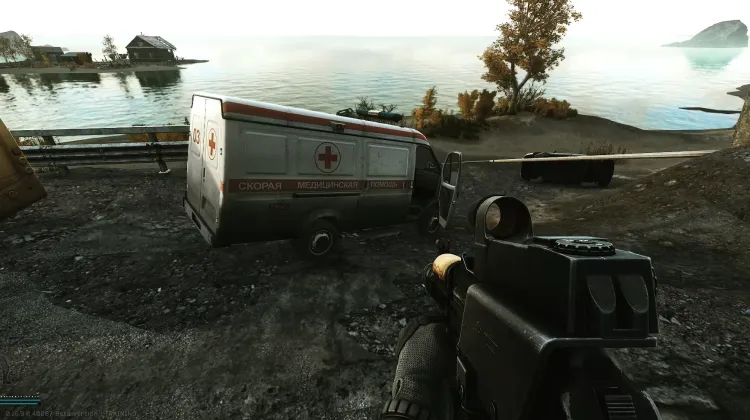
Ambulance #2 (Health Care Privacy - Pt. 1)
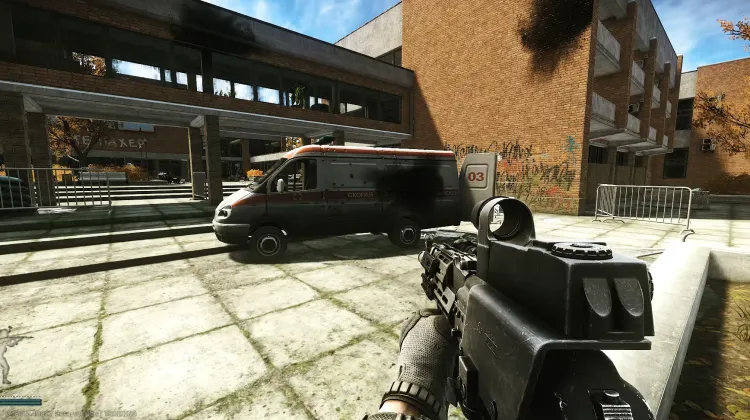
Ambulance #3 (Health Care Privacy - Pt. 1)
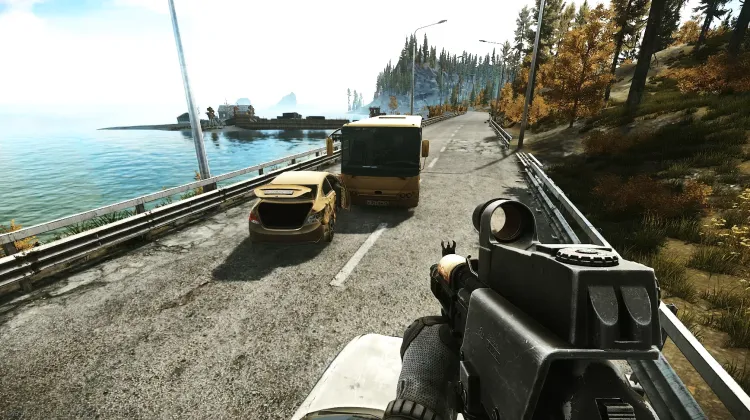
Artyom's Car (Wet Job - Pt. 3)
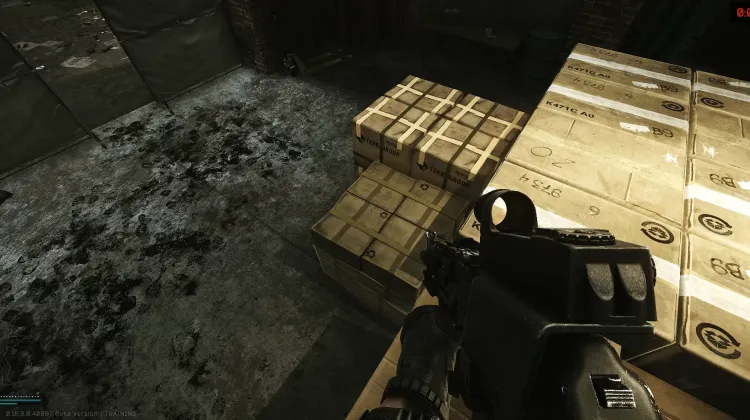
Box Location #1 (Natural Exchange)
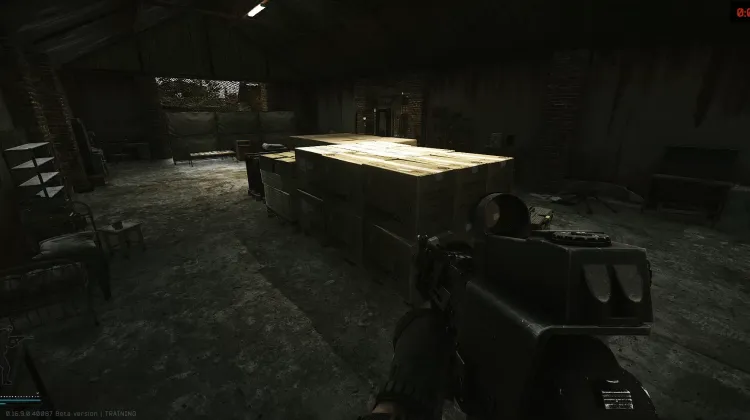
Box Location #2 (Natural Exchange)
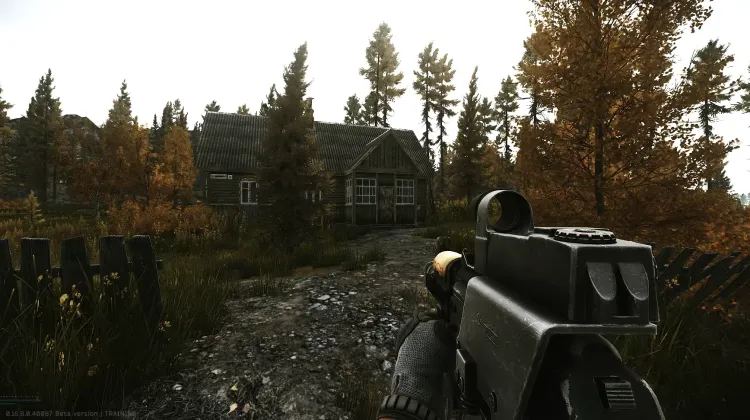
Chairman's House (Courtesy Visit)
Brak obrazu
Clock Dial Painting # 10 (Out of Time)
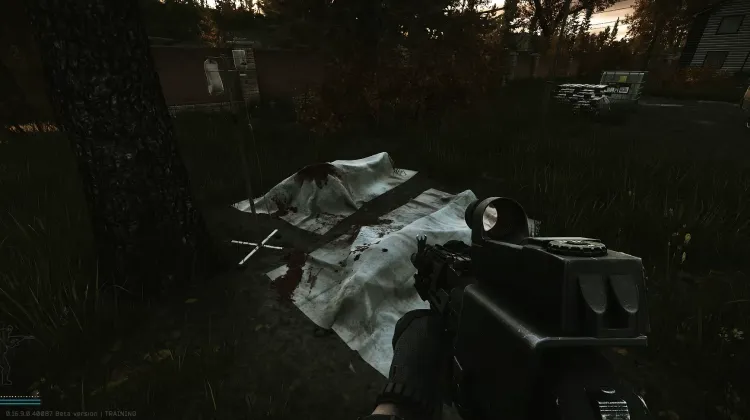
Colleague at Cottage (Colleagues - Part 1)
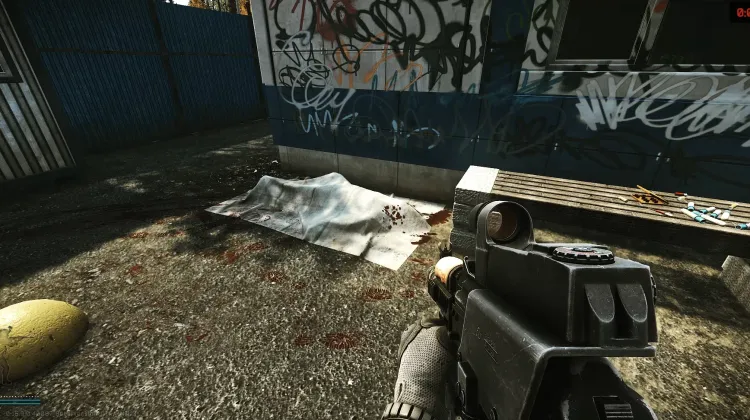
Colleague at Pier (Colleagues - Part 1)
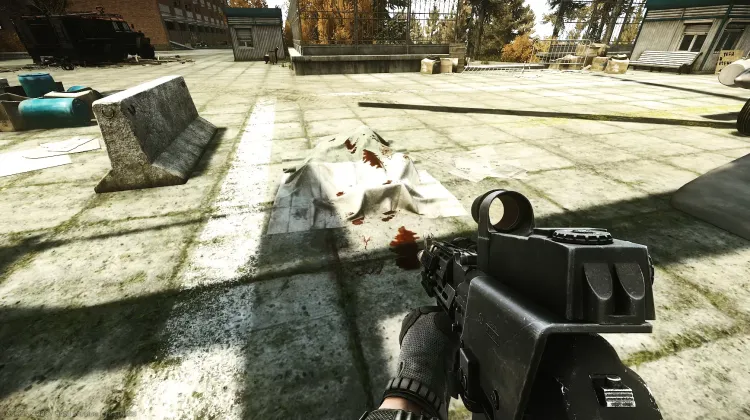
Colleague at Resort (Colleagues - Part 1)
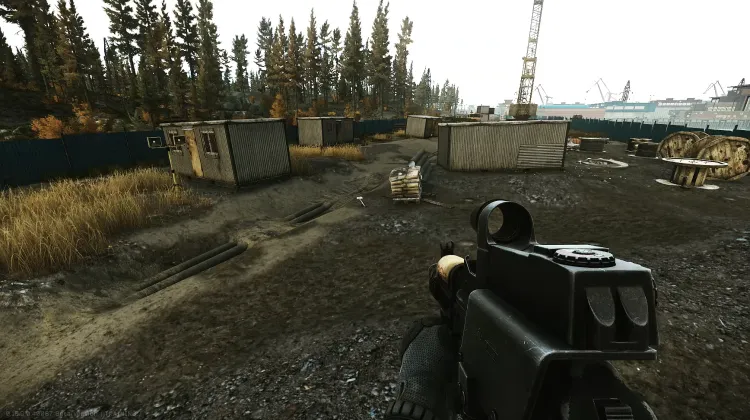
Construction Site (Needle in a Haystack)
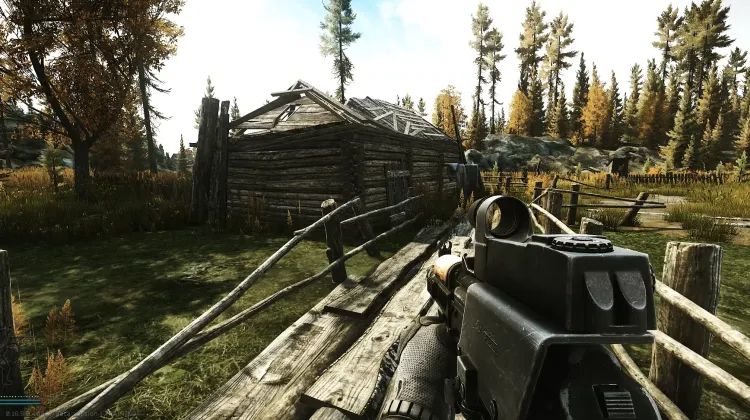
Fisherman's House (Courtesy Visit)
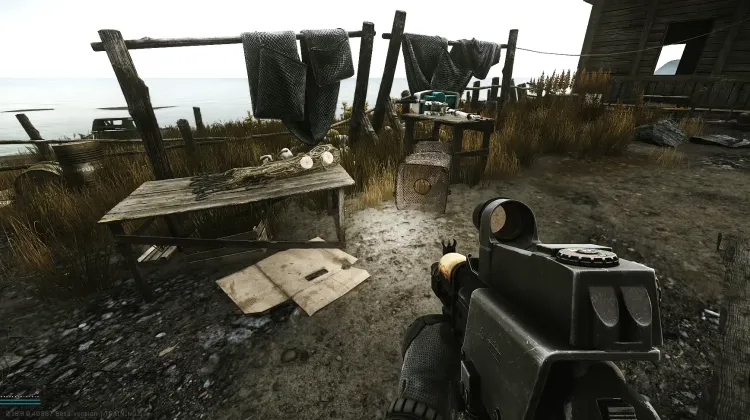
Fishing Table Hut (Wet Job - Pt. 2)
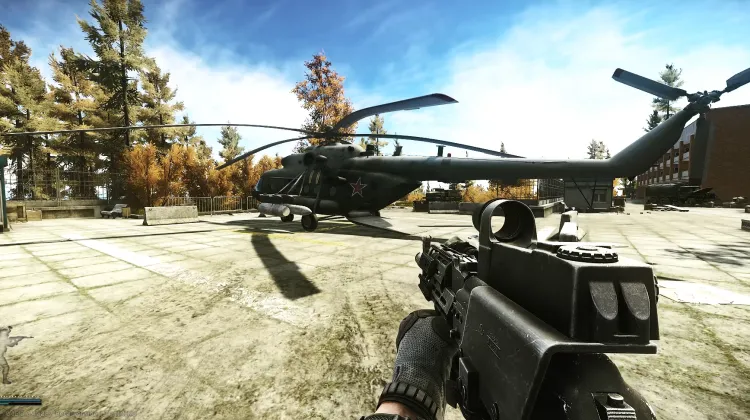
Helicopter (Spa Tour - Pt. 2)
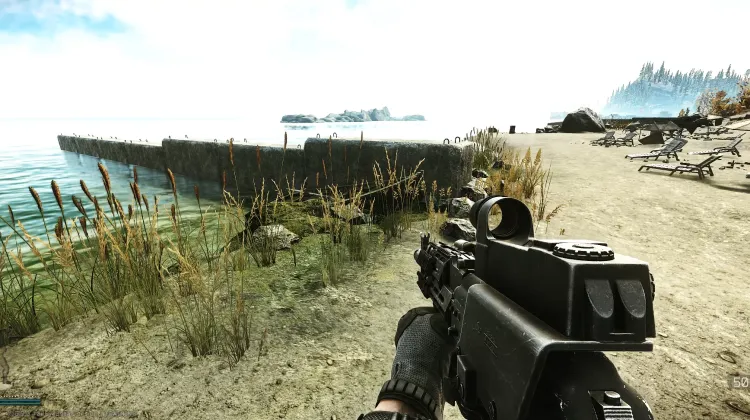
Hidden Stash (Fishing Gear)
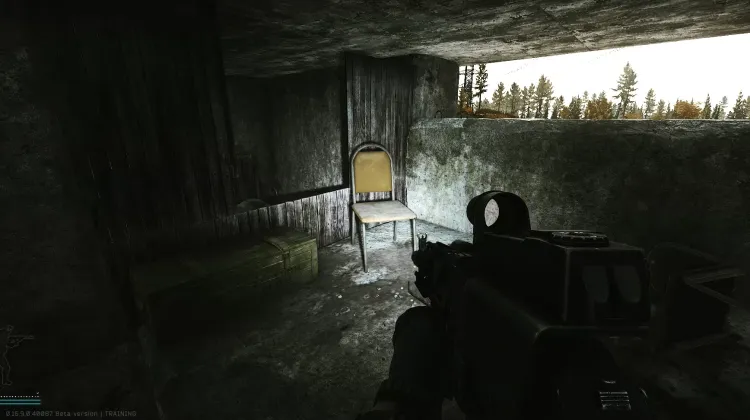
Key to the Closed Premises of the Sanatorium (Spa Tour - Part 5)
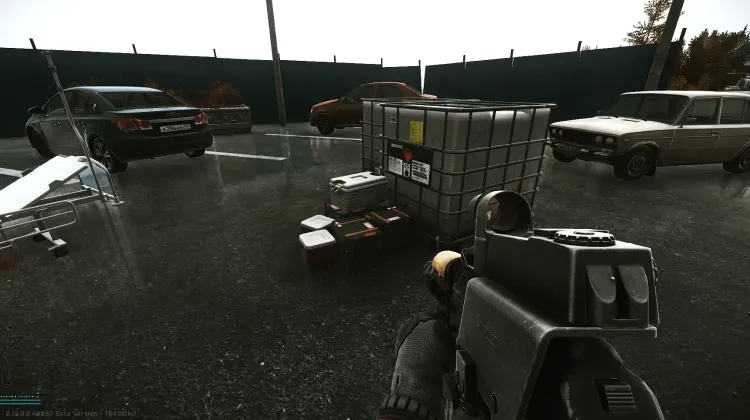
Medical Container #1 (Rigged Game)
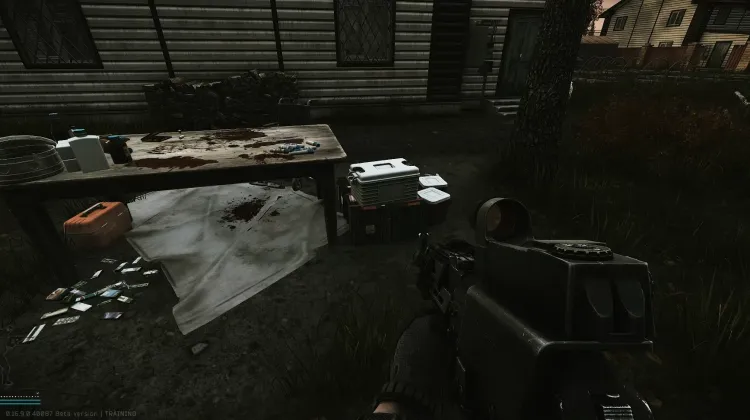
Medical Container #2 (Rigged Game)
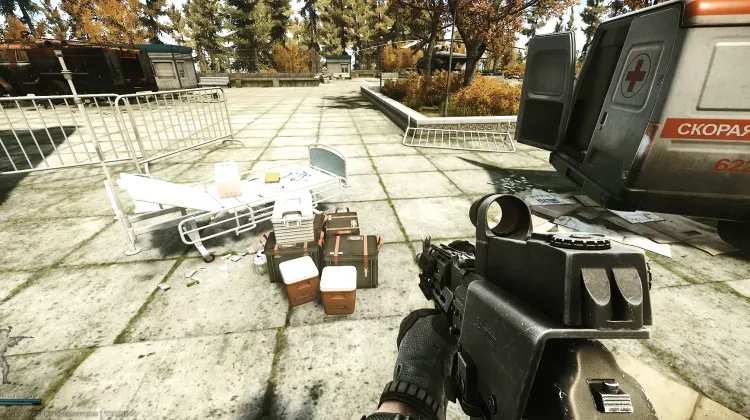
Medical Container #3 (Rigged Game)
Brak obrazu
Missing Informant (The Cult - Pt. 1)
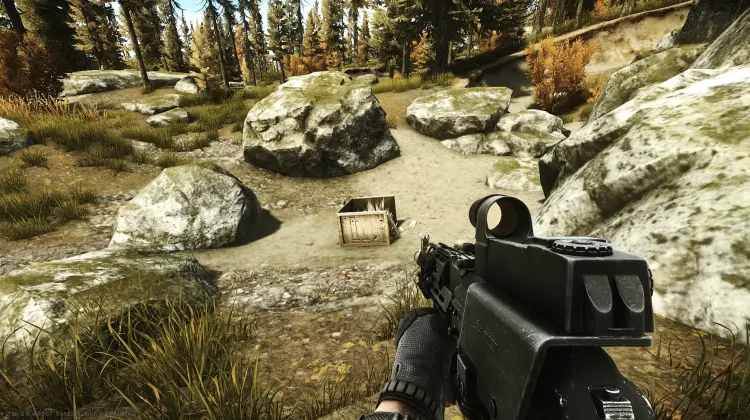
Motor Controller (Lend-Lease - Pt.1)
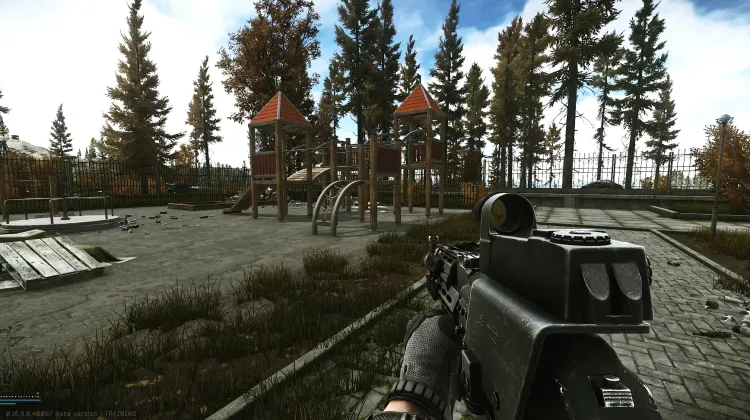
Playground (Needle in a Haystack)
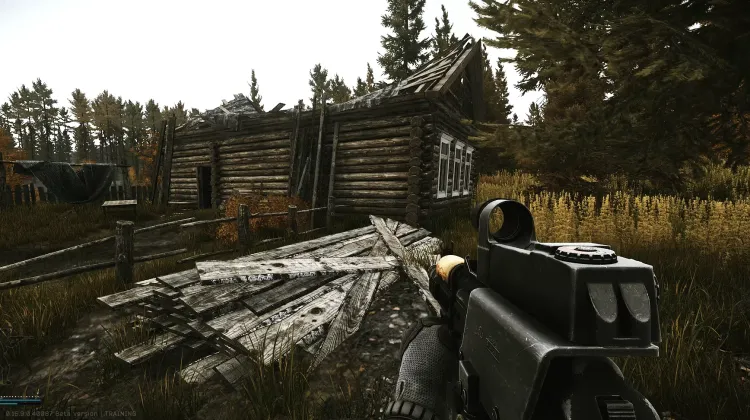
Priest's House (Courtesy Visit)
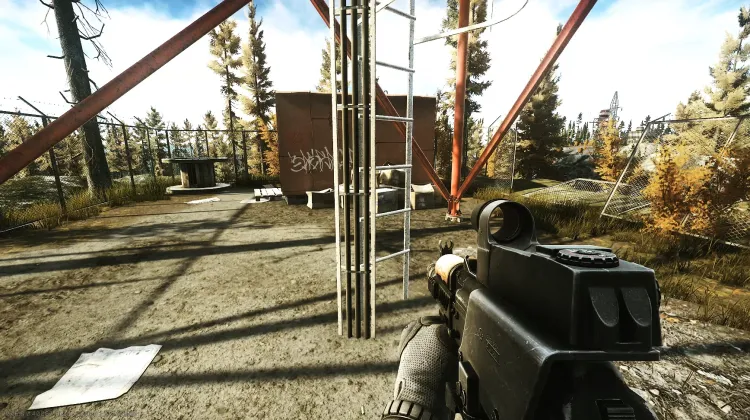
Radiotower Ladder (Signal Pt. 3)
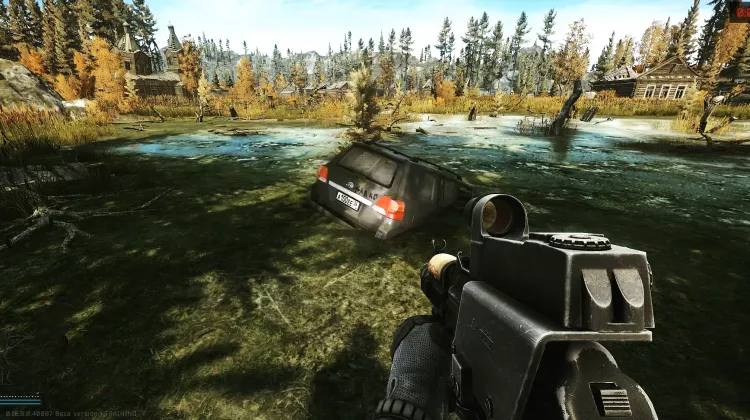
Ragman's SUV (Nothing Fishy About This)
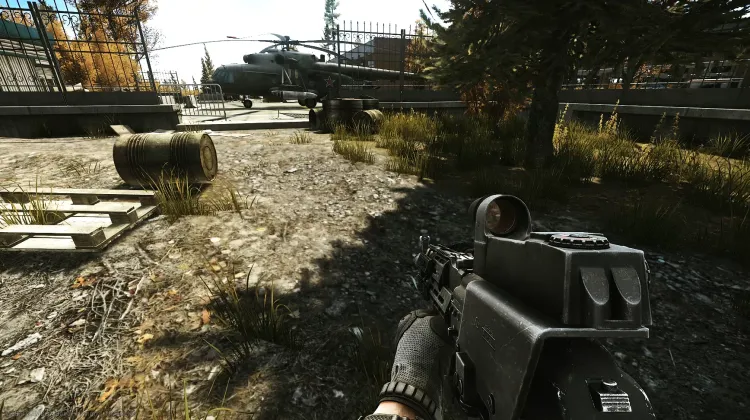
Safe Road (Spa Tour - Pt. 2)
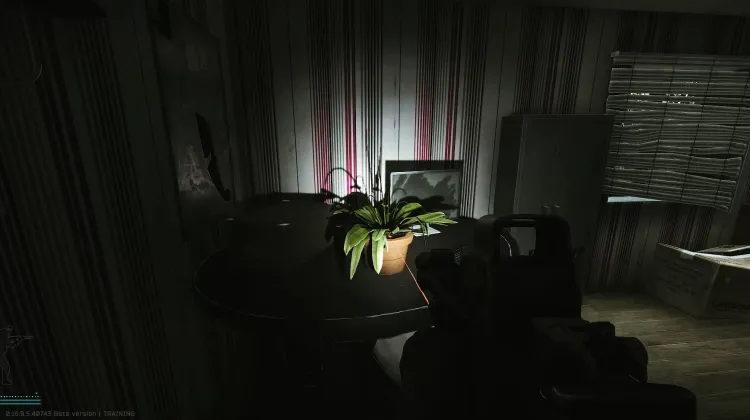
Sanitar's Oscope (Colleagues - Part 2)
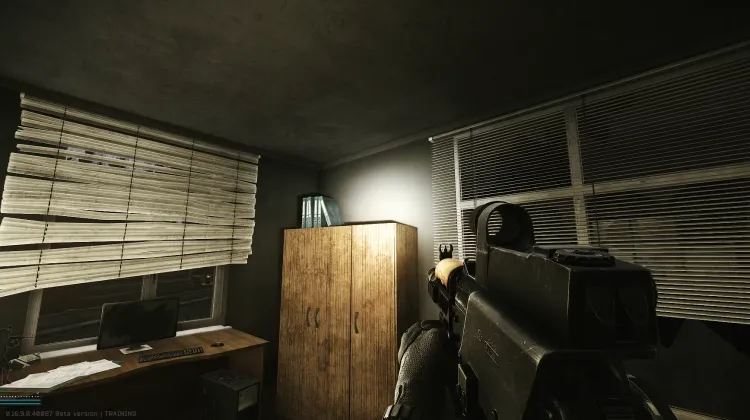
Sanitar's Surgery Kit (Colleagues - Part 2)
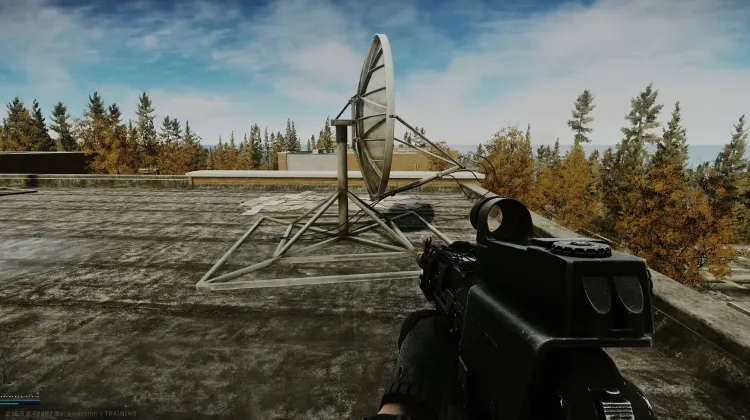
Satellite Dish (Signal - Pt.1)
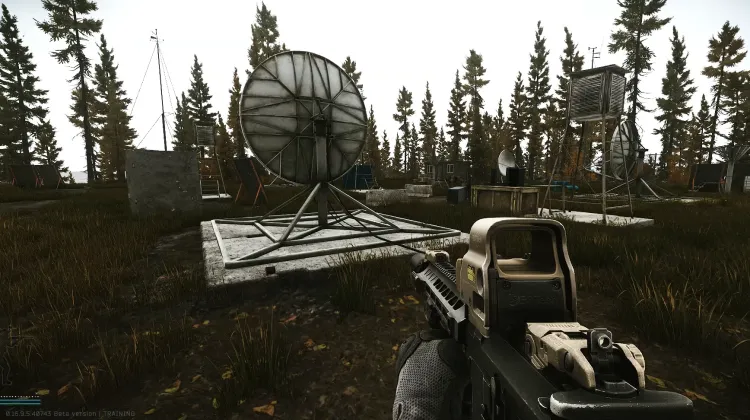
Satellite Dish (Signal - Pt.1)
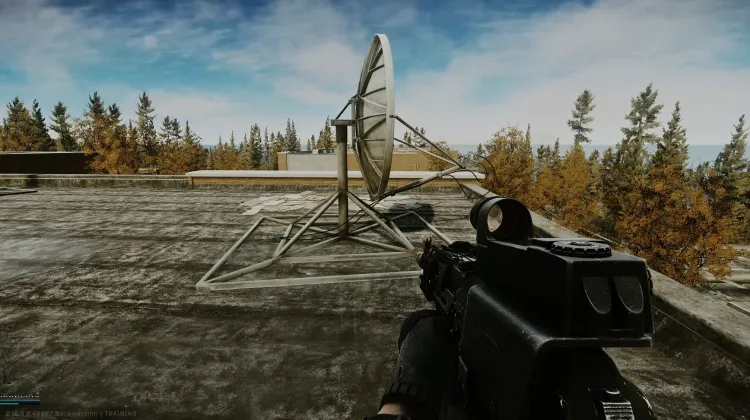
Satellite Dish (Signal - Pt.3)
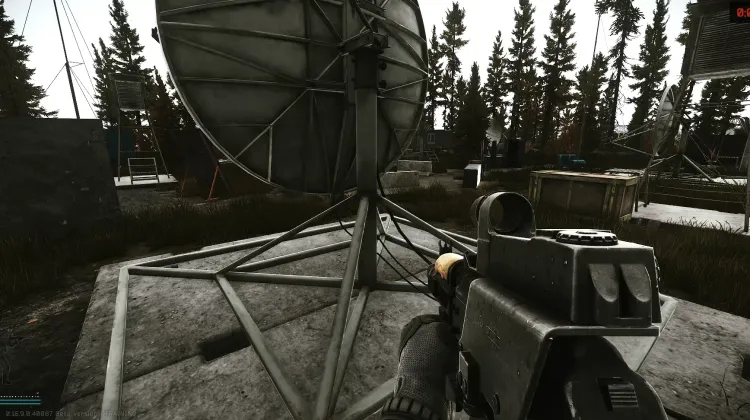
Satellite Dish (Signal - Pt.3)
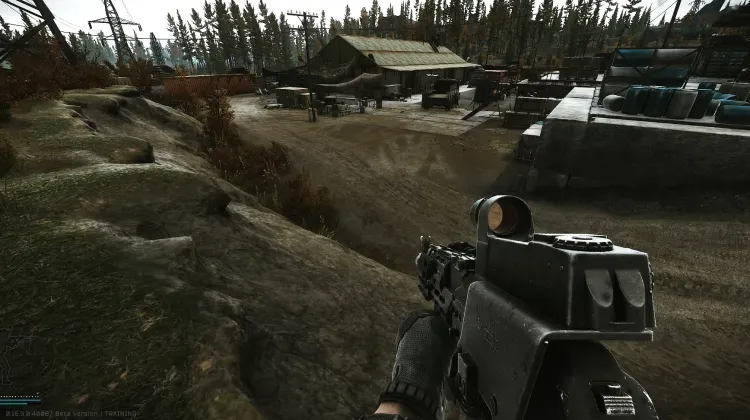
Smuggler's Base (No Swiping)
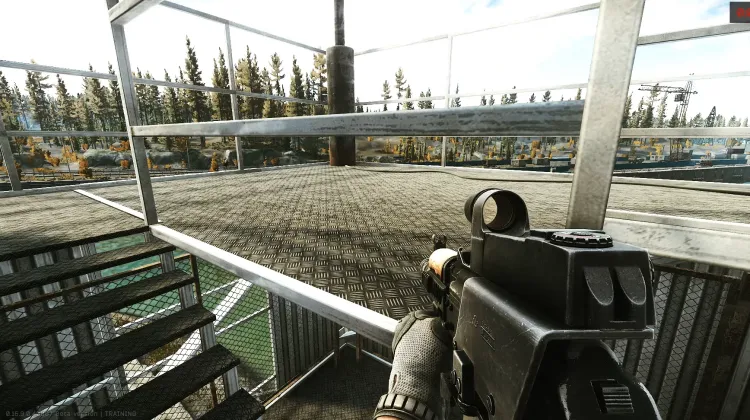
Stash Golden Rooster (Proper Comeback)
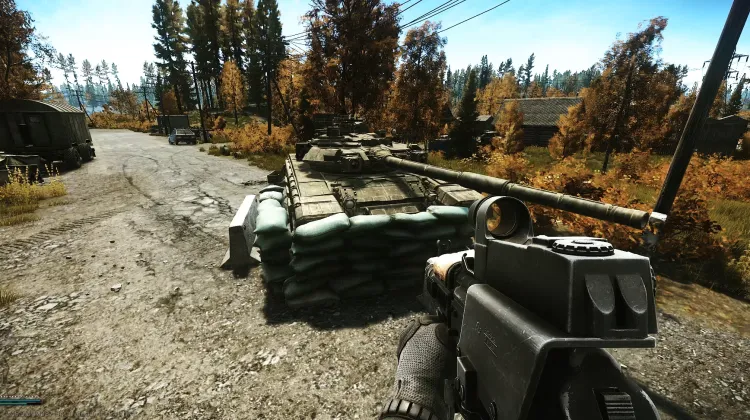
T-90 Tank (Scrap Metal)
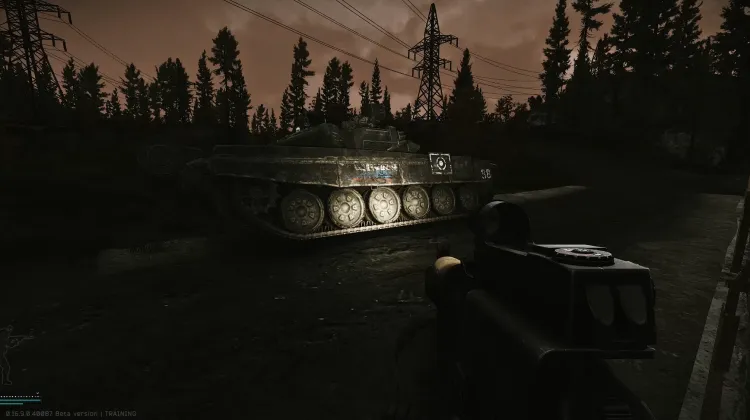
T-90 Tank (Scrap Metal)
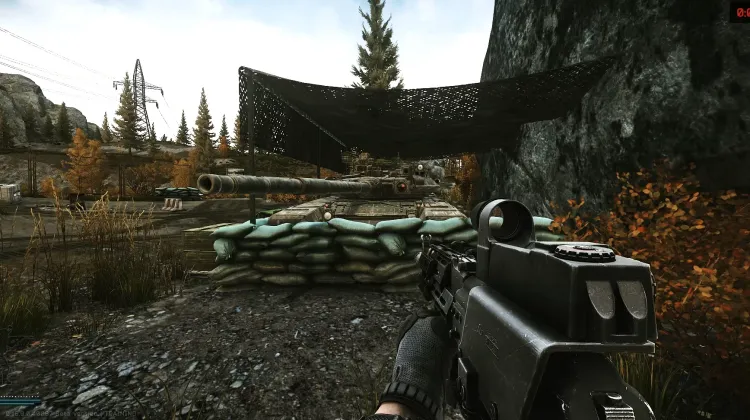
T-90 Tank (Scrap Metal)
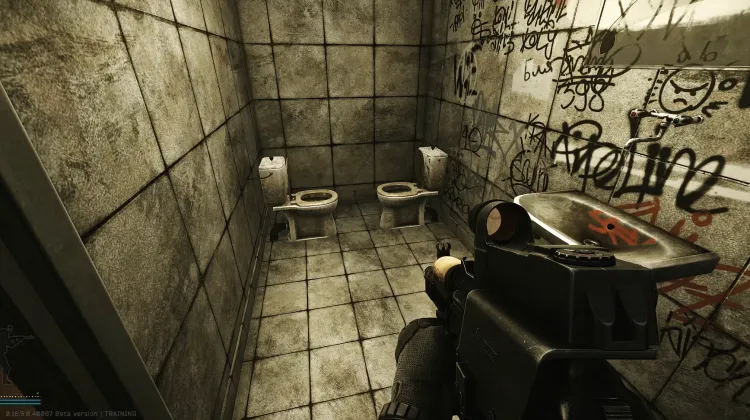
The Not-So-Lonely Bathroom (Is This A Reference)
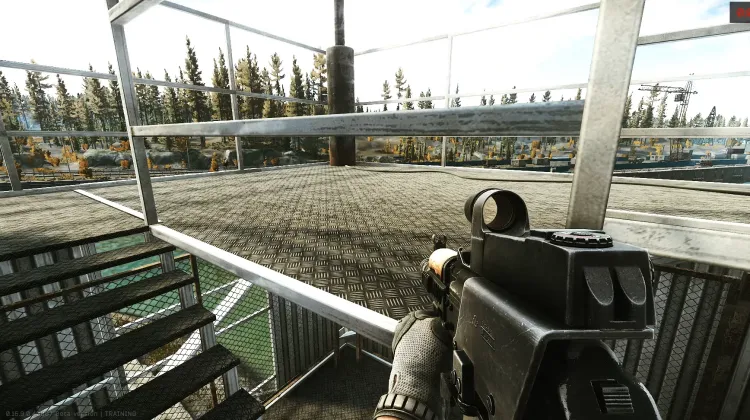
Top of Lighthouse (Viewer)
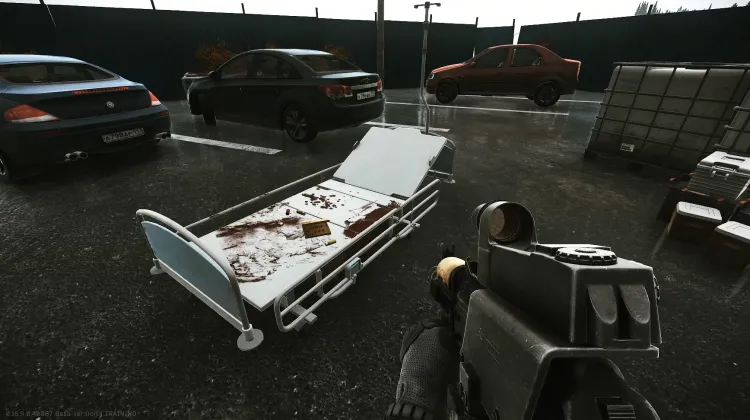
Trading Post #1 (Anesthesia)
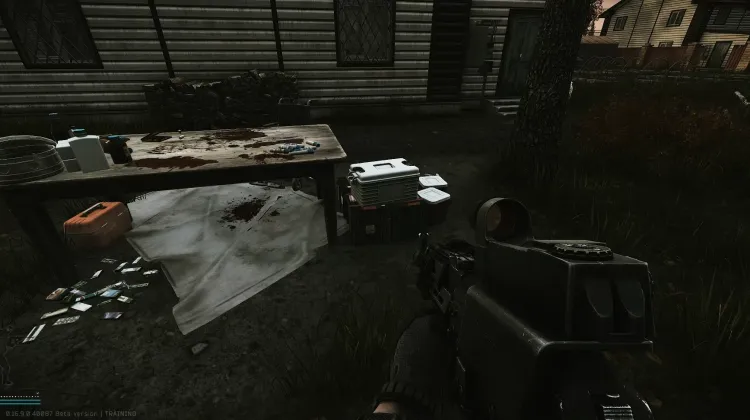
Trading Post #2 (Anesthesia)
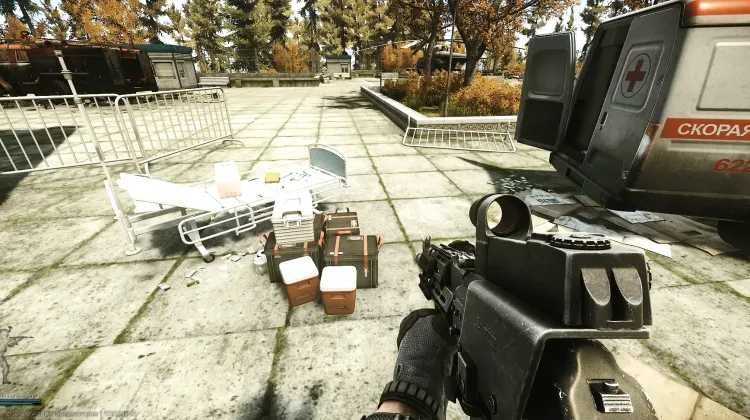
Trading Post #3 (Anesthesia)
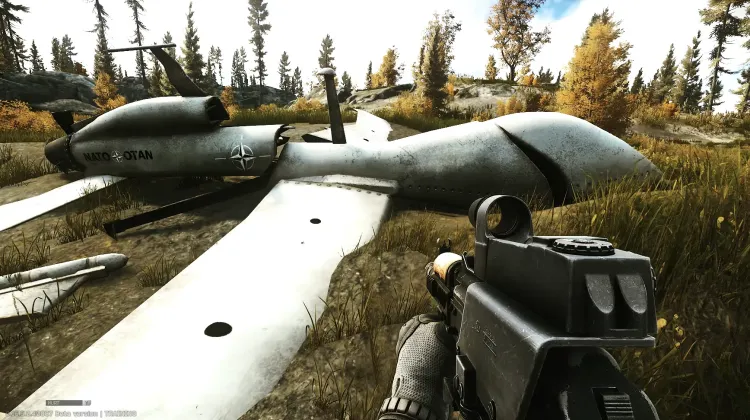
UAV #1 (Eagle Eye)
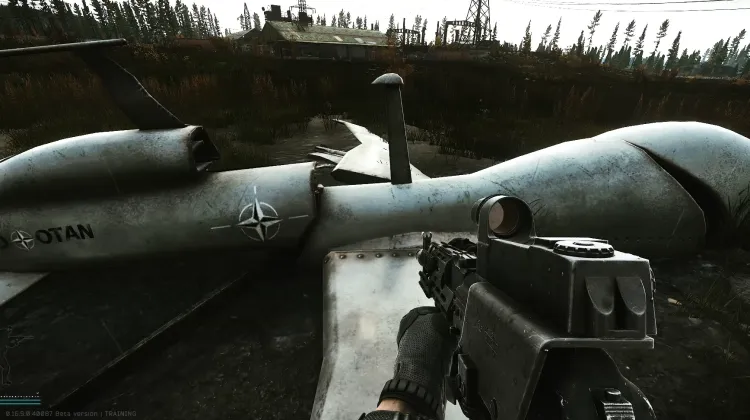
UAV #2 (Eagle Eye)
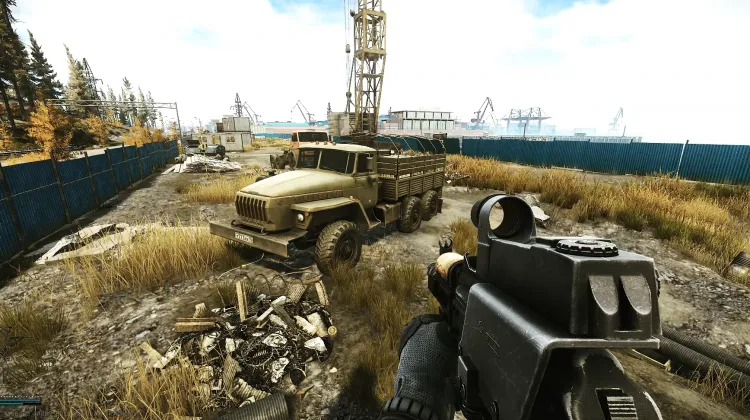
UN Truck (Humanitarian Supplies)
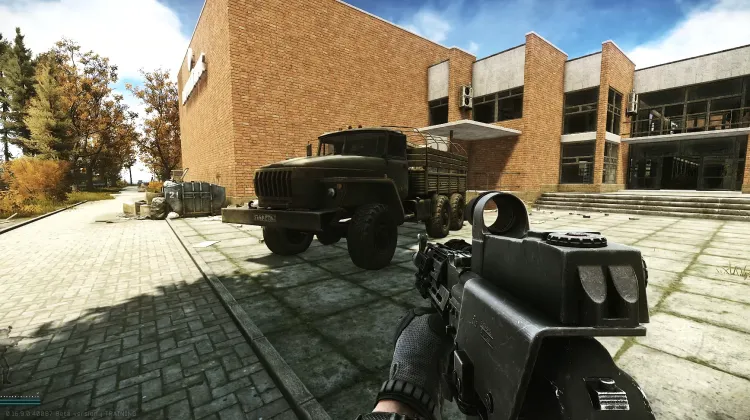
UN Truck (Humanitarian Supplies)
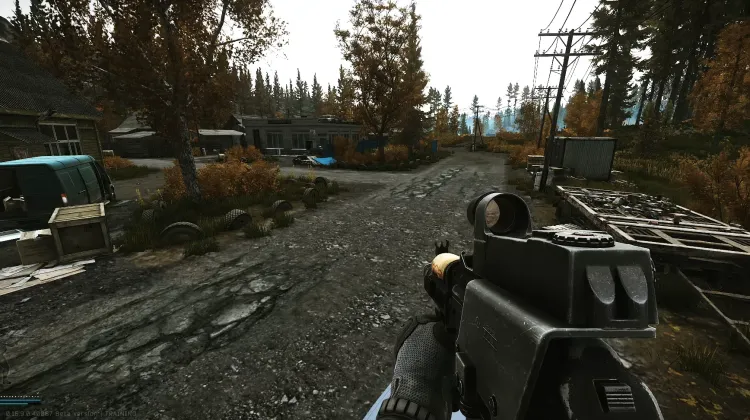
Unalive 5 SCAVs (Forester's Duty)
Brak obrazu
Upside-down Chair (Is This A Reference)
Udostępnij mapę do
Podziel się mapą dla ze swoimi znajomymi! Możesz również osadzić ją na swojej stronie internetowej lub blogu.
Osadź mapę
Osadź tę mapę na swojej stronie internetowej lub blogu, kopiując poniższy kod i dodając go do swojego HTML:
Preferencje filtrów mapy
Ten link zawiera filtry mapy. Czy chcesz ich użyć, czy zachować swoje zapisane filtry?
Zresetować mgłę wojny?
Spowoduje to wyczyszczenie wszystkich odkrytych obszarów na tej mapie. Tej operacji nie można cofnąć.
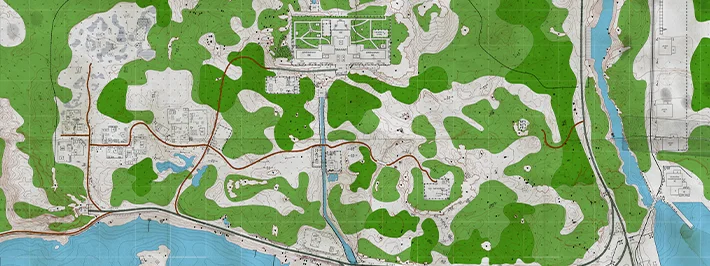
Interaktywna mapa Shoreline
Odhaczone z listy? Sprawdź teraz wszystko inne, co możesz zrobić z naszymi interaktywnymi mapami gry. Filtruj lokacje, ustawiaj własne pinezki i wiele więcej. Pobierz Wanda, aby uzyskać jeszcze bardziej zaawansowane funkcje, takie jak śledzenie lokalizacji na żywo i teleportacja!