
Guia completo do mapa de Shoreline – Quest Items Lista de verificação 100%
Pela Equipe Wand
Progresso de descoberta
0 / 49
Faça login para acompanhar seu progresso
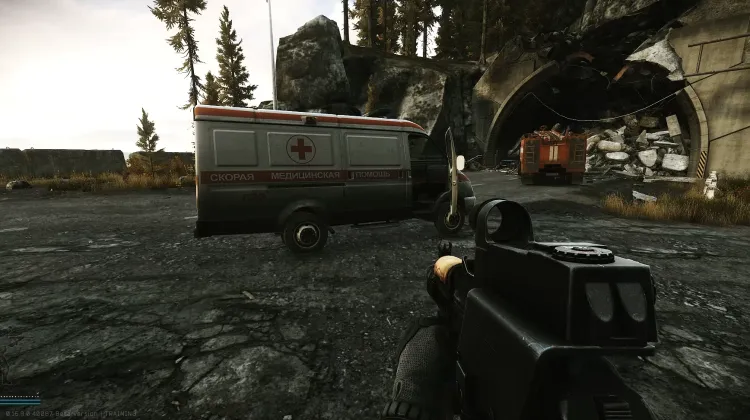
Ambulance #1 (Health Care Privacy - Pt. 1)
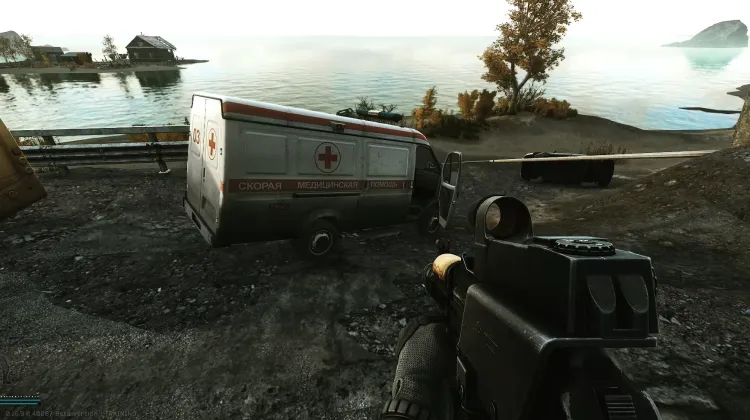
Ambulance #2 (Health Care Privacy - Pt. 1)
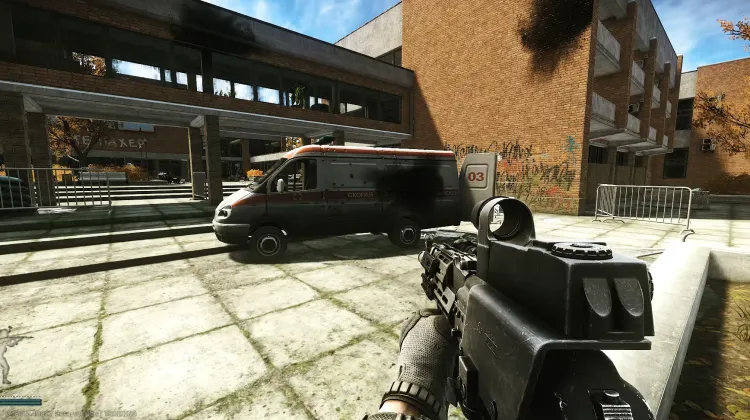
Ambulance #3 (Health Care Privacy - Pt. 1)
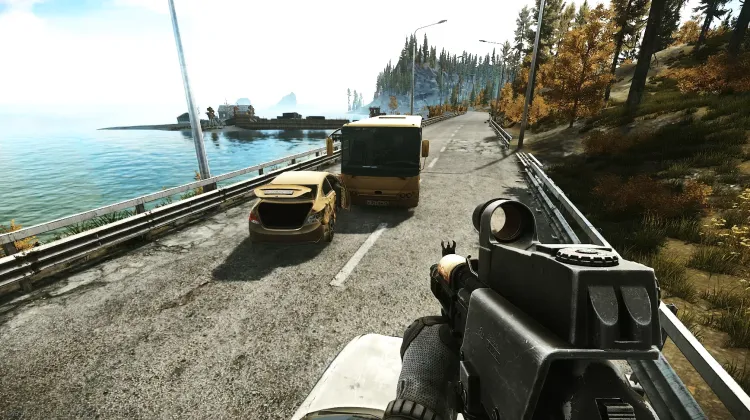
Artyom's Car (Wet Job - Pt. 3)
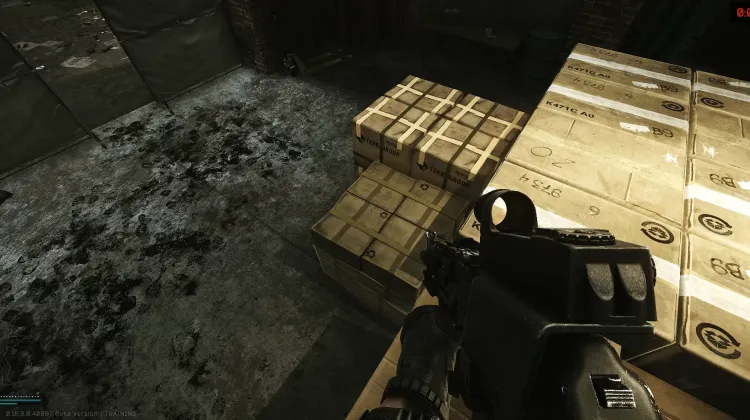
Box Location #1 (Natural Exchange)
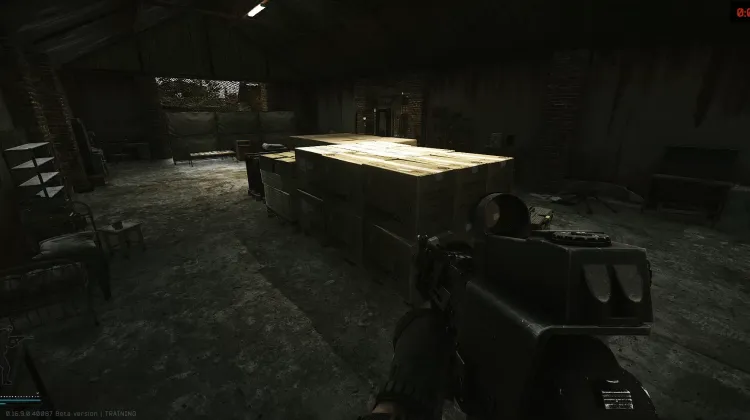
Box Location #2 (Natural Exchange)
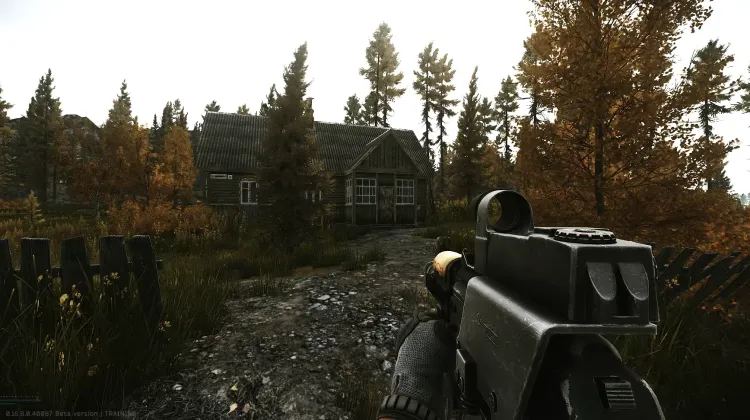
Chairman's House (Courtesy Visit)
Sem imagem
Clock Dial Painting # 10 (Out of Time)
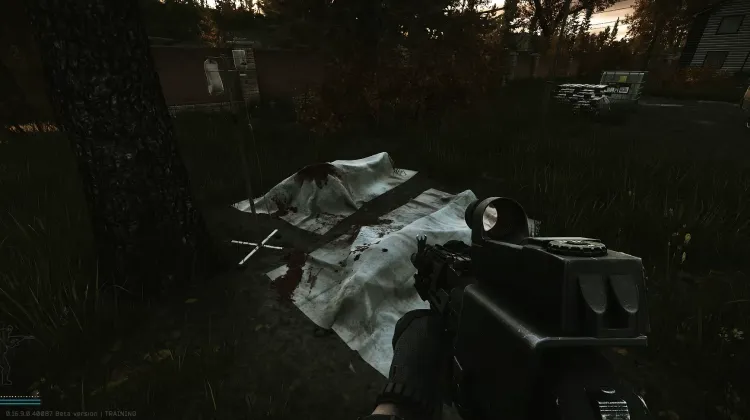
Colleague at Cottage (Colleagues - Part 1)
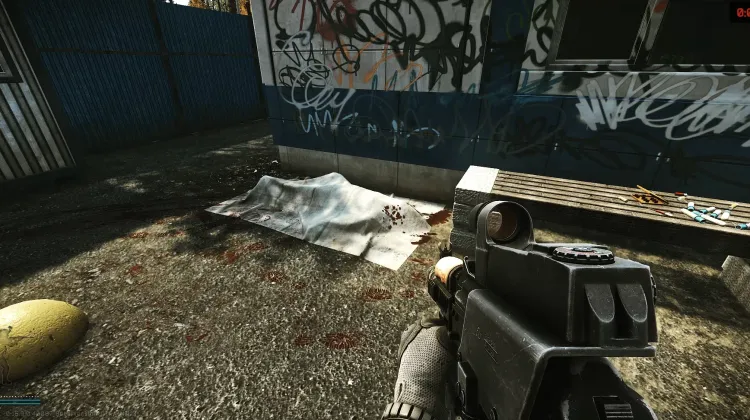
Colleague at Pier (Colleagues - Part 1)
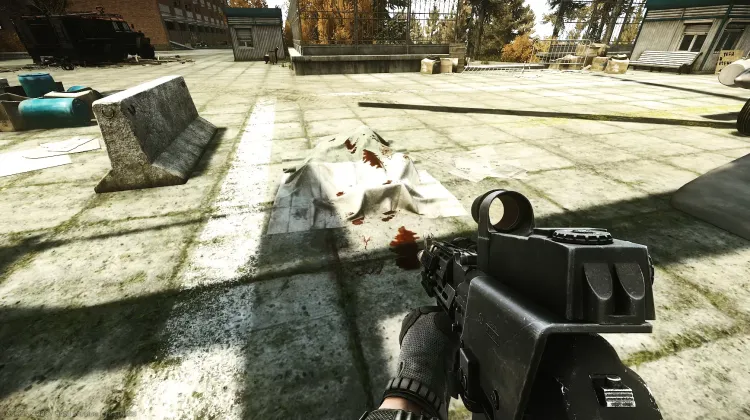
Colleague at Resort (Colleagues - Part 1)
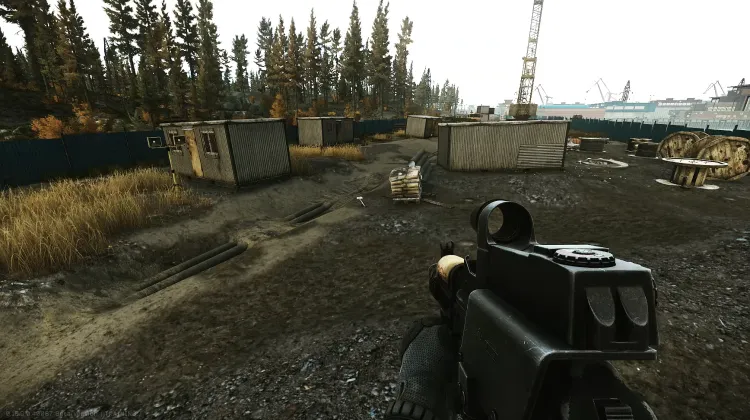
Construction Site (Needle in a Haystack)
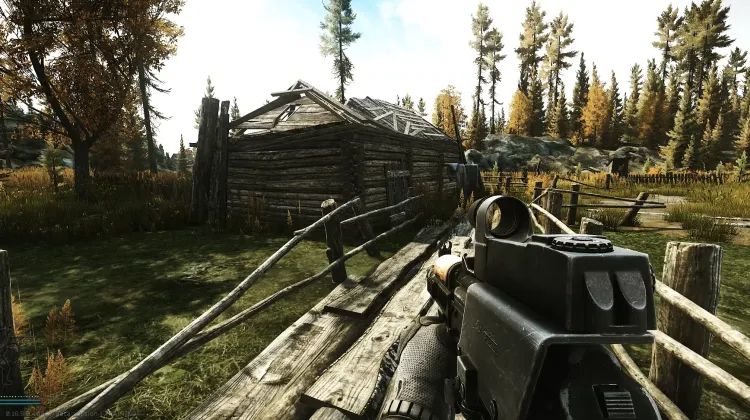
Fisherman's House (Courtesy Visit)
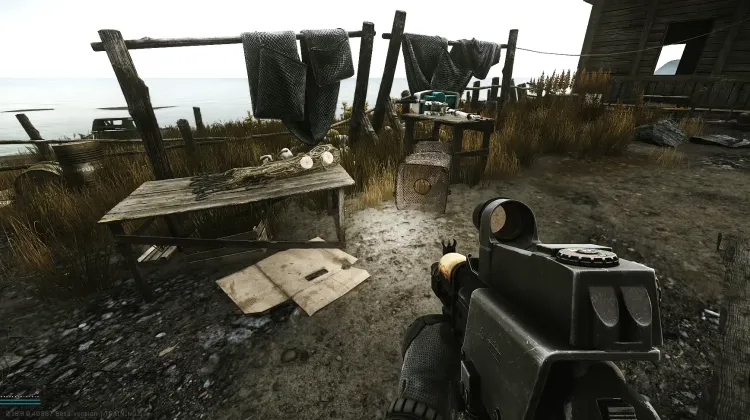
Fishing Table Hut (Wet Job - Pt. 2)
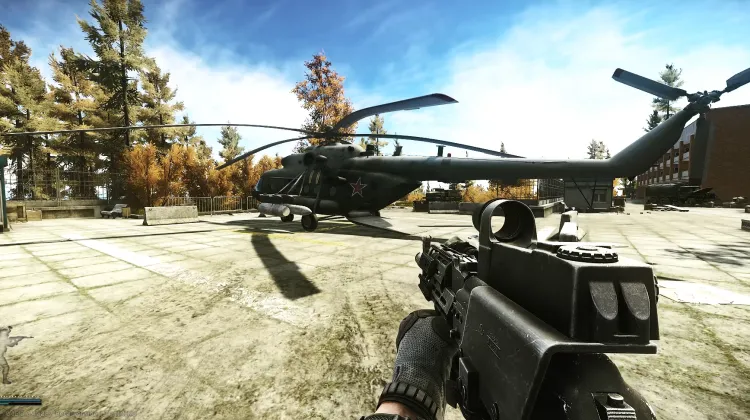
Helicopter (Spa Tour - Pt. 2)
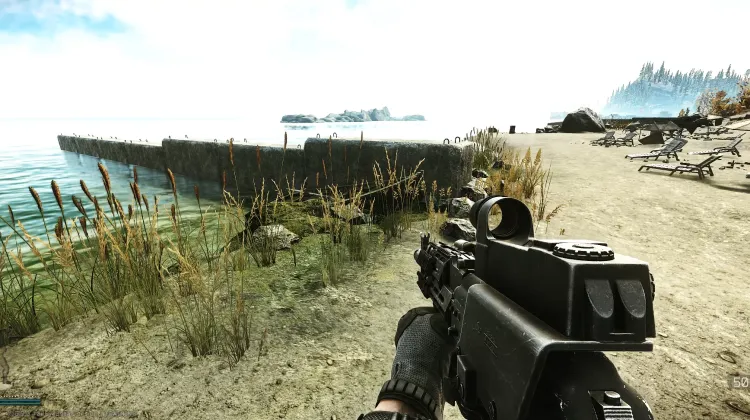
Hidden Stash (Fishing Gear)
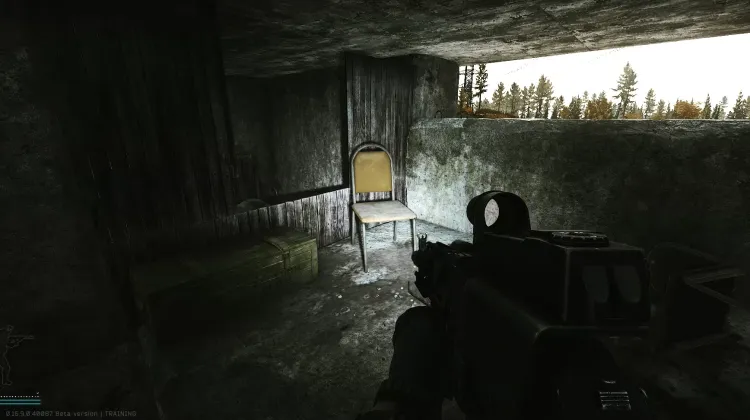
Key to the Closed Premises of the Sanatorium (Spa Tour - Part 5)
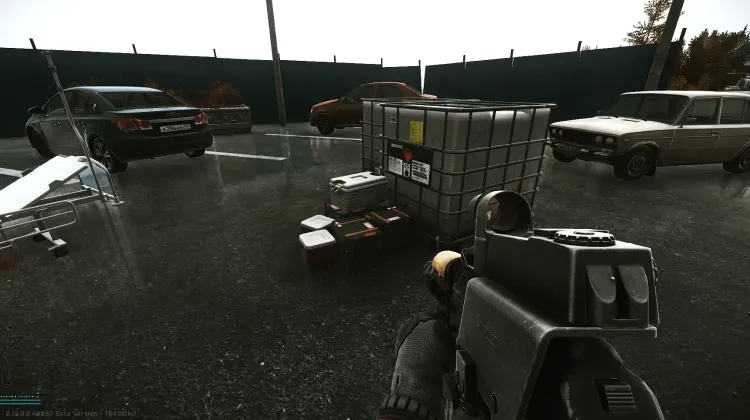
Medical Container #1 (Rigged Game)
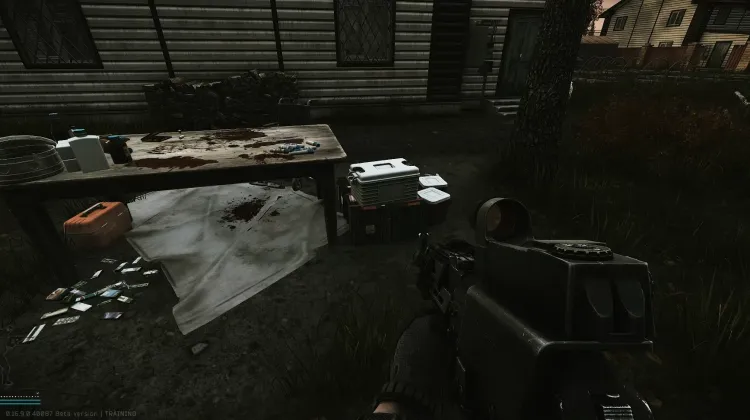
Medical Container #2 (Rigged Game)
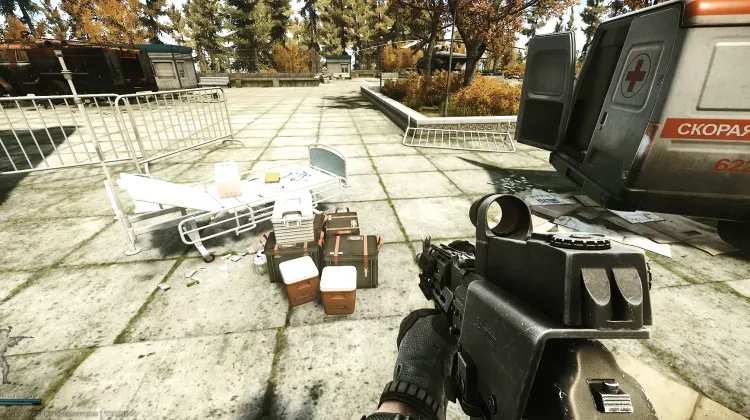
Medical Container #3 (Rigged Game)
Sem imagem
Missing Informant (The Cult - Pt. 1)
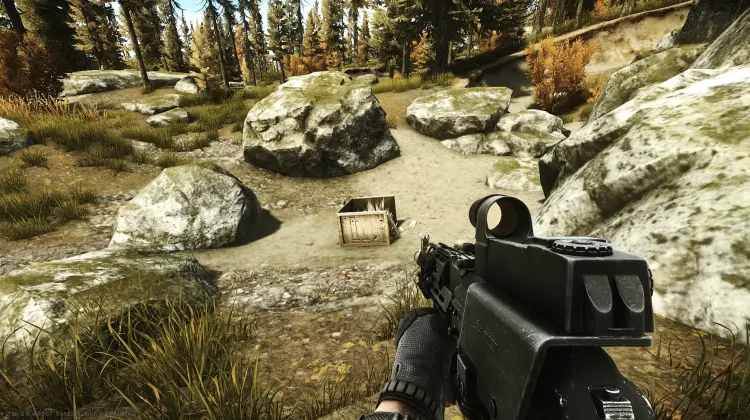
Motor Controller (Lend-Lease - Pt.1)
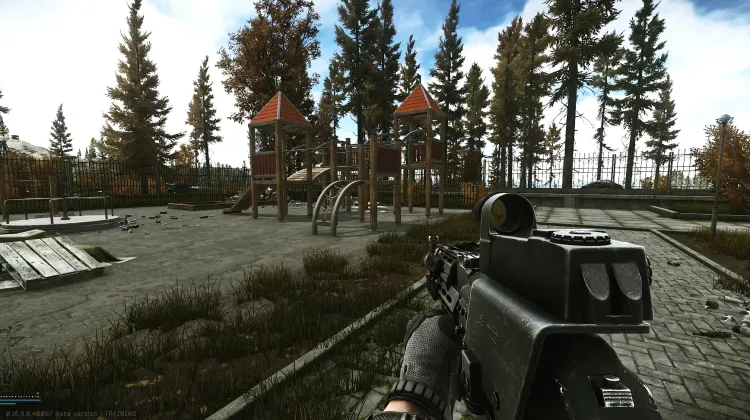
Playground (Needle in a Haystack)
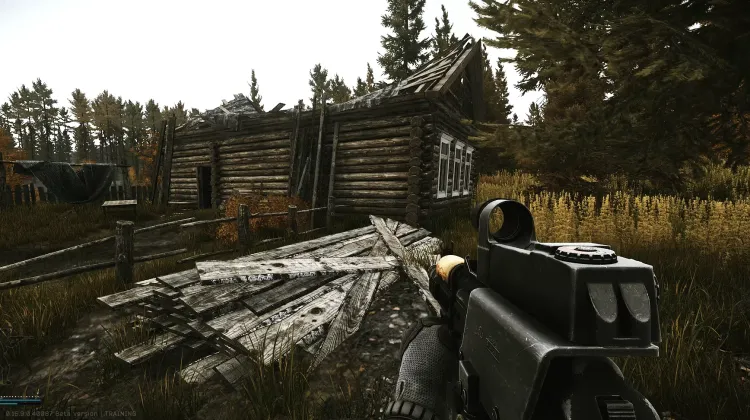
Priest's House (Courtesy Visit)
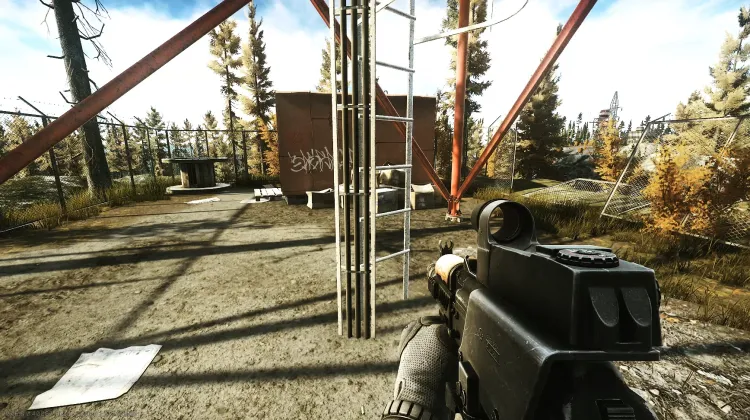
Radiotower Ladder (Signal Pt. 3)
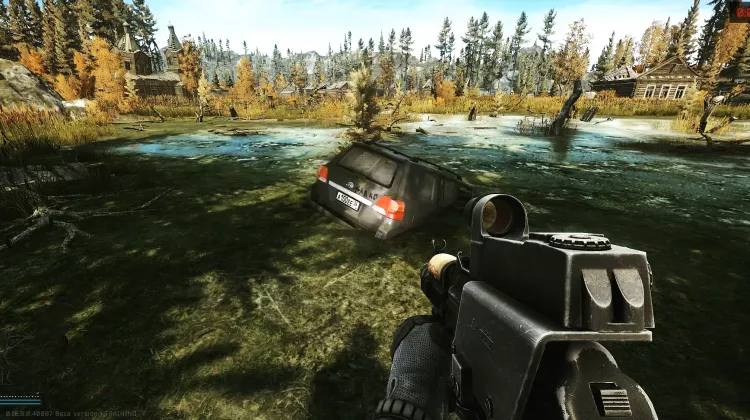
Ragman's SUV (Nothing Fishy About This)
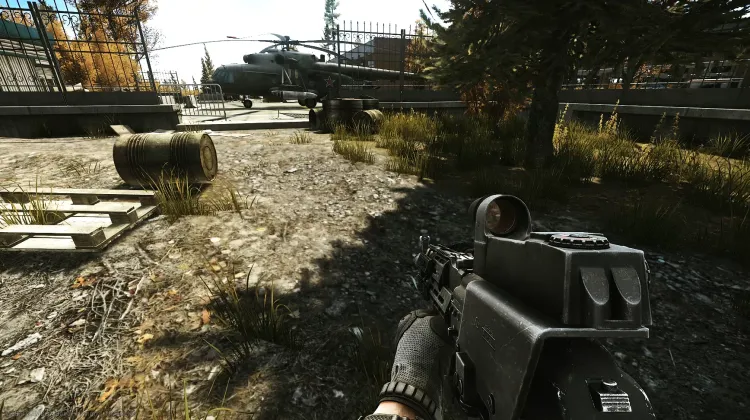
Safe Road (Spa Tour - Pt. 2)
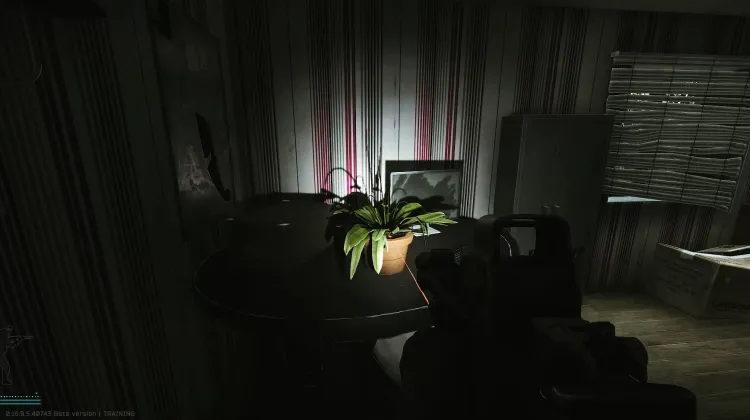
Sanitar's Oscope (Colleagues - Part 2)
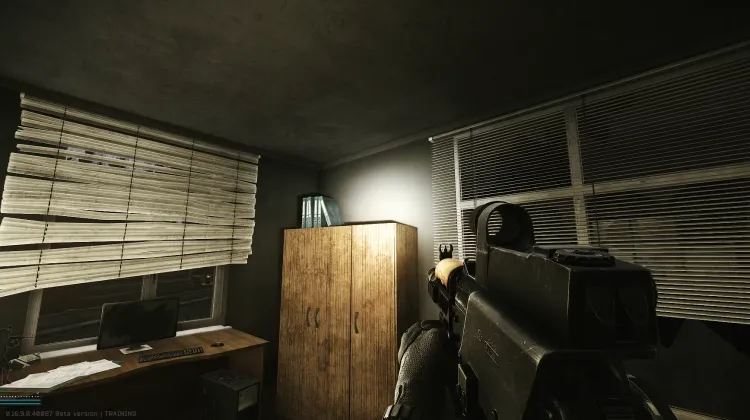
Sanitar's Surgery Kit (Colleagues - Part 2)
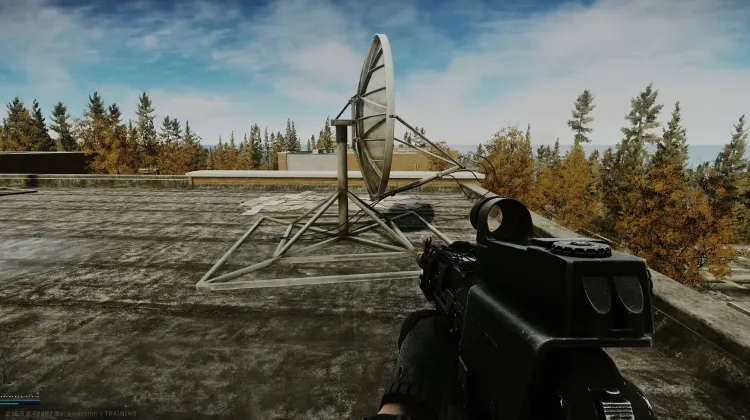
Satellite Dish (Signal - Pt.1)
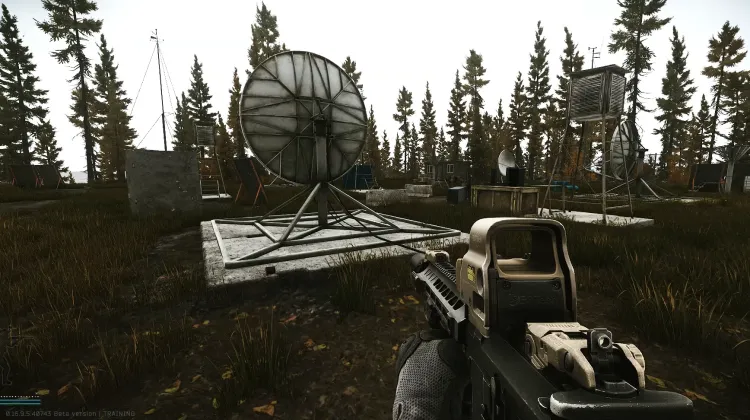
Satellite Dish (Signal - Pt.1)
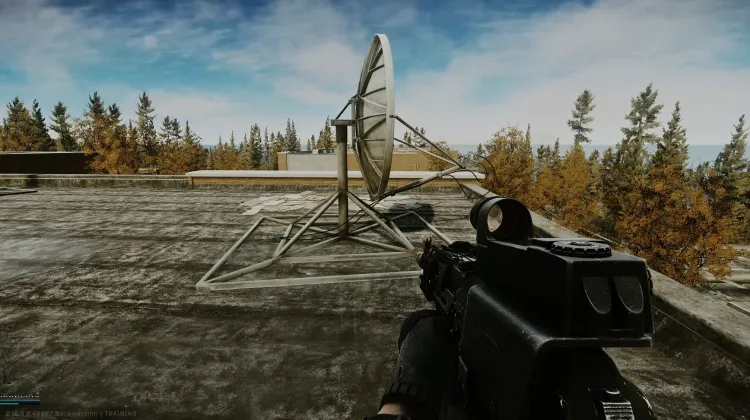
Satellite Dish (Signal - Pt.3)
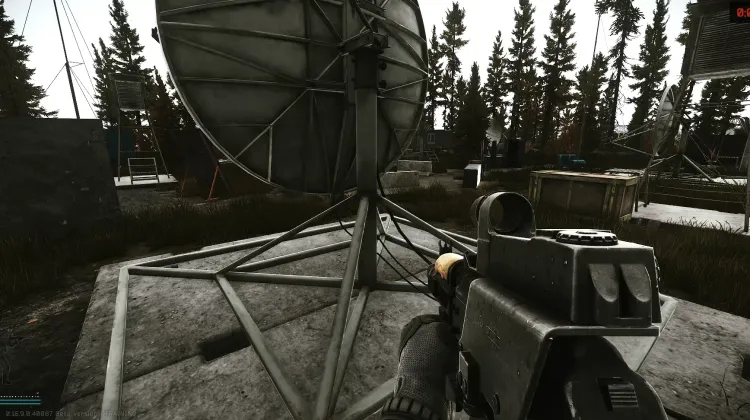
Satellite Dish (Signal - Pt.3)
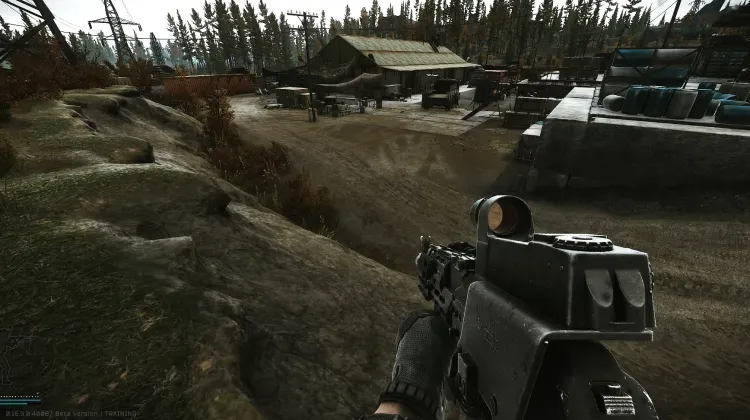
Smuggler's Base (No Swiping)
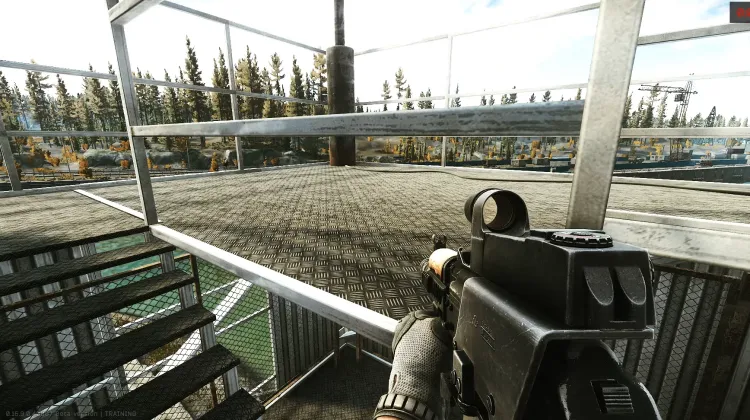
Stash Golden Rooster (Proper Comeback)
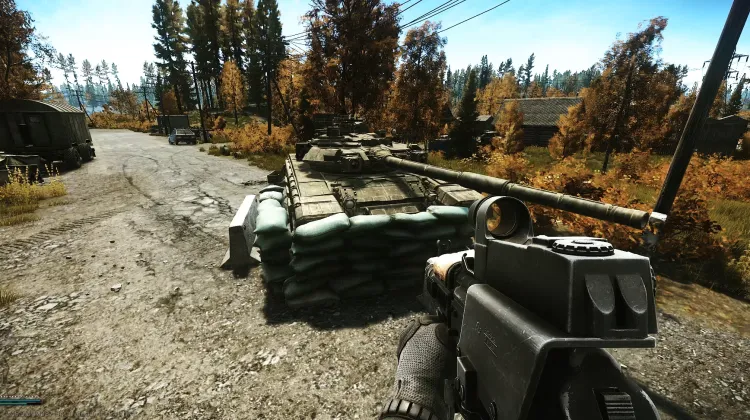
T-90 Tank (Scrap Metal)
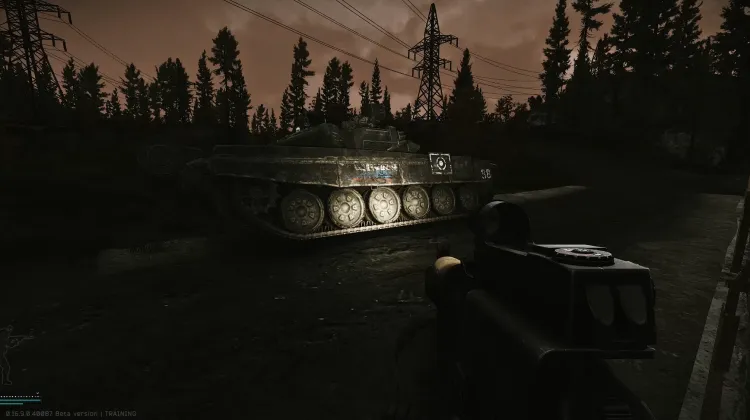
T-90 Tank (Scrap Metal)
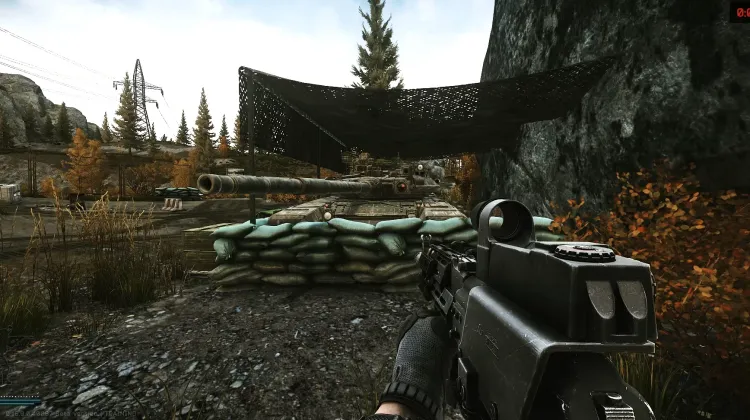
T-90 Tank (Scrap Metal)
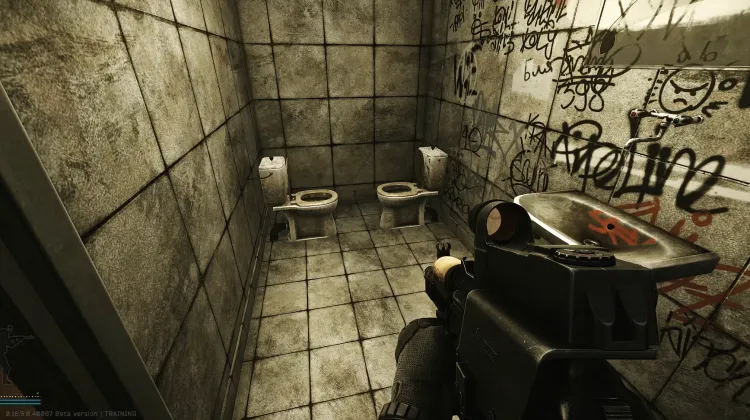
The Not-So-Lonely Bathroom (Is This A Reference)
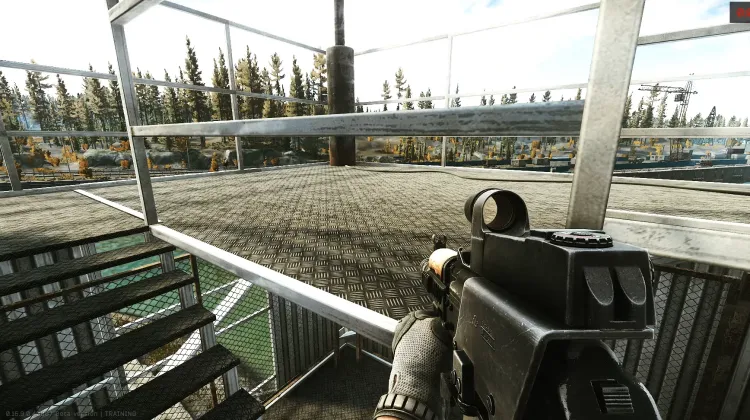
Top of Lighthouse (Viewer)
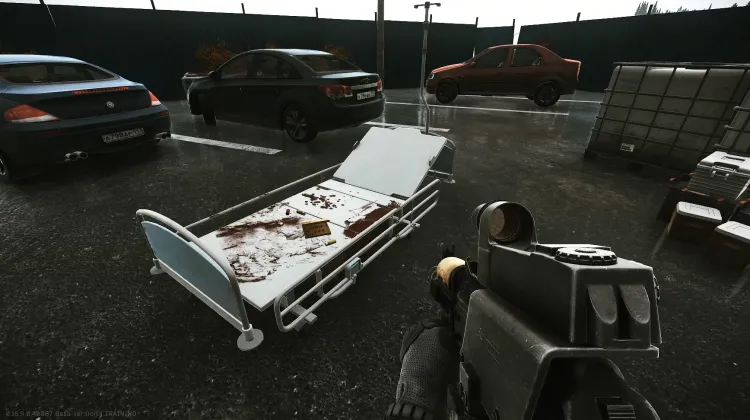
Trading Post #1 (Anesthesia)
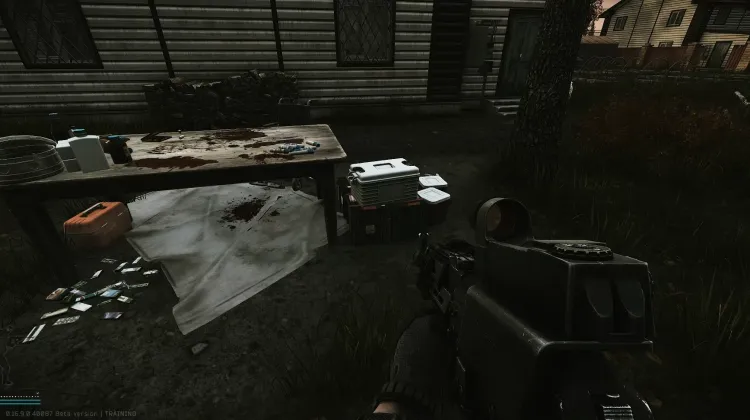
Trading Post #2 (Anesthesia)
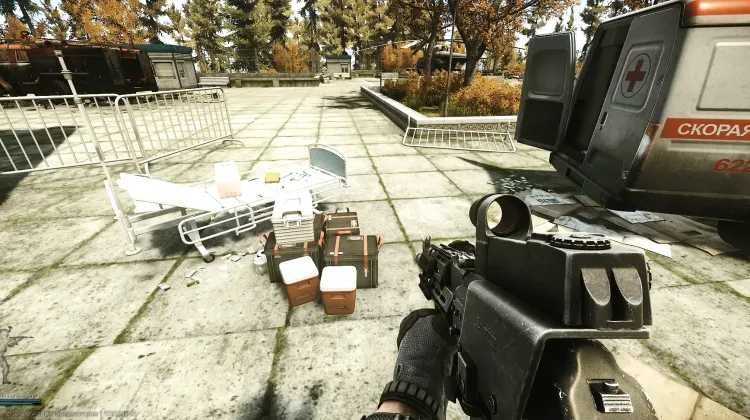
Trading Post #3 (Anesthesia)
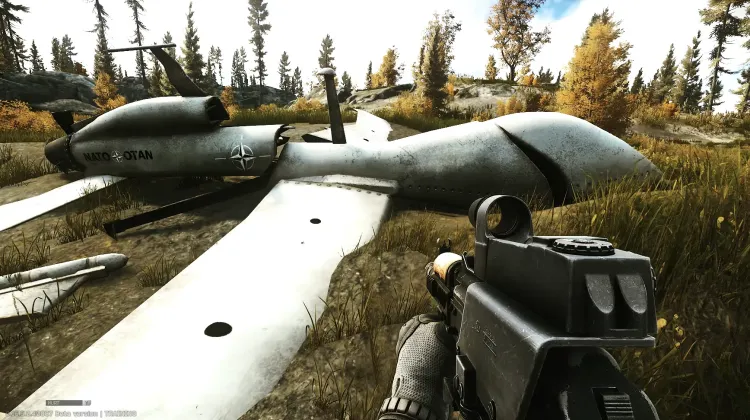
UAV #1 (Eagle Eye)
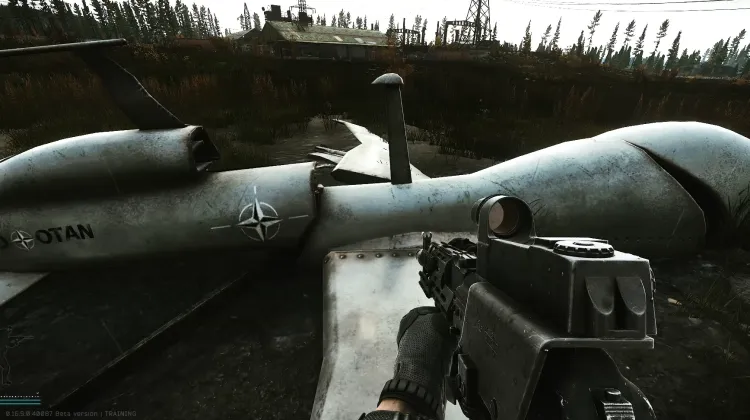
UAV #2 (Eagle Eye)
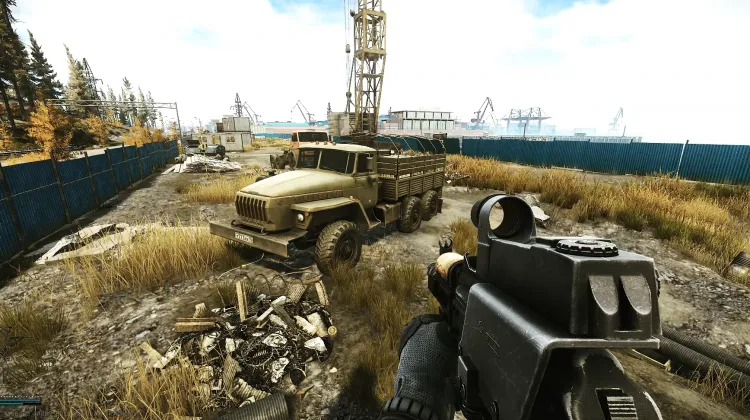
UN Truck (Humanitarian Supplies)
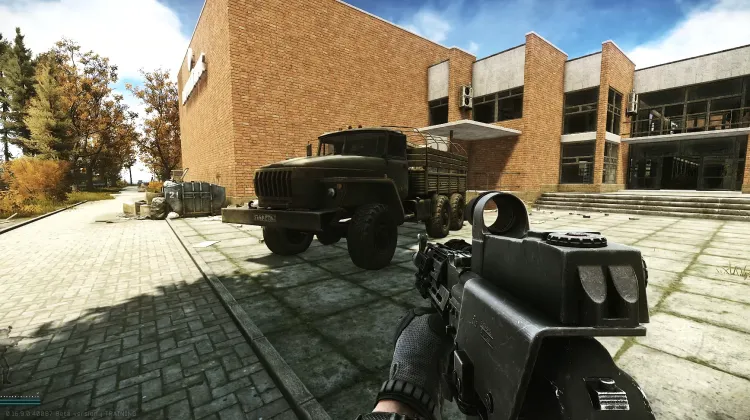
UN Truck (Humanitarian Supplies)
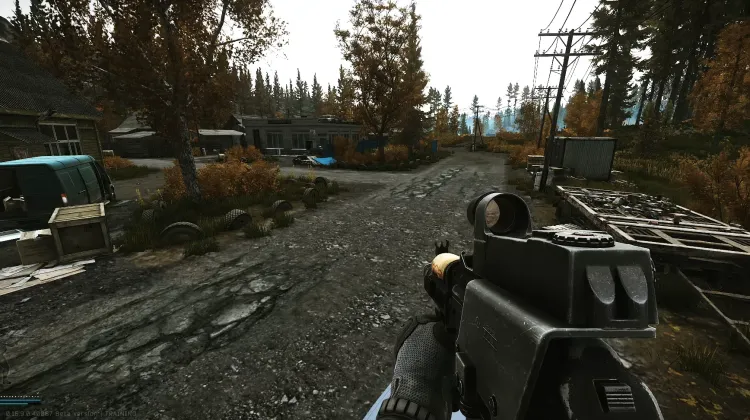
Unalive 5 SCAVs (Forester's Duty)
Sem imagem
Upside-down Chair (Is This A Reference)
Compartilhar mapa de para
Compartilhe o mapa para com seus amigos! Você também pode incorporá-lo em seu próprio site ou blog.
Incorporar Mapa
Incorpore este mapa em seu próprio site ou blog copiando o código abaixo e adicionando-o ao seu HTML:
Preferências de filtro de mapa
Este link inclui filtros de mapa. Você gostaria de usá-los ou manter seus filtros salvos?
Reiniciar Fog of War?
Isso remove todo o progresso de descoberta deste mapa. Essa ação é irreversível.
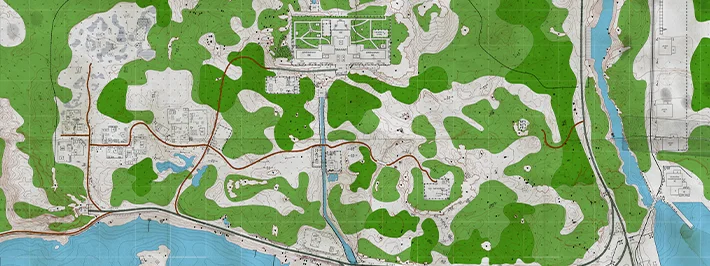
Mapa Interativo Shoreline
Já riscou da sua lista? Agora descubra tudo o que mais você pode fazer com nossos Mapas Interativos de Jogos. Filtre locais, adicione marcadores personalizados e muito mais. Baixe o Wand para desbloquear recursos ainda mais poderosos, como Rastreamento de Localização em Tempo Real e Teleporte!