
Guide complet de la carte Shoreline – Checklist 100 % (Quest Items)
Par l’équipe Wand
Progression : exploration
0 / 49
Veuillez vous connecter pour enregistrer votre progression.
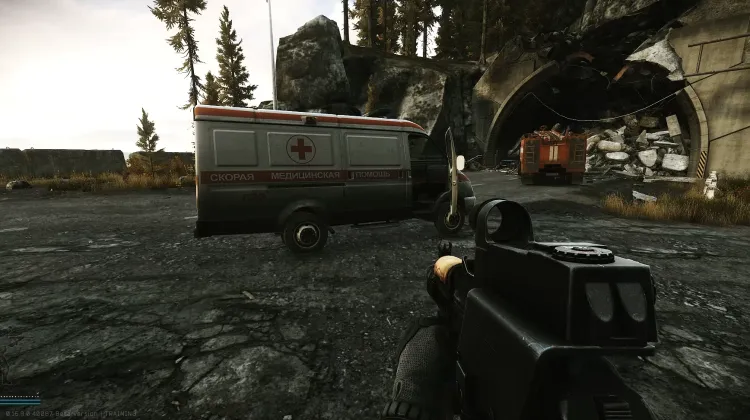
Ambulance #1 (Health Care Privacy - Pt. 1)
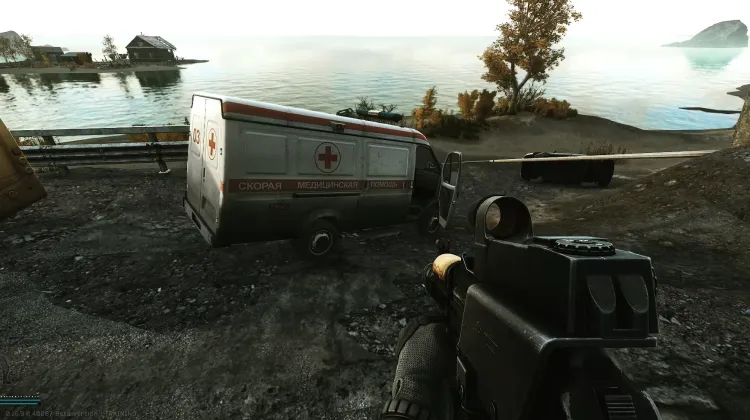
Ambulance #2 (Health Care Privacy - Pt. 1)
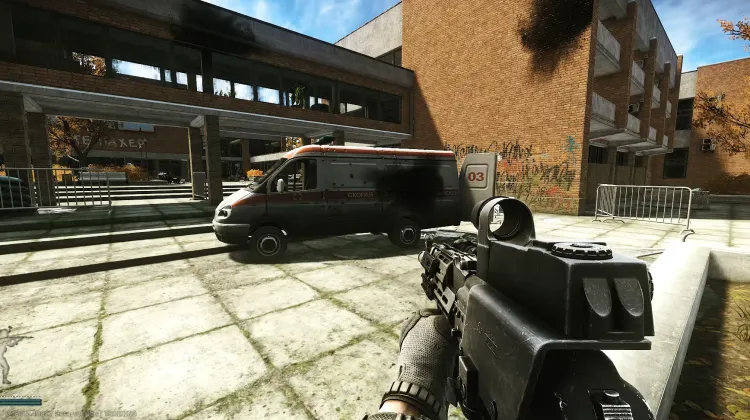
Ambulance #3 (Health Care Privacy - Pt. 1)
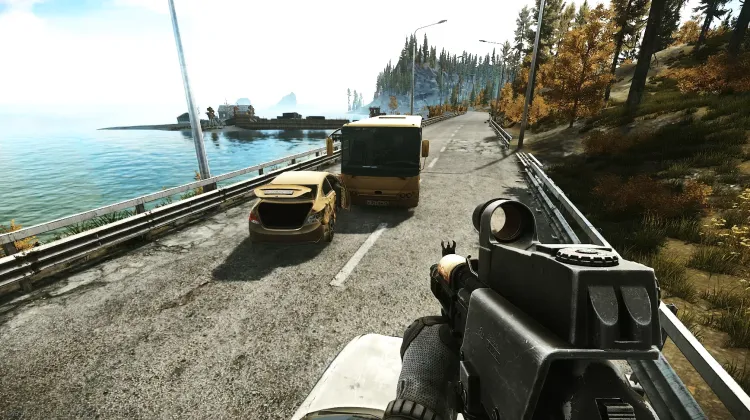
Artyom's Car (Wet Job - Pt. 3)
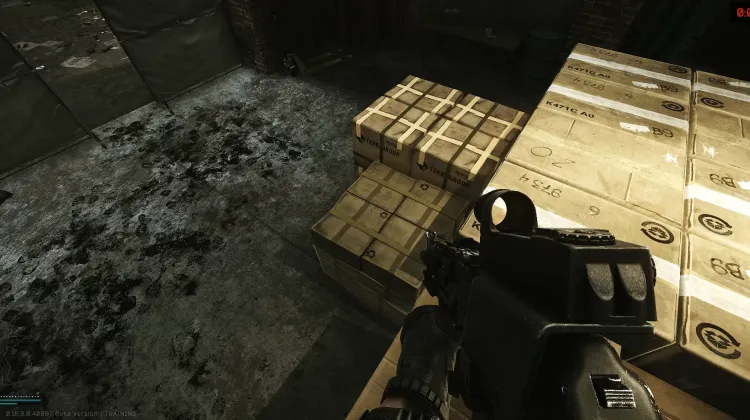
Box Location #1 (Natural Exchange)
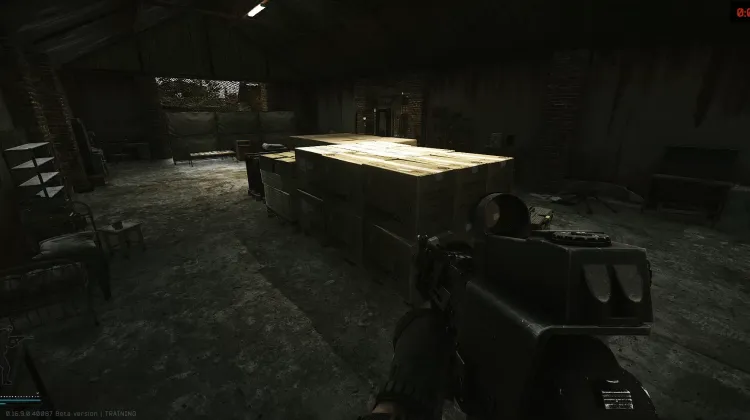
Box Location #2 (Natural Exchange)
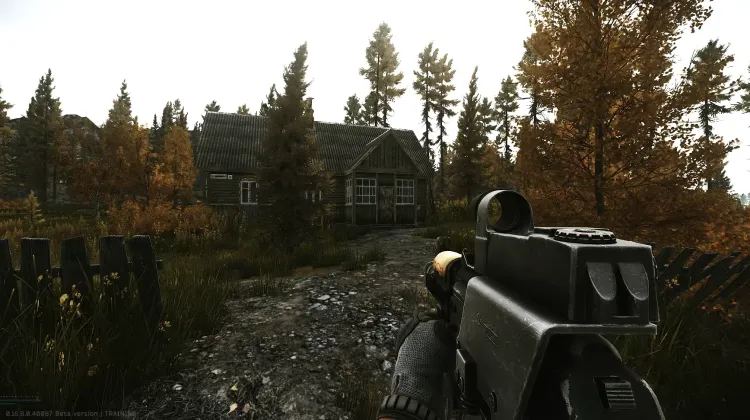
Chairman's House (Courtesy Visit)
Aucune image
Clock Dial Painting # 10 (Out of Time)
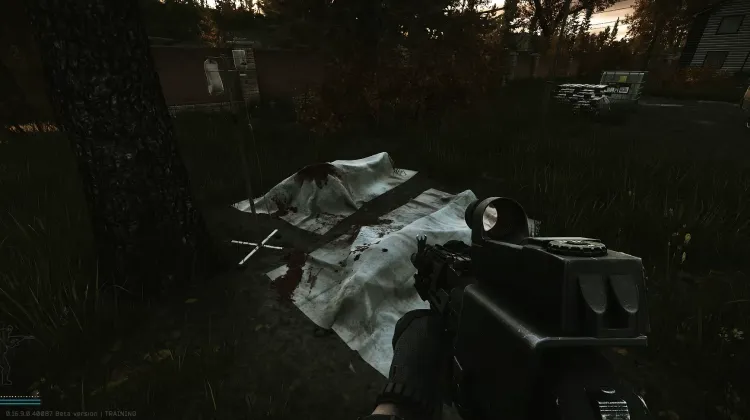
Colleague at Cottage (Colleagues - Part 1)
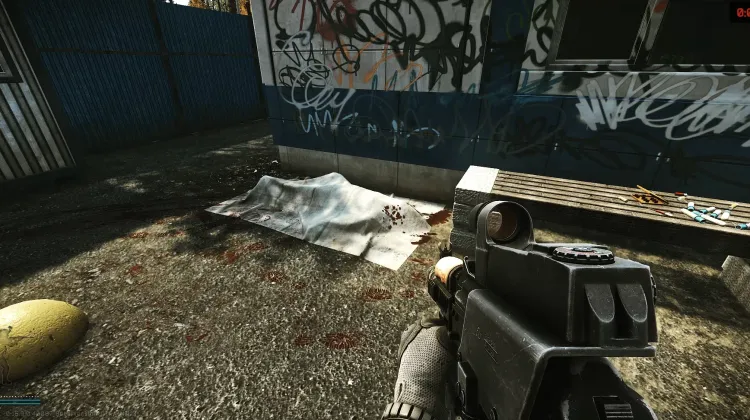
Colleague at Pier (Colleagues - Part 1)
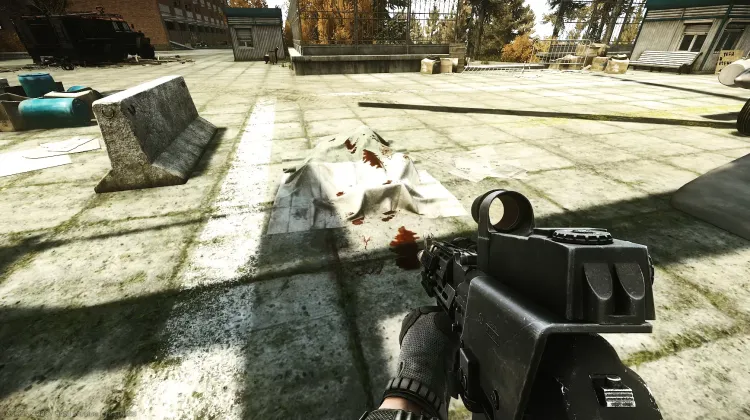
Colleague at Resort (Colleagues - Part 1)
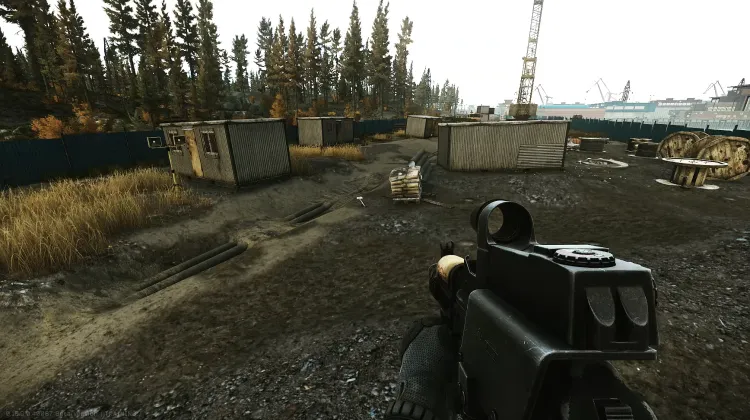
Construction Site (Needle in a Haystack)
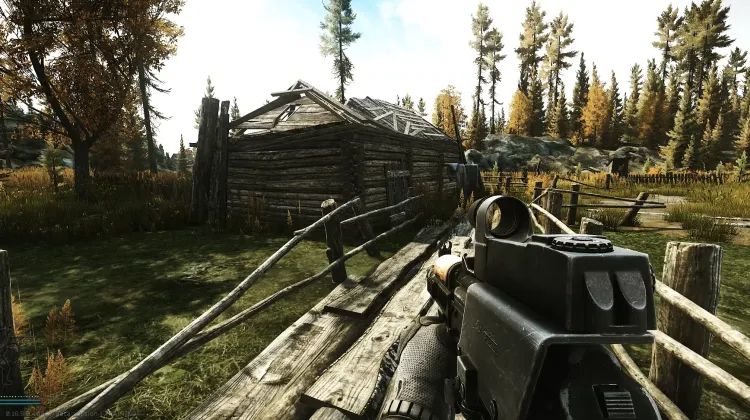
Fisherman's House (Courtesy Visit)
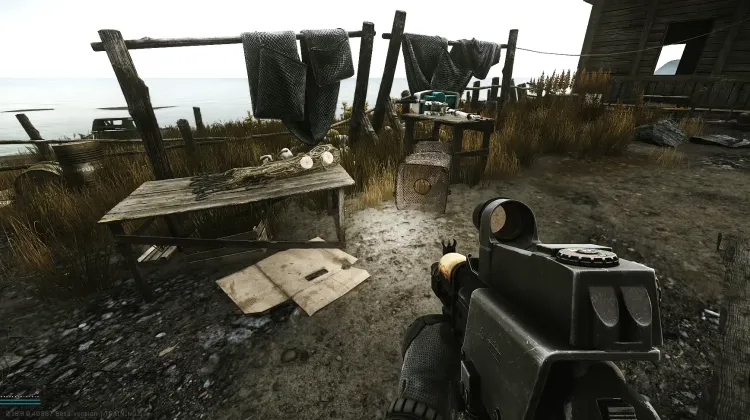
Fishing Table Hut (Wet Job - Pt. 2)
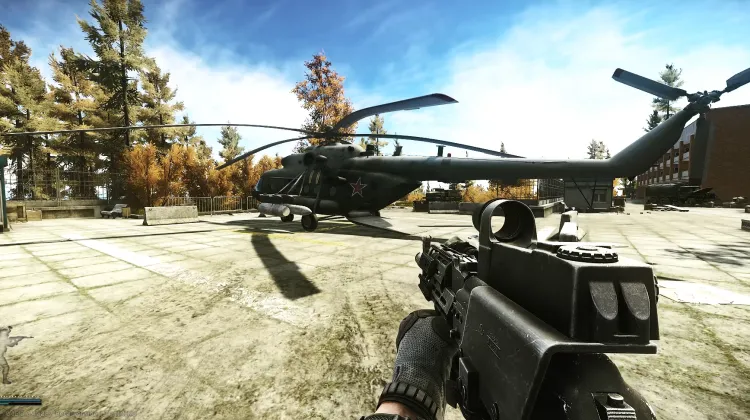
Helicopter (Spa Tour - Pt. 2)
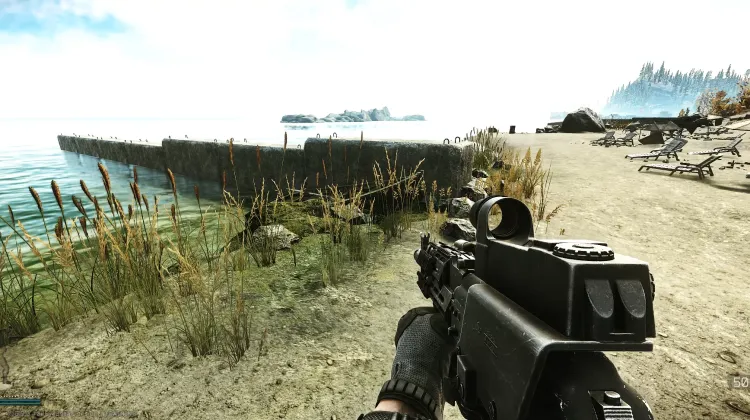
Hidden Stash (Fishing Gear)
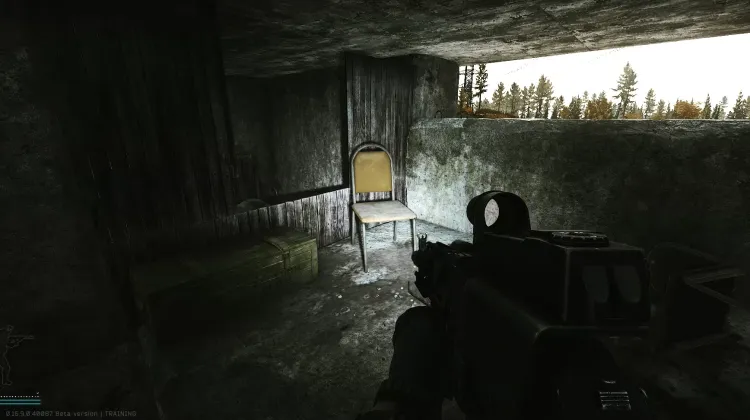
Key to the Closed Premises of the Sanatorium (Spa Tour - Part 5)
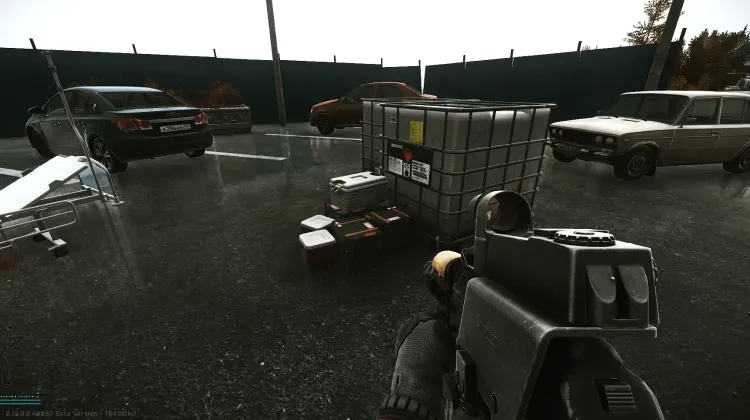
Medical Container #1 (Rigged Game)
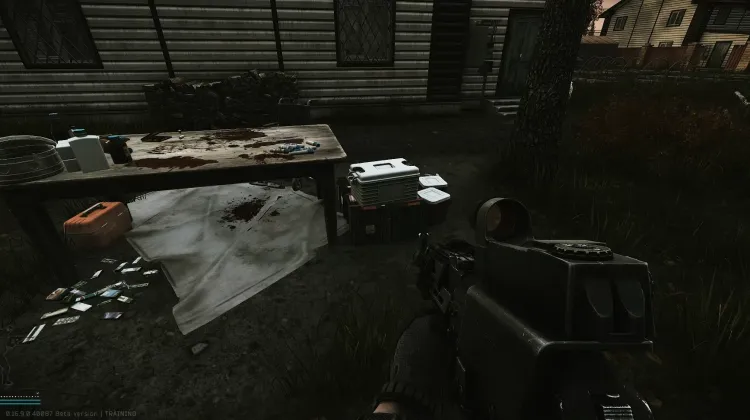
Medical Container #2 (Rigged Game)
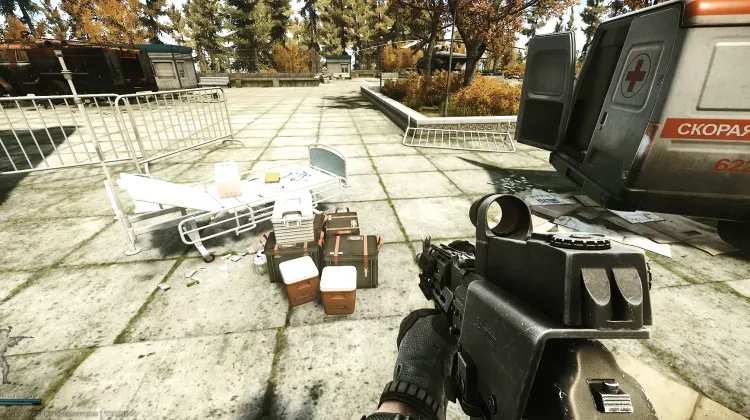
Medical Container #3 (Rigged Game)
Aucune image
Missing Informant (The Cult - Pt. 1)
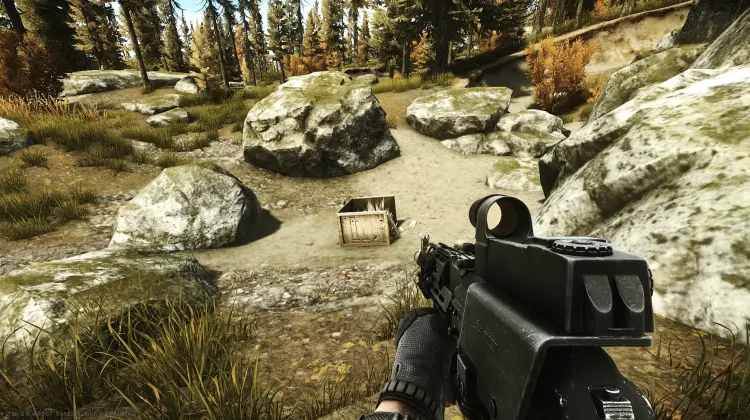
Motor Controller (Lend-Lease - Pt.1)
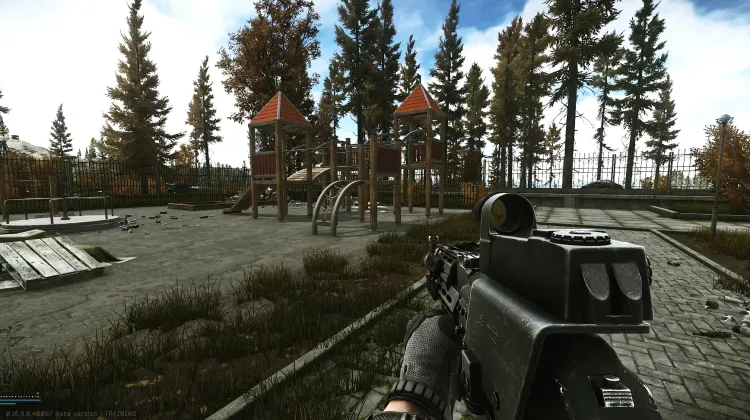
Playground (Needle in a Haystack)
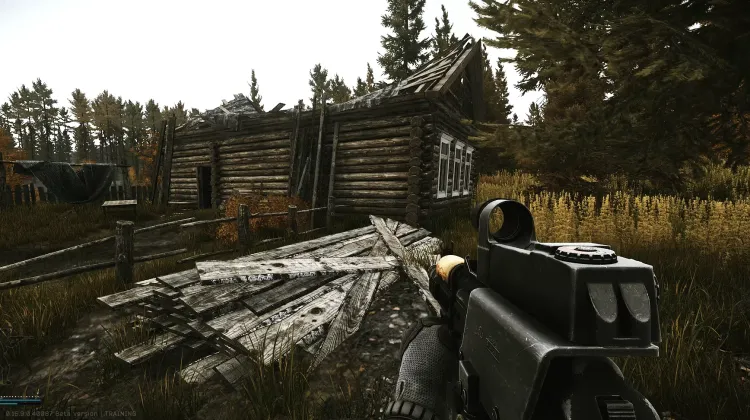
Priest's House (Courtesy Visit)
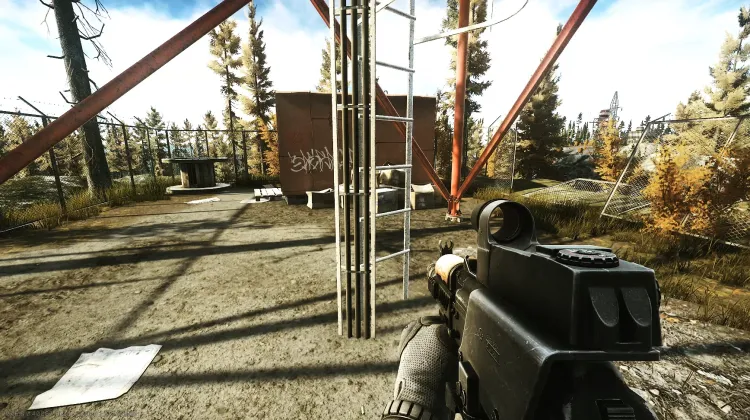
Radiotower Ladder (Signal Pt. 3)
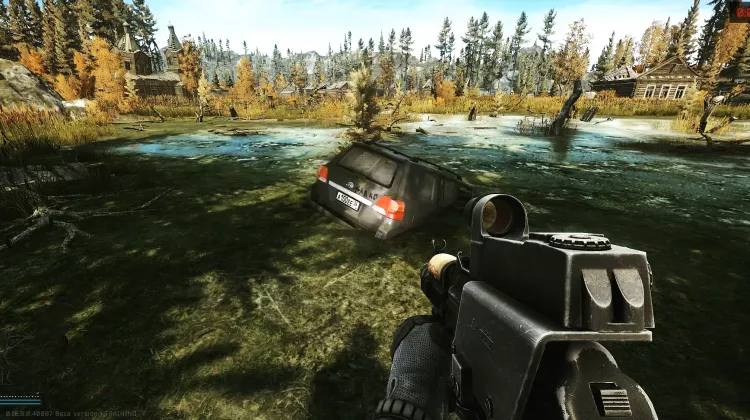
Ragman's SUV (Nothing Fishy About This)
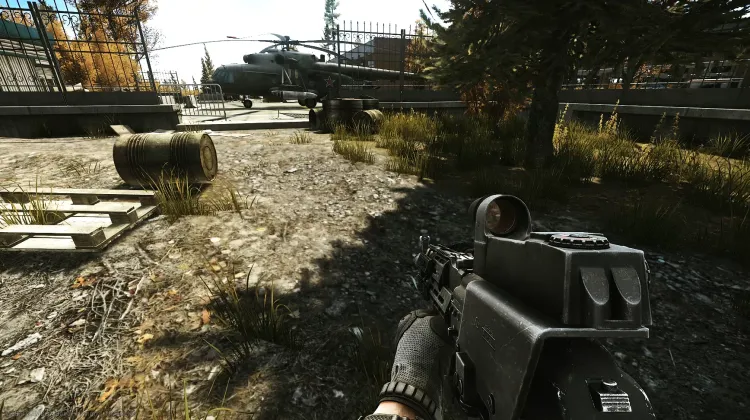
Safe Road (Spa Tour - Pt. 2)
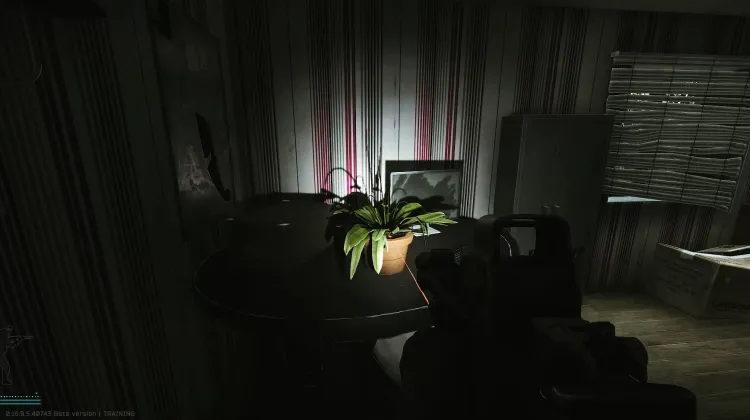
Sanitar's Oscope (Colleagues - Part 2)
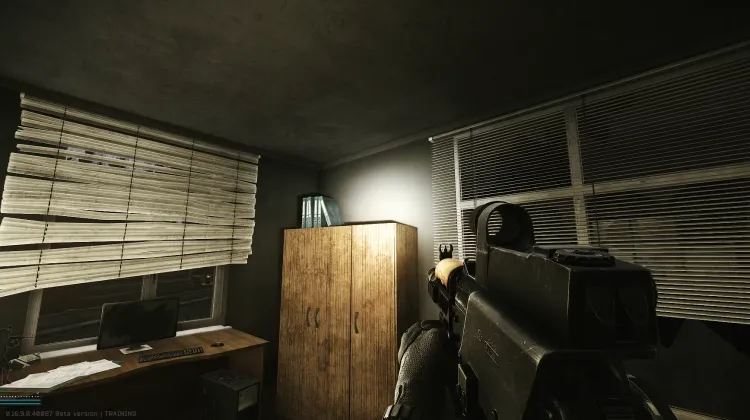
Sanitar's Surgery Kit (Colleagues - Part 2)
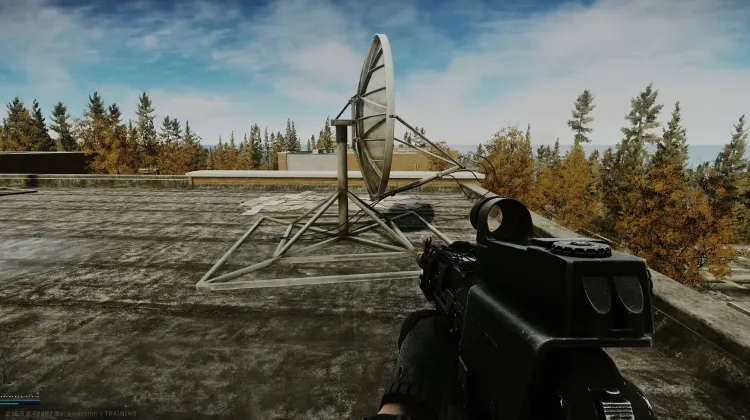
Satellite Dish (Signal - Pt.1)
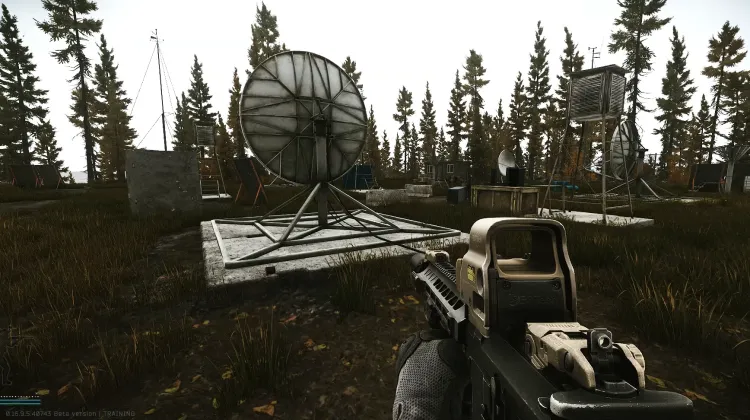
Satellite Dish (Signal - Pt.1)
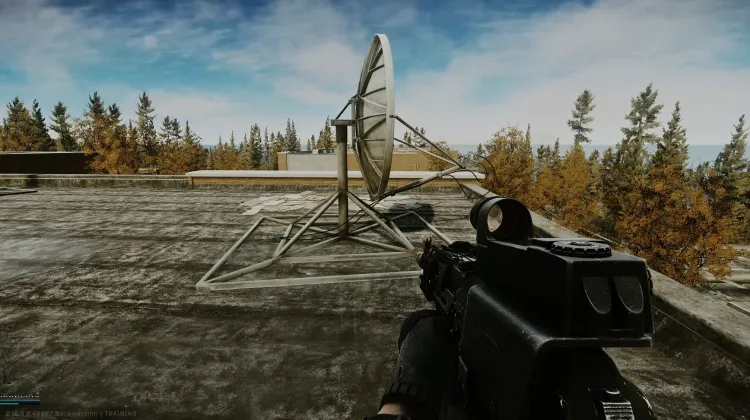
Satellite Dish (Signal - Pt.3)
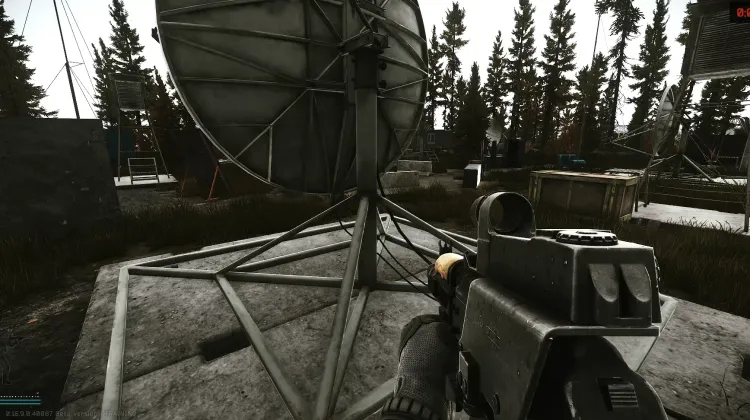
Satellite Dish (Signal - Pt.3)
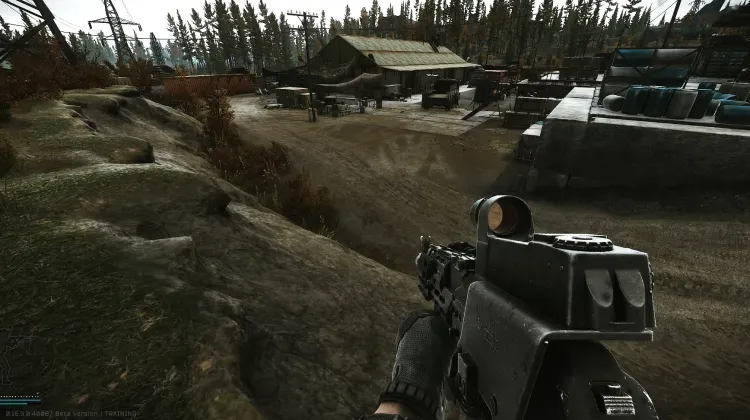
Smuggler's Base (No Swiping)
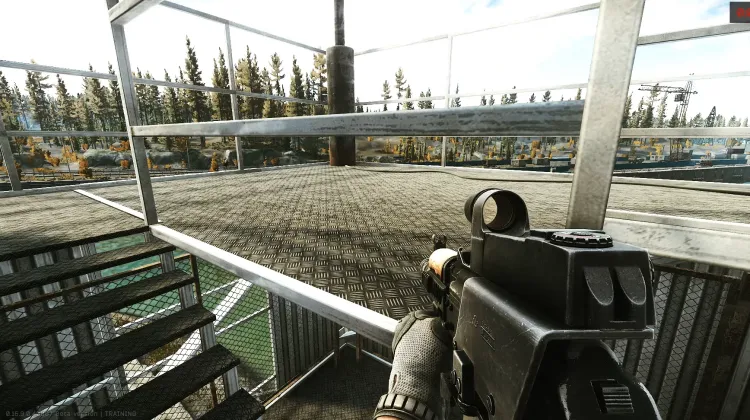
Stash Golden Rooster (Proper Comeback)
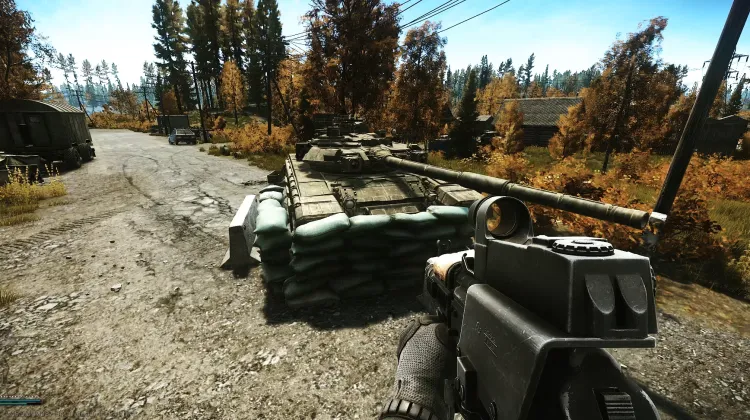
T-90 Tank (Scrap Metal)
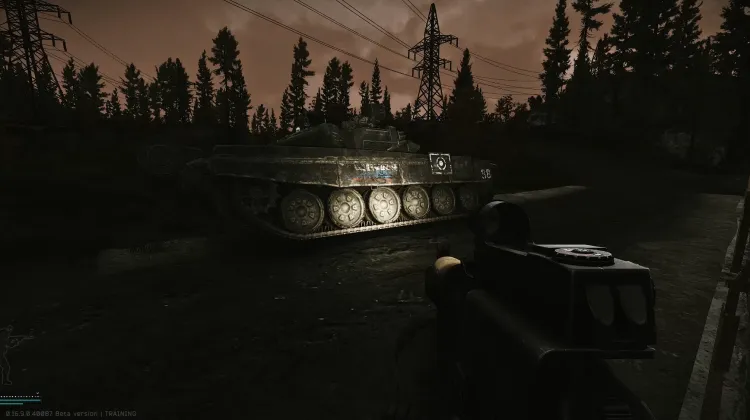
T-90 Tank (Scrap Metal)
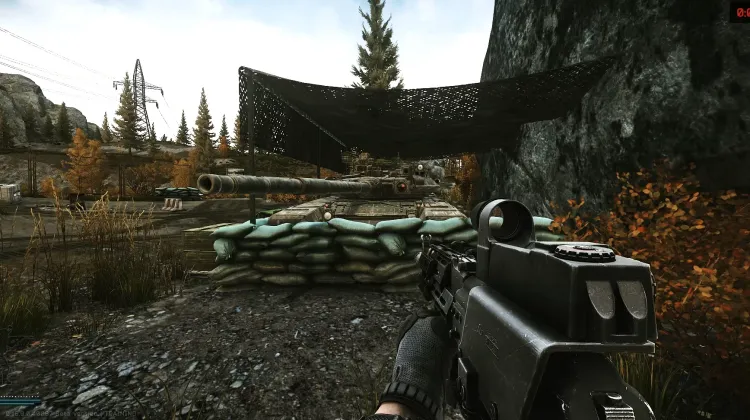
T-90 Tank (Scrap Metal)
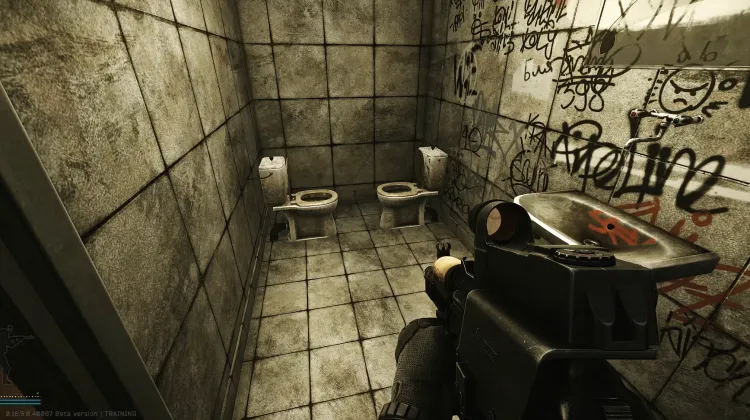
The Not-So-Lonely Bathroom (Is This A Reference)
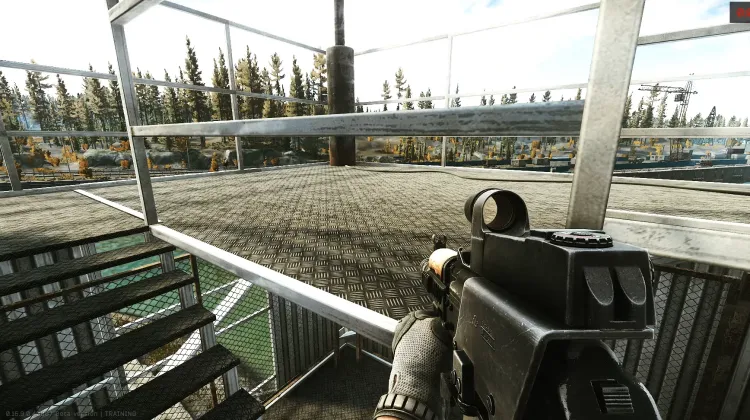
Top of Lighthouse (Viewer)
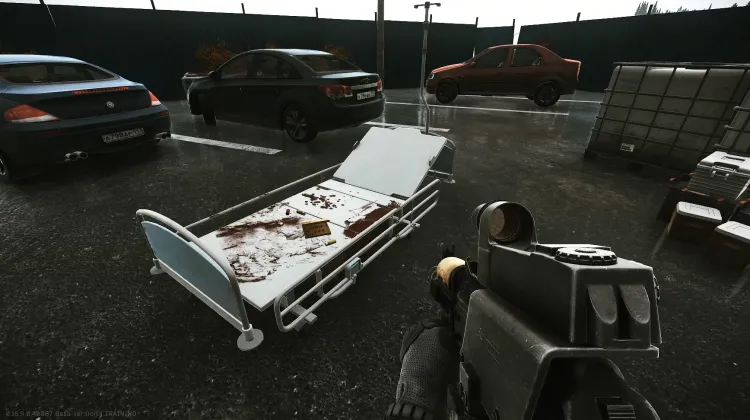
Trading Post #1 (Anesthesia)
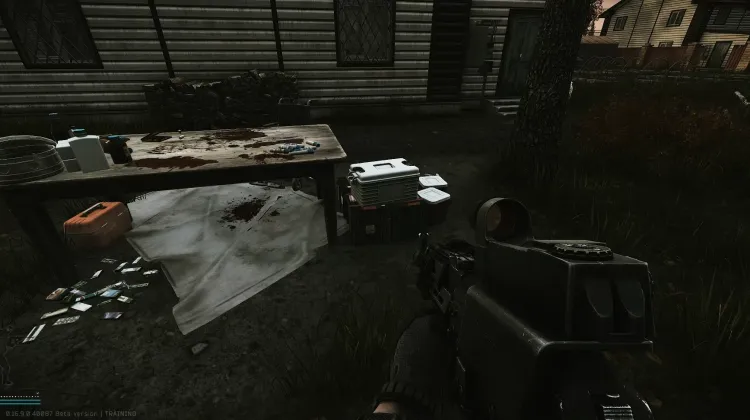
Trading Post #2 (Anesthesia)
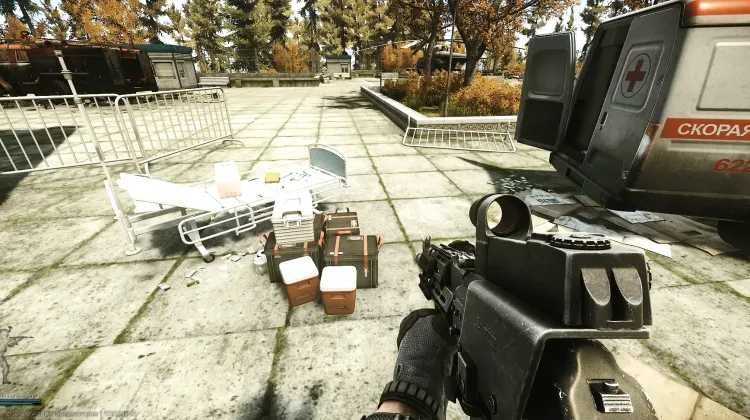
Trading Post #3 (Anesthesia)
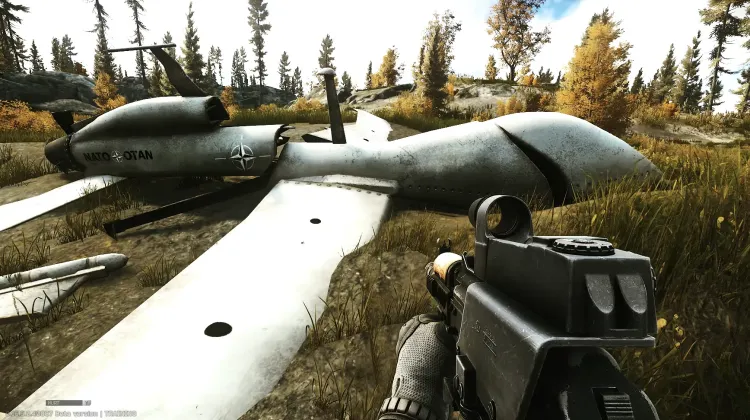
UAV #1 (Eagle Eye)
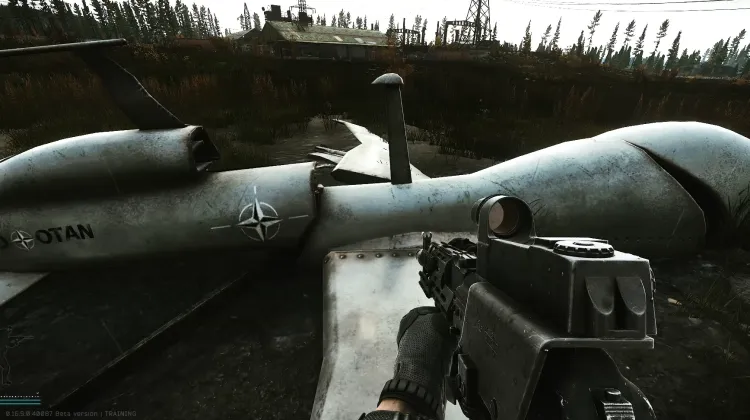
UAV #2 (Eagle Eye)
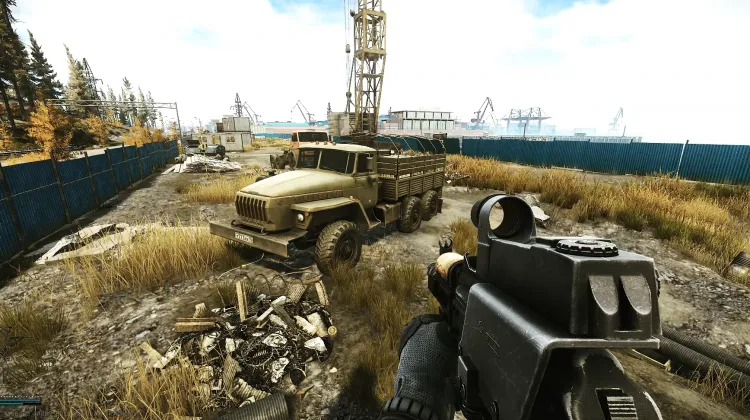
UN Truck (Humanitarian Supplies)
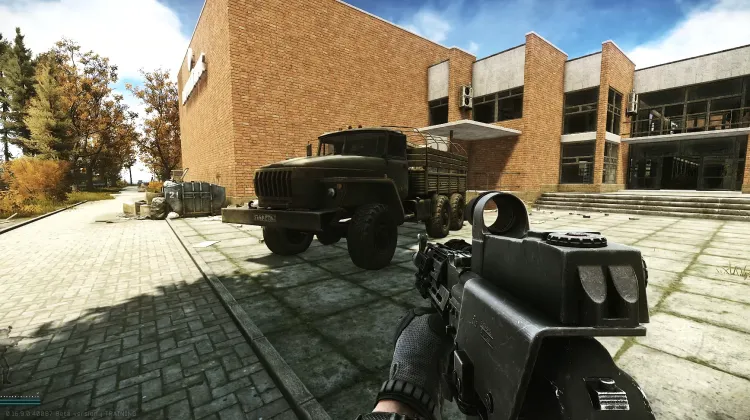
UN Truck (Humanitarian Supplies)
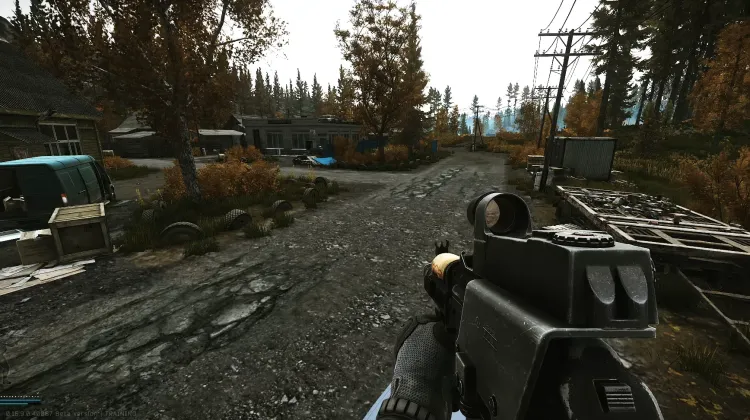
Unalive 5 SCAVs (Forester's Duty)
Aucune image
Upside-down Chair (Is This A Reference)
Partager la carte pour
Partagez la carte pour avec vos amis ! Vous pouvez également l’intégrer à votre propre site web ou blog.
Intégrer la carte
Intégrez cette carte sur votre propre site Web ou blog en copiant le code HTML ci-dessous et en l’ajoutant à votre page :
Préférences des filtres de carte
Ce lien inclut des filtres de carte. Souhaitez-vous les utiliser ou conserver vos filtres enregistrés ?
Réinitialiser le brouillard de guerre ?
Cette action irréversible efface toutes les zones découvertes sur cette carte.
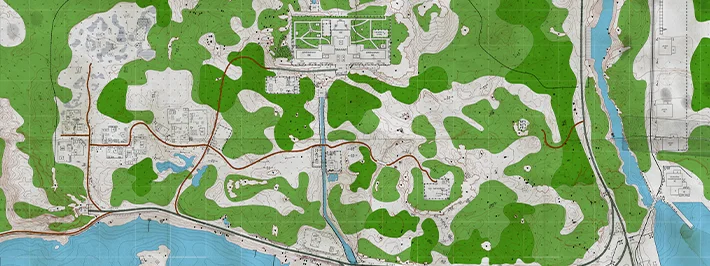
Carte interactive : Shoreline
Vous avez déjà bien avancé dans votre jeu ? Découvrez maintenant tout ce qu’il vous reste à faire avec les cartes interactives. Filtrez les lieux, placez des marqueurs personnalisés et bien plus. Téléchargez Wand pour bénéficier de fonctionnalités encore plus puissantes, comme le suivi de position en direct et la téléportation !