
Guida completa della mappa Shoreline - Checklist 100% Quest Items
Da parte del Team Wand
Avanzamento della scoperta
0 / 49
Accedi per tenere traccia dei tuoi progressi
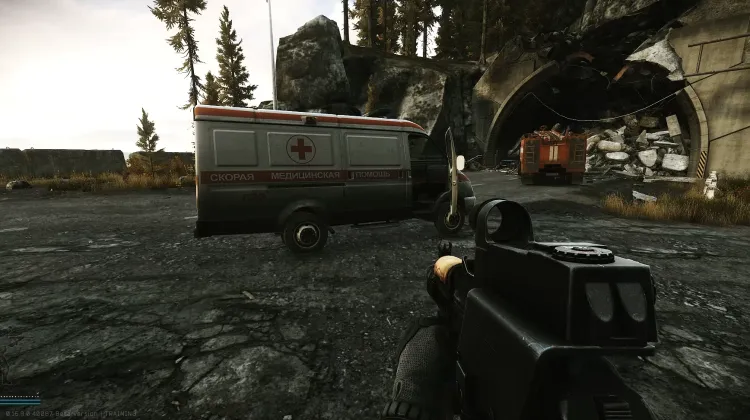
Ambulance #1 (Health Care Privacy - Pt. 1)
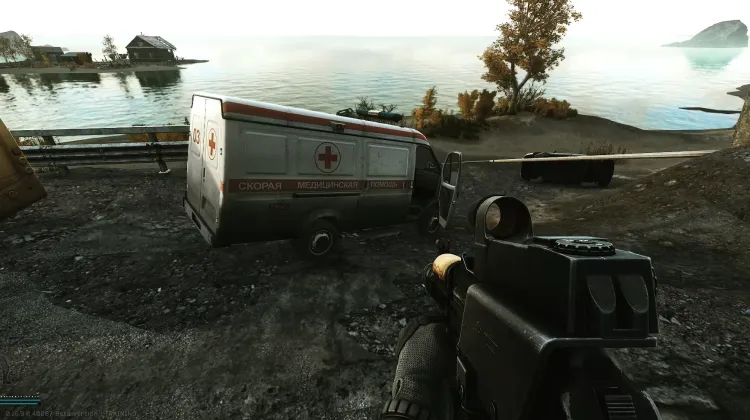
Ambulance #2 (Health Care Privacy - Pt. 1)
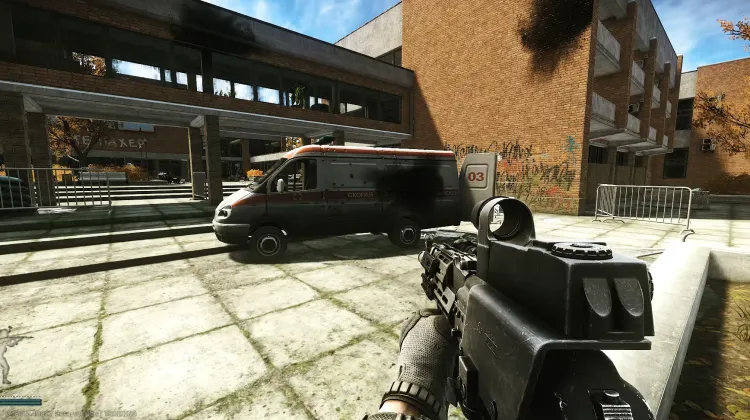
Ambulance #3 (Health Care Privacy - Pt. 1)
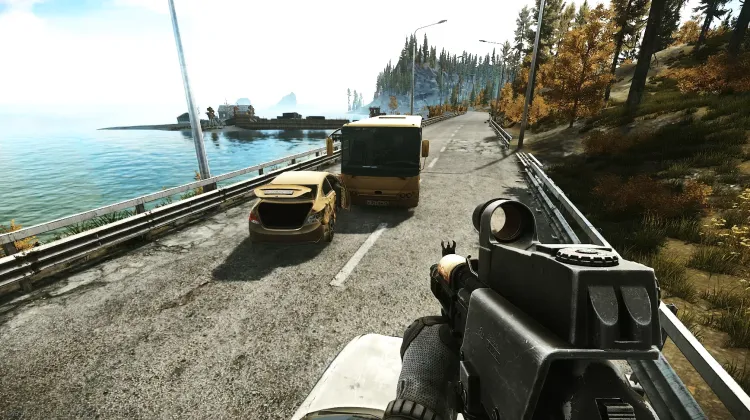
Artyom's Car (Wet Job - Pt. 3)
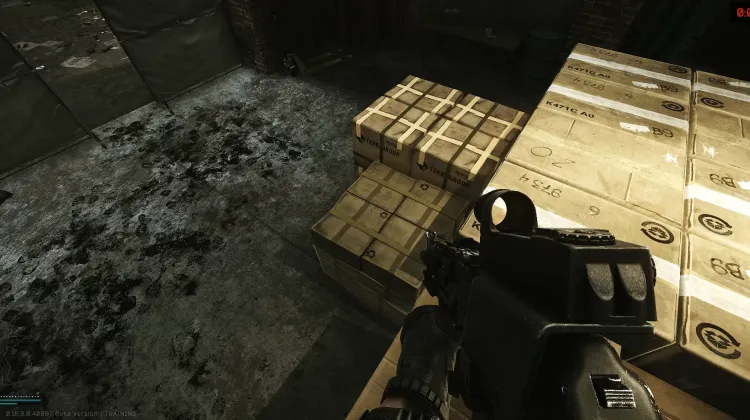
Box Location #1 (Natural Exchange)
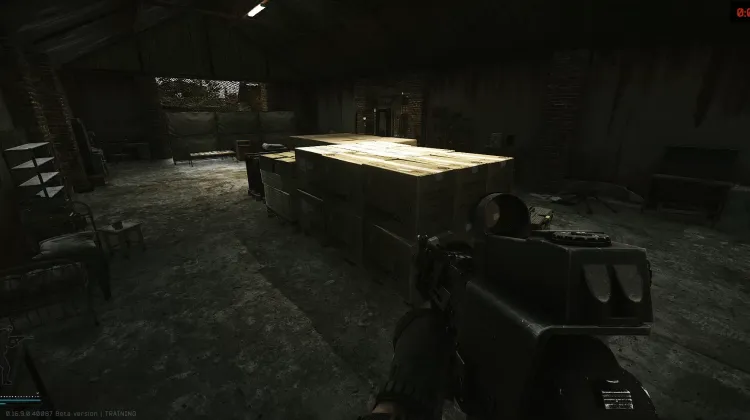
Box Location #2 (Natural Exchange)
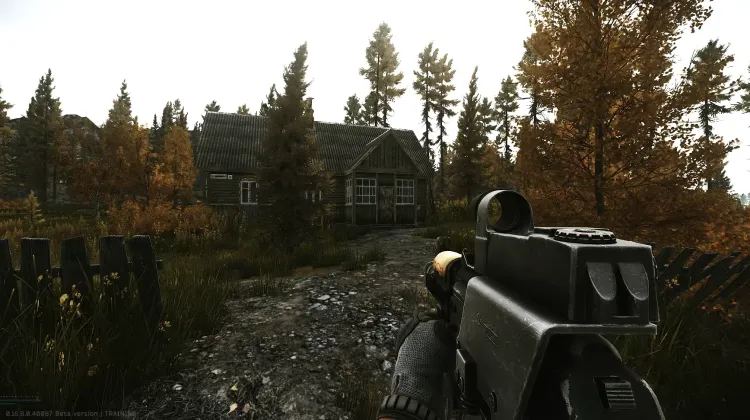
Chairman's House (Courtesy Visit)
Nessuna Immagine
Clock Dial Painting # 10 (Out of Time)
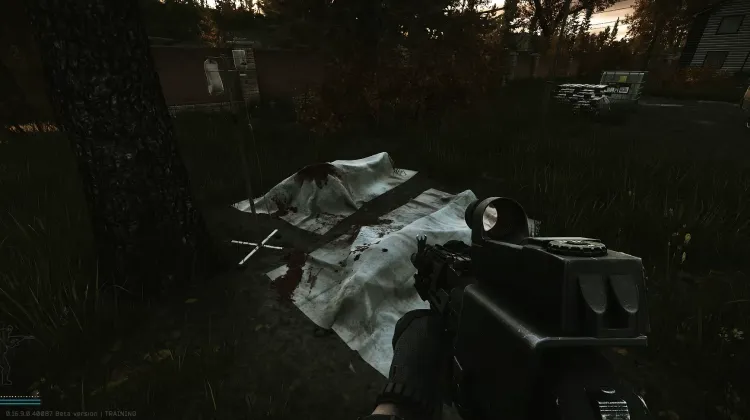
Colleague at Cottage (Colleagues - Part 1)
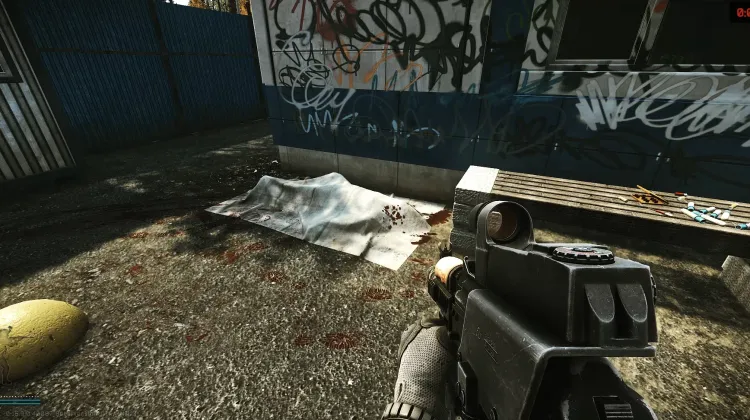
Colleague at Pier (Colleagues - Part 1)
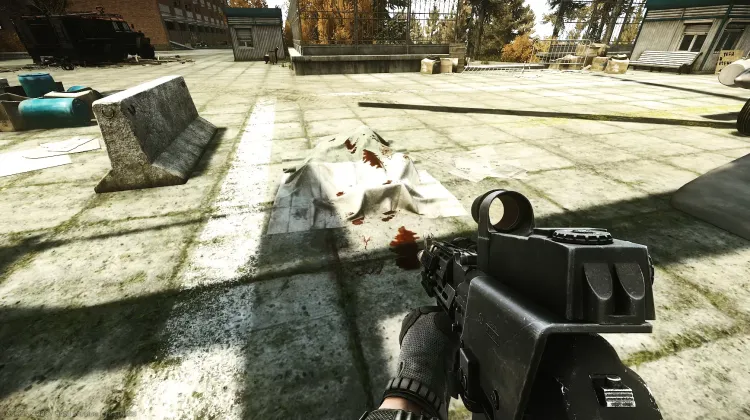
Colleague at Resort (Colleagues - Part 1)
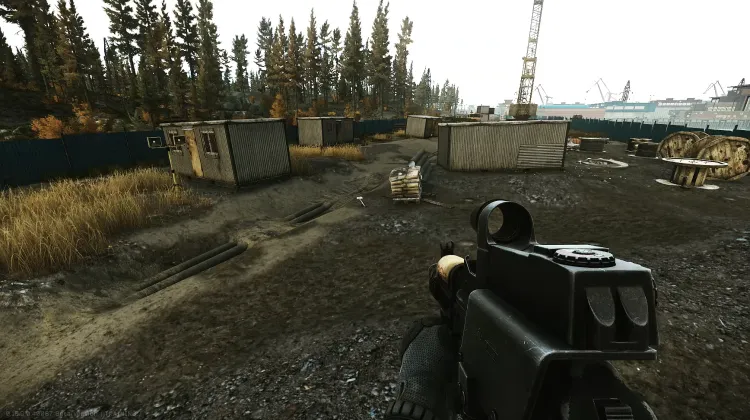
Construction Site (Needle in a Haystack)
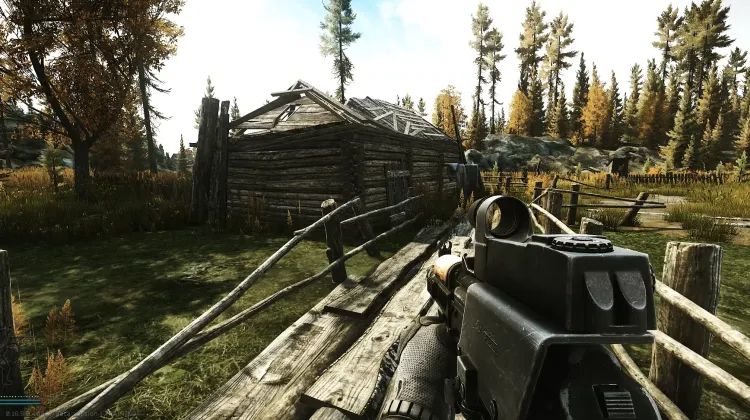
Fisherman's House (Courtesy Visit)
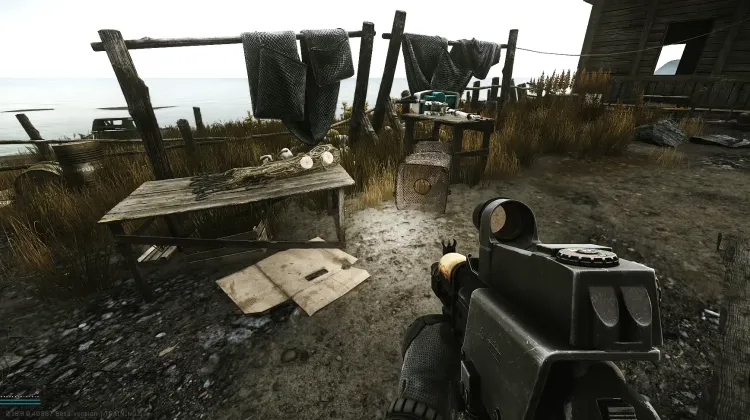
Fishing Table Hut (Wet Job - Pt. 2)
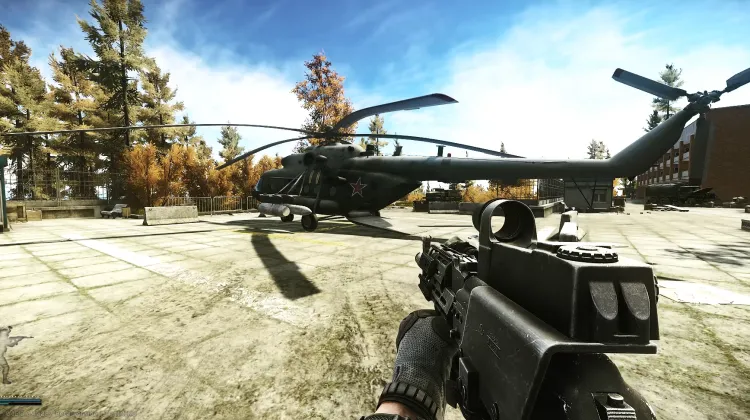
Helicopter (Spa Tour - Pt. 2)
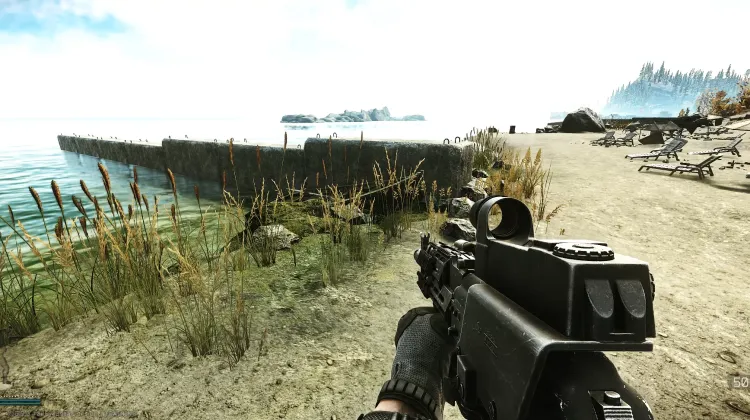
Hidden Stash (Fishing Gear)
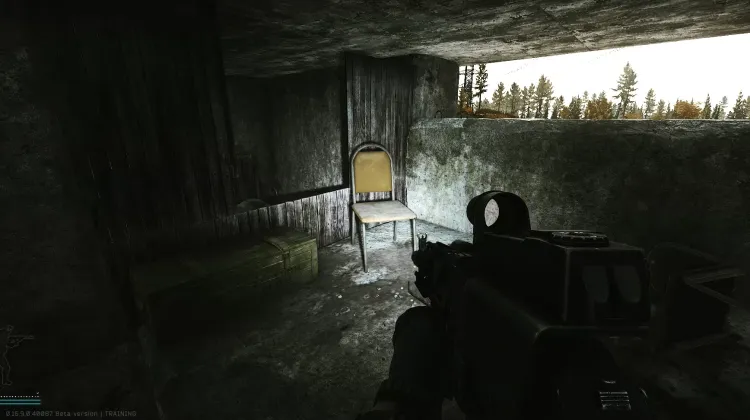
Key to the Closed Premises of the Sanatorium (Spa Tour - Part 5)
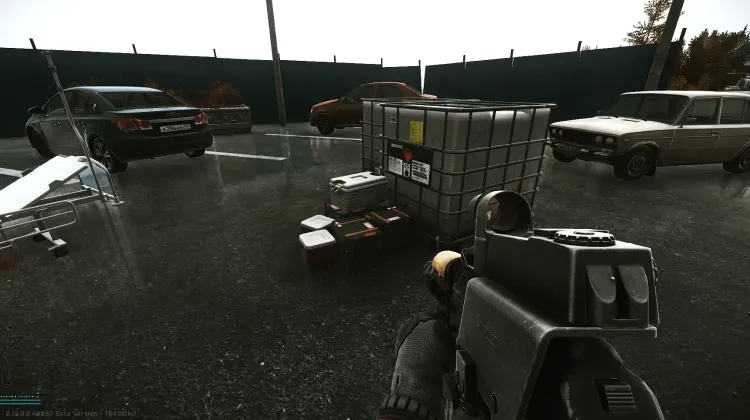
Medical Container #1 (Rigged Game)
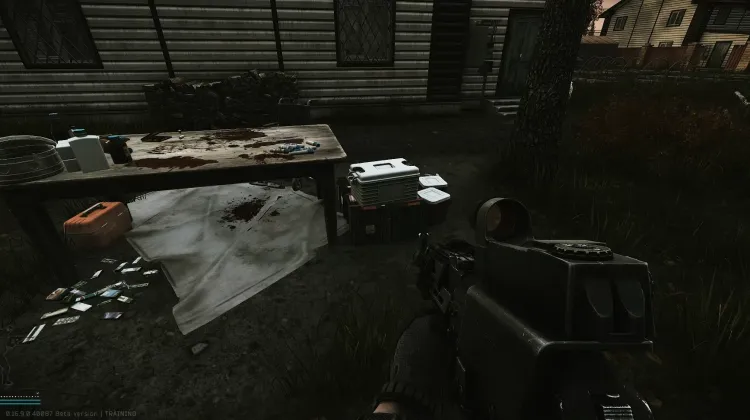
Medical Container #2 (Rigged Game)
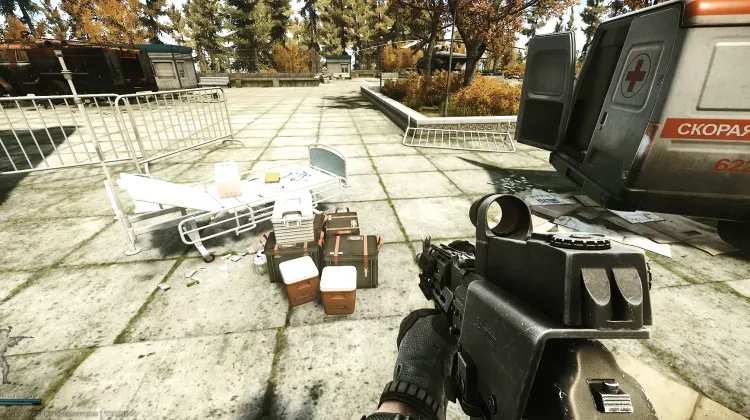
Medical Container #3 (Rigged Game)
Nessuna Immagine
Missing Informant (The Cult - Pt. 1)
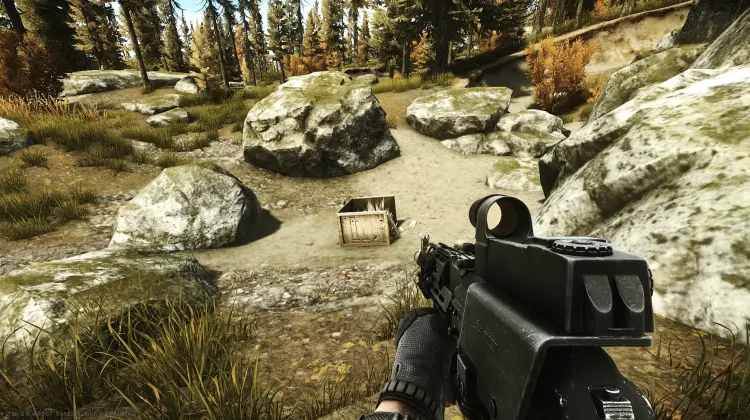
Motor Controller (Lend-Lease - Pt.1)
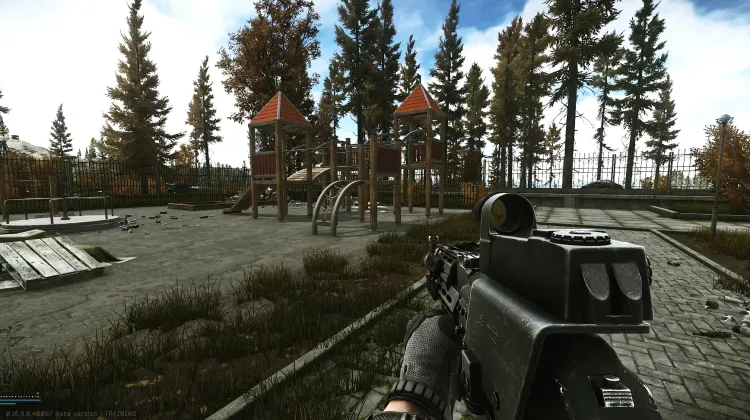
Playground (Needle in a Haystack)
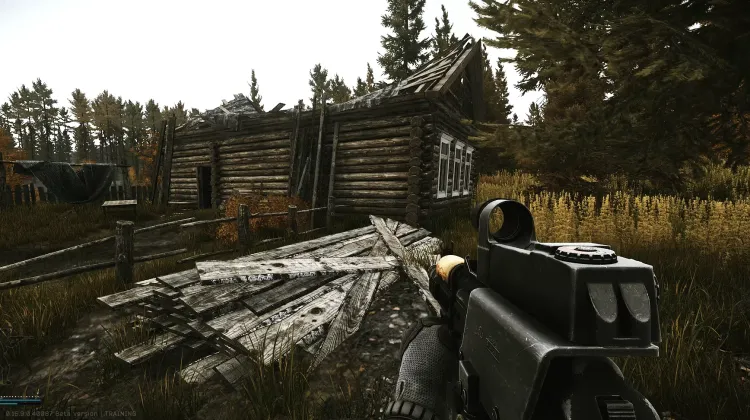
Priest's House (Courtesy Visit)
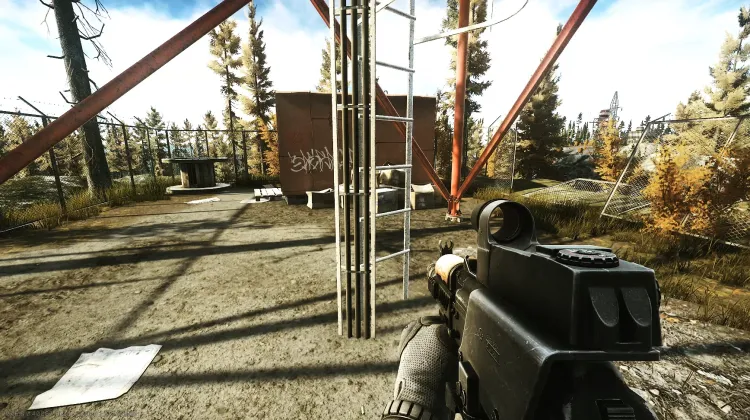
Radiotower Ladder (Signal Pt. 3)
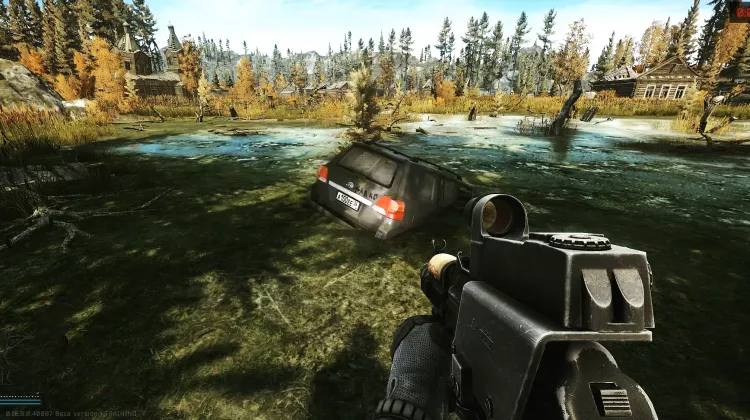
Ragman's SUV (Nothing Fishy About This)
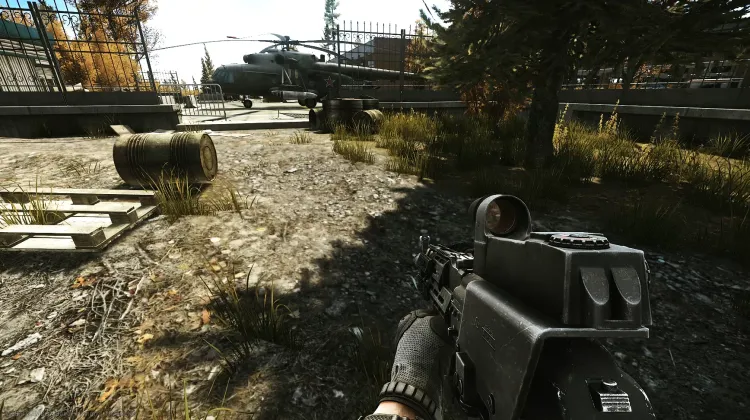
Safe Road (Spa Tour - Pt. 2)
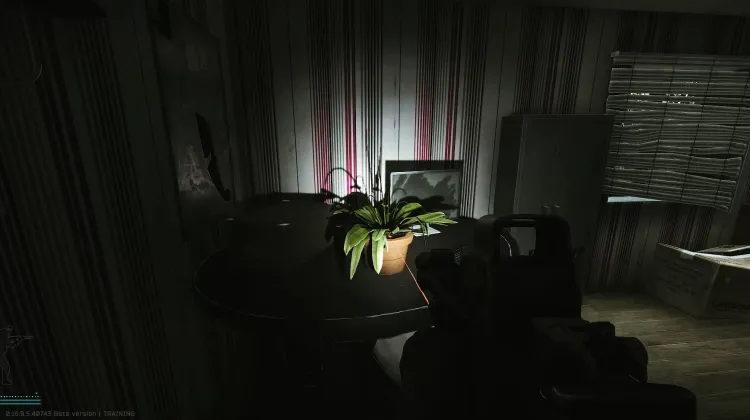
Sanitar's Oscope (Colleagues - Part 2)
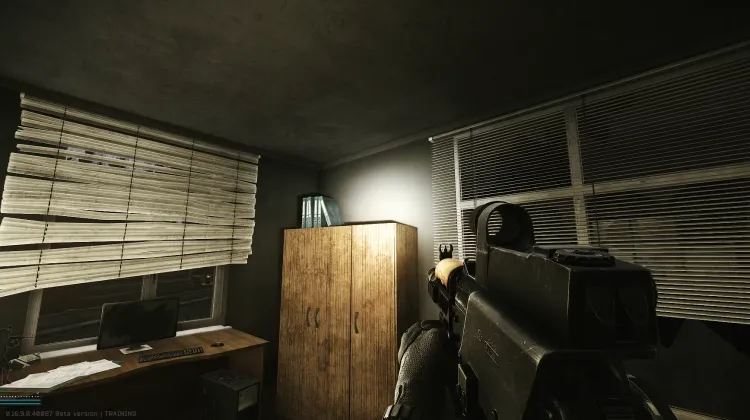
Sanitar's Surgery Kit (Colleagues - Part 2)
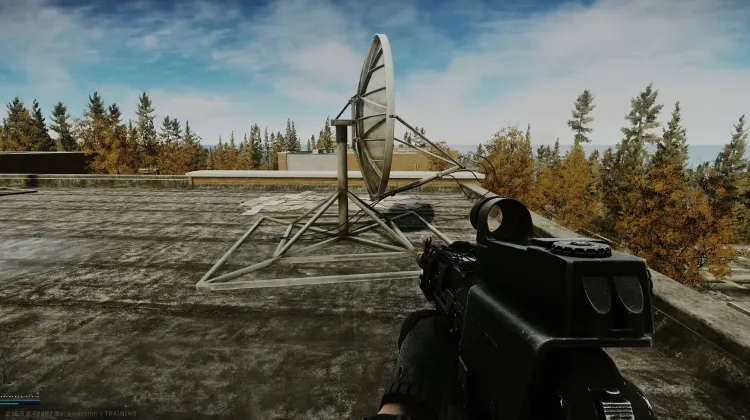
Satellite Dish (Signal - Pt.1)
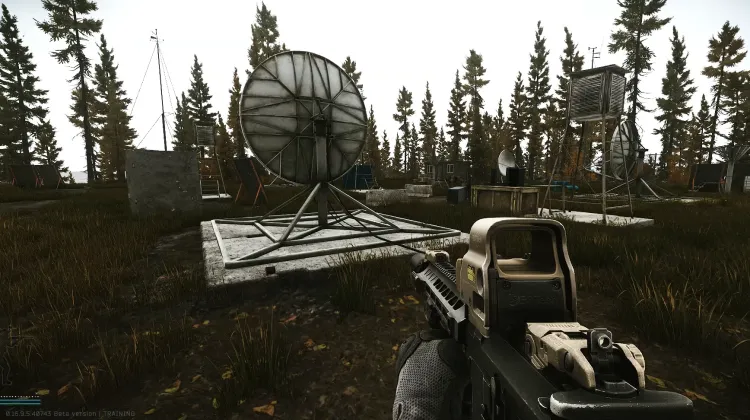
Satellite Dish (Signal - Pt.1)
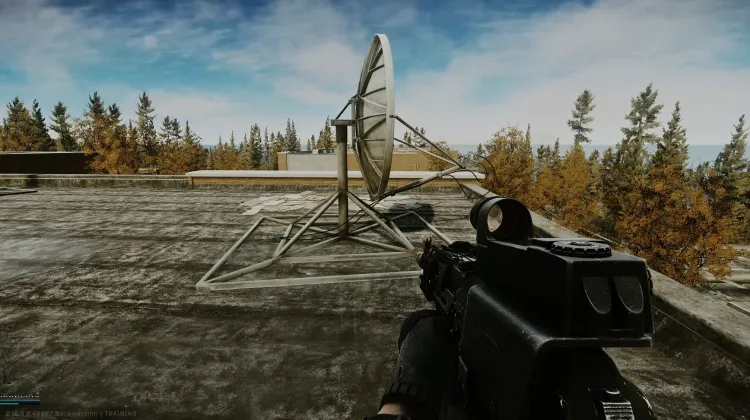
Satellite Dish (Signal - Pt.3)
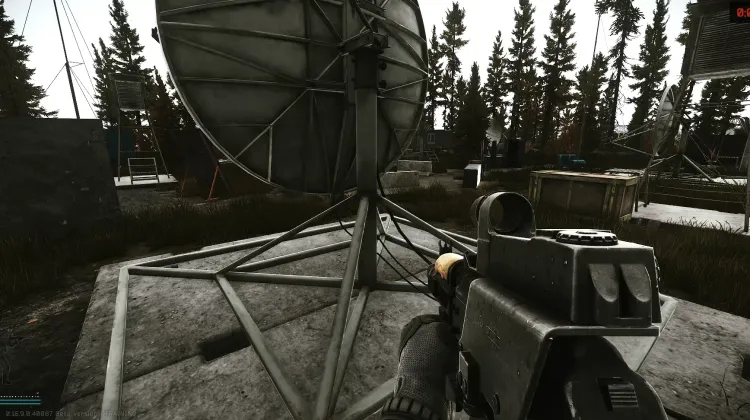
Satellite Dish (Signal - Pt.3)
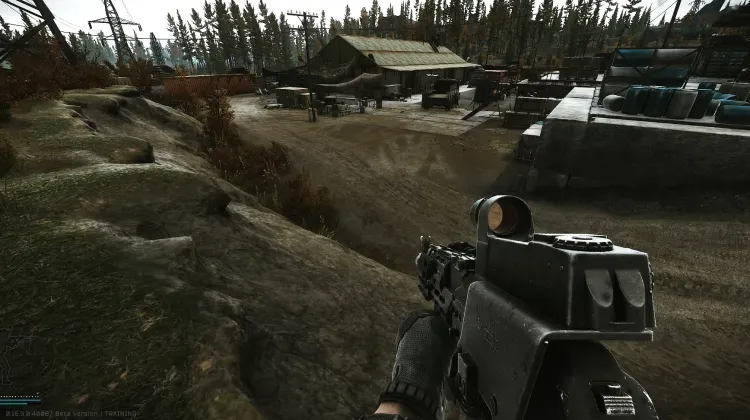
Smuggler's Base (No Swiping)
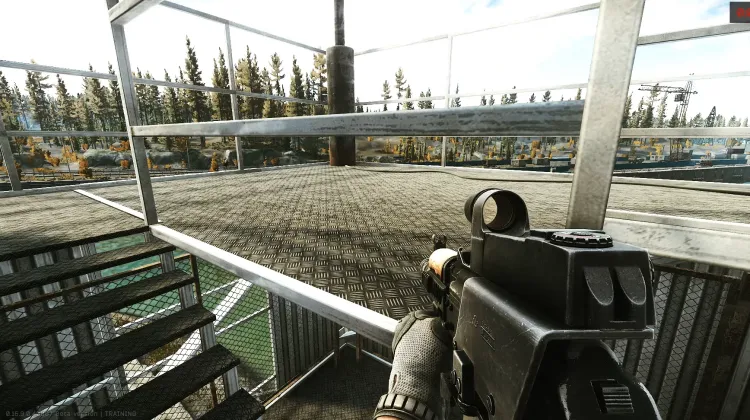
Stash Golden Rooster (Proper Comeback)
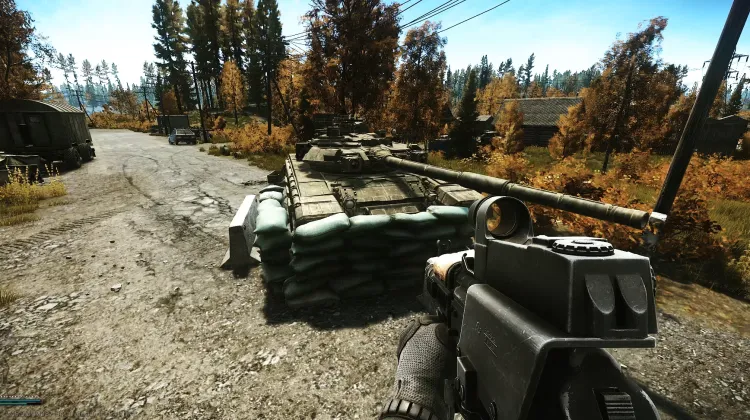
T-90 Tank (Scrap Metal)
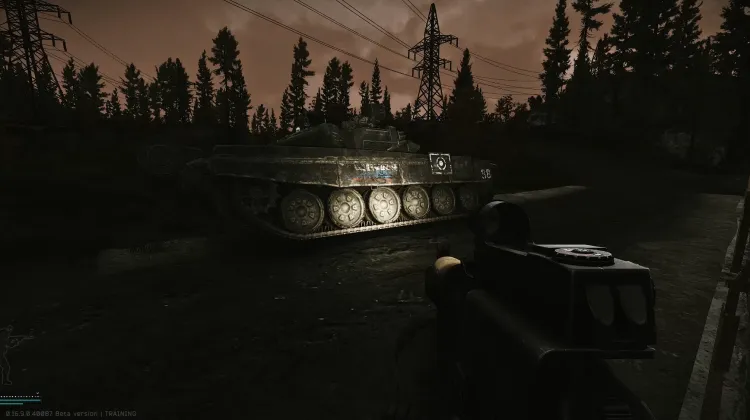
T-90 Tank (Scrap Metal)
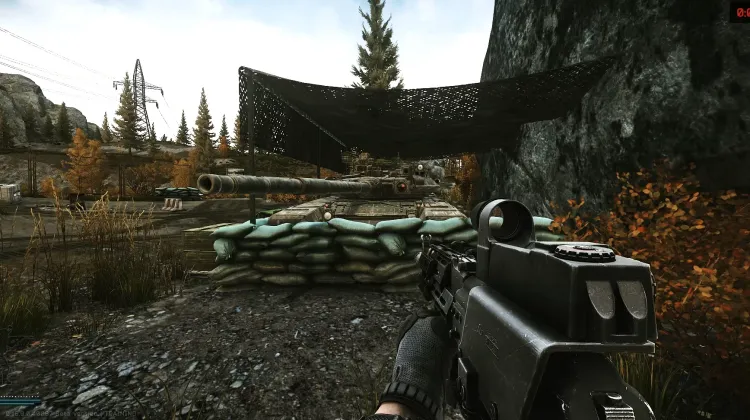
T-90 Tank (Scrap Metal)
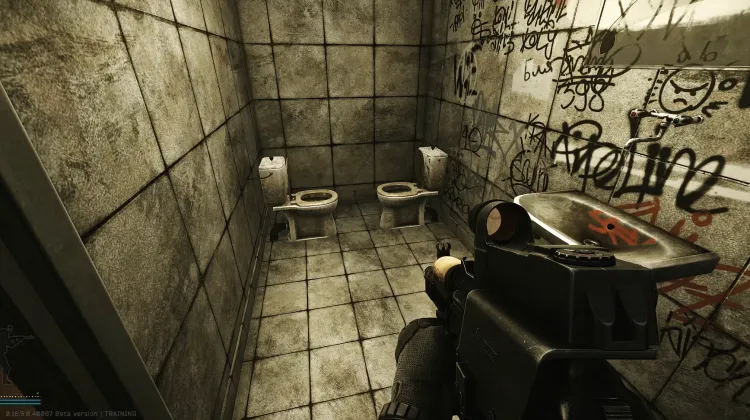
The Not-So-Lonely Bathroom (Is This A Reference)
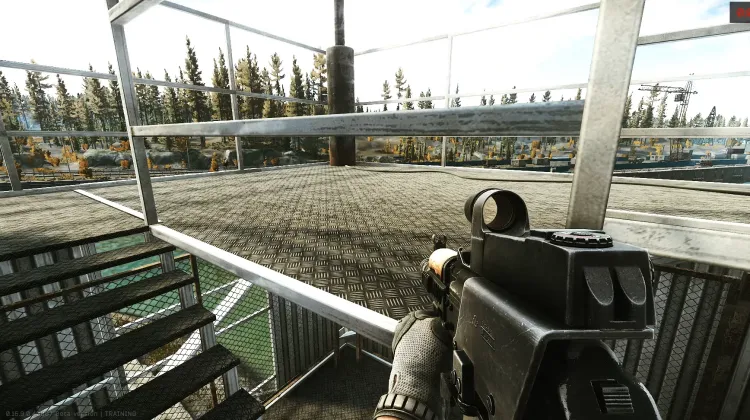
Top of Lighthouse (Viewer)
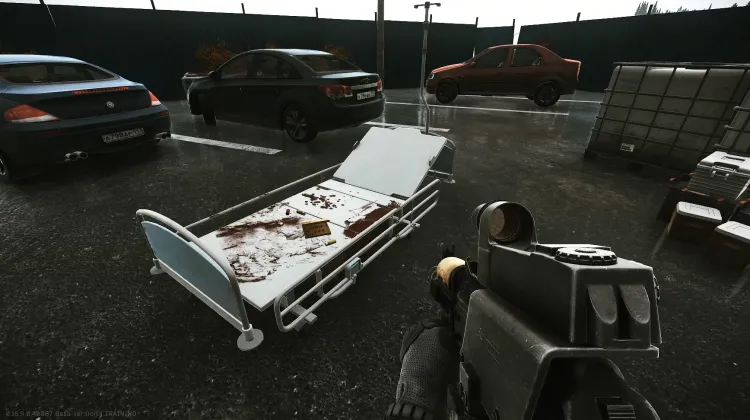
Trading Post #1 (Anesthesia)
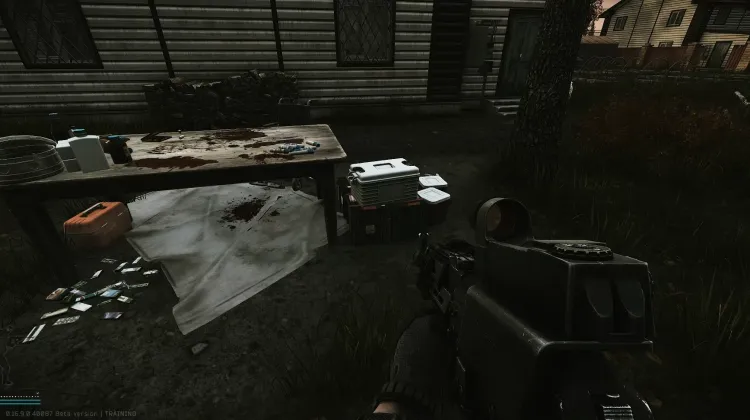
Trading Post #2 (Anesthesia)
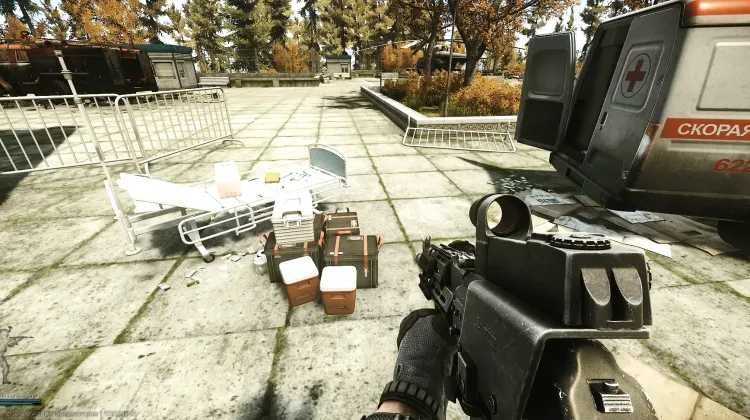
Trading Post #3 (Anesthesia)
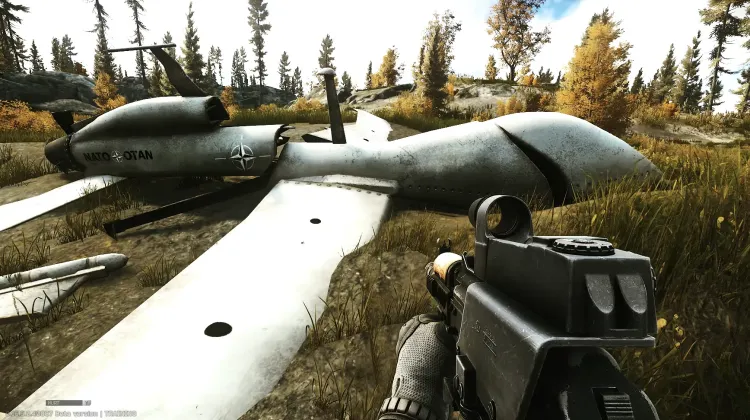
UAV #1 (Eagle Eye)
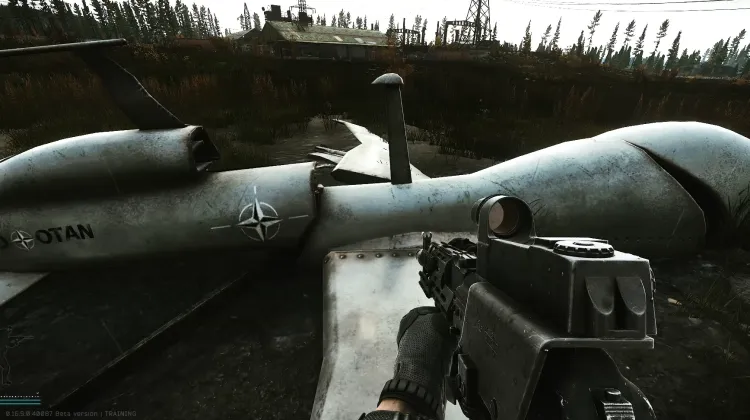
UAV #2 (Eagle Eye)
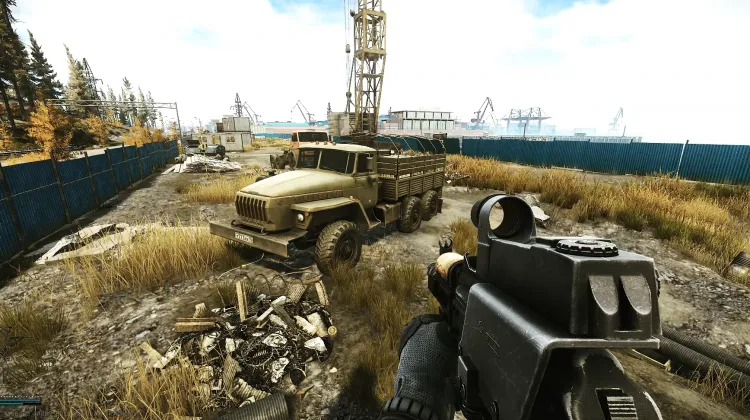
UN Truck (Humanitarian Supplies)
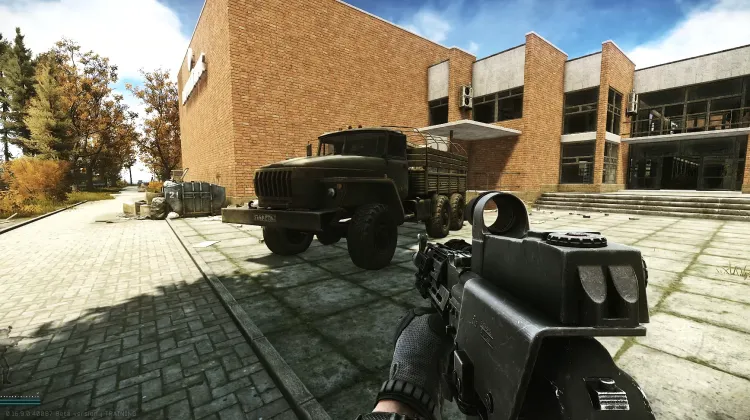
UN Truck (Humanitarian Supplies)
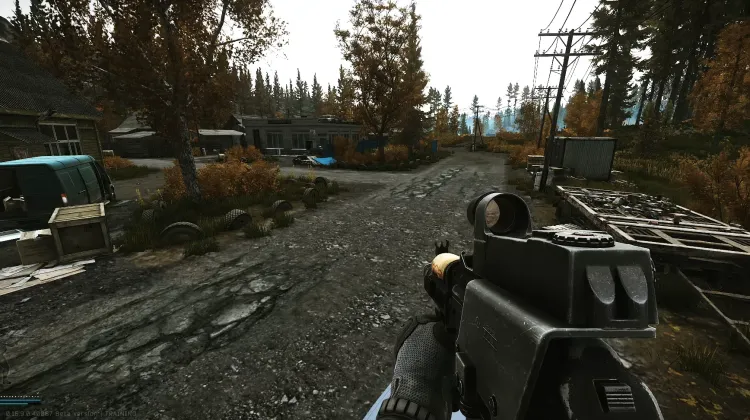
Unalive 5 SCAVs (Forester's Duty)
Nessuna Immagine
Upside-down Chair (Is This A Reference)
Condividi mappa per
Condividi la mappa per con i tuoi amici! Puoi anche incorporarla nel tuo sito web o blog.
Incorpora la mappa
Incorpora questa mappa nel tuo sito web o blog copiando il codice sottostante e aggiungendolo al tuo HTML:
Preferenze filtri mappa
Questo link include filtri della mappa. Vuoi usarli o mantenere i tuoi filtri salvati?
Vuoi reimpostare la nebbia di guerra?
Questa operazione rimuove tutte le aree scoperte per questa mappa e non può essere annullata.
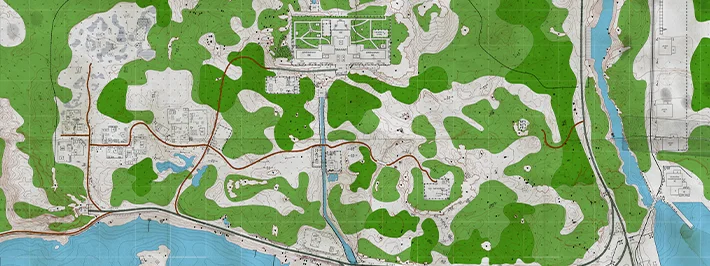
Mappa interattiva Shoreline
Hai completato questa attività? Scopri tutte le altre possibilità offerte dalle nostre mappe di gioco interattive. Filtra le posizioni, imposta pin personalizzati e molto altro. Scarica Wand per funzionalità ancora più avanzate come il tracciamento della posizione in tempo reale e il teletrasporto!