
Vollständiger Shoreline Karten-Guide - Quest Items 100% Checkliste
Von Team Wand
Entdeckungsfortschritt
0 / 49
Bitte melden Sie sich an, um Ihren Fortschritt zu verfolgen
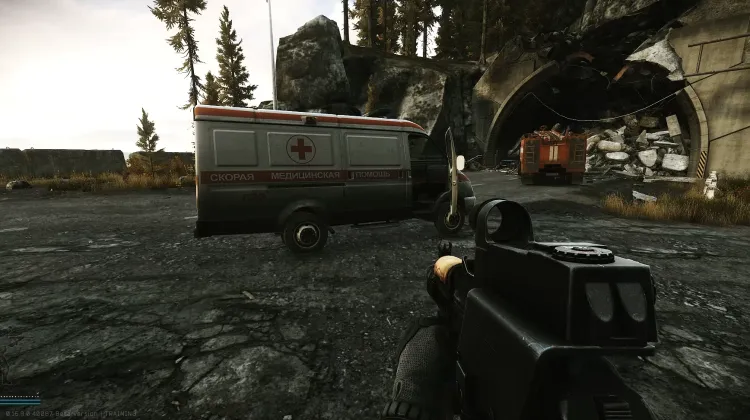
Ambulance #1 (Health Care Privacy - Pt. 1)
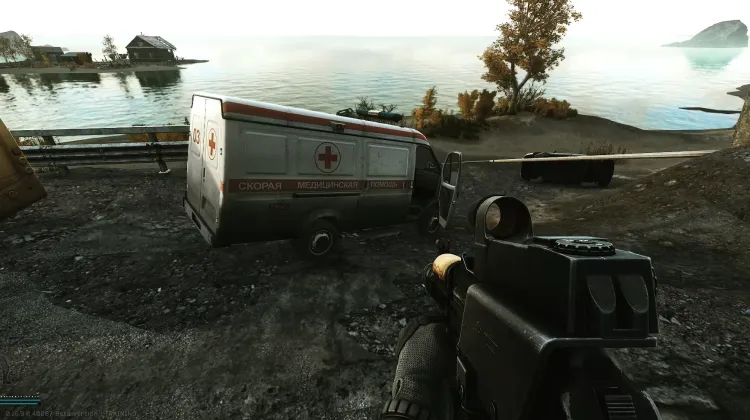
Ambulance #2 (Health Care Privacy - Pt. 1)
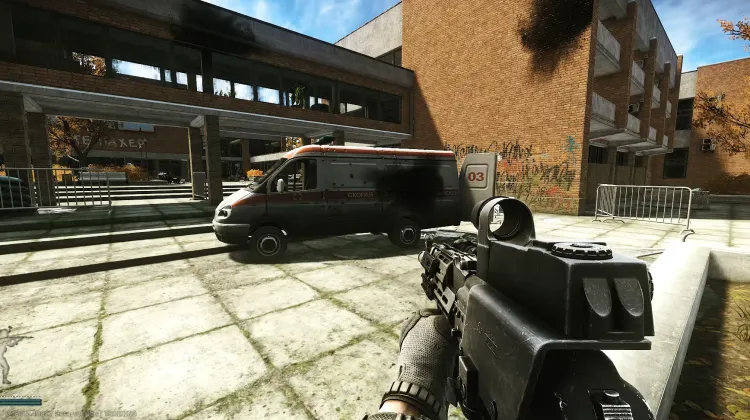
Ambulance #3 (Health Care Privacy - Pt. 1)
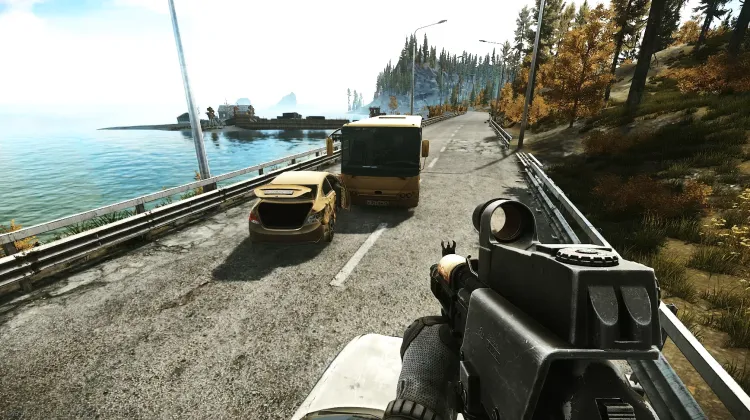
Artyom's Car (Wet Job - Pt. 3)
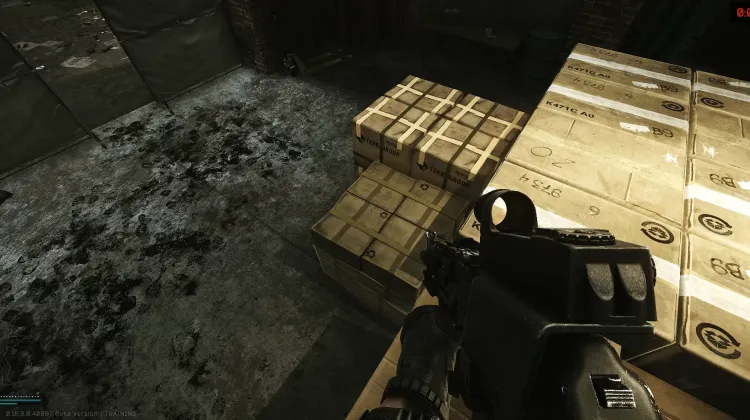
Box Location #1 (Natural Exchange)
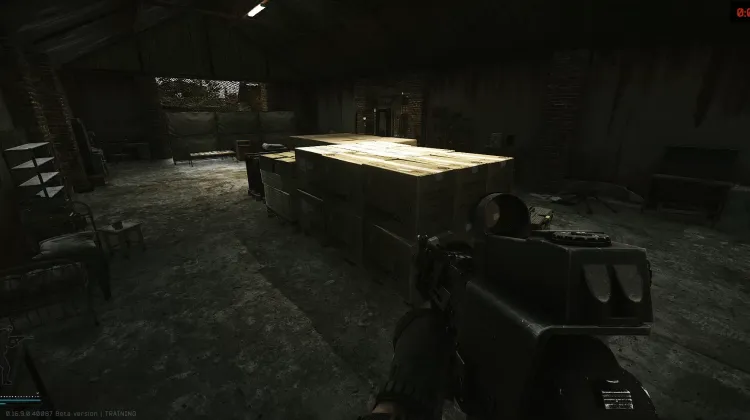
Box Location #2 (Natural Exchange)
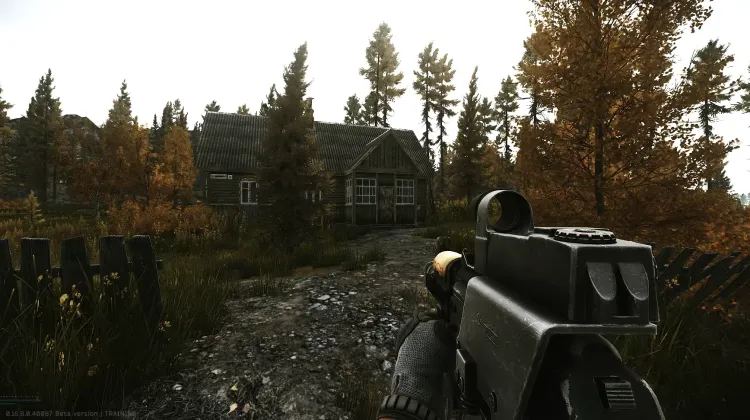
Chairman's House (Courtesy Visit)
Kein Bild
Clock Dial Painting # 10 (Out of Time)
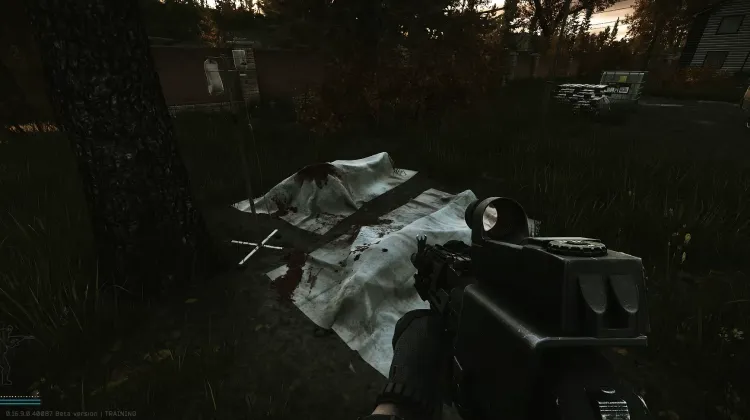
Colleague at Cottage (Colleagues - Part 1)
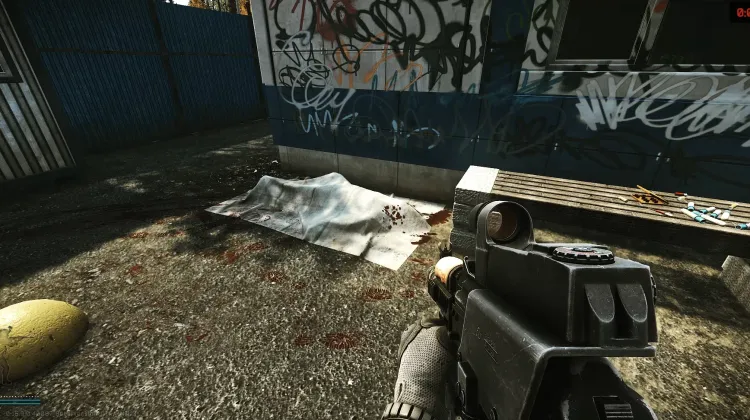
Colleague at Pier (Colleagues - Part 1)
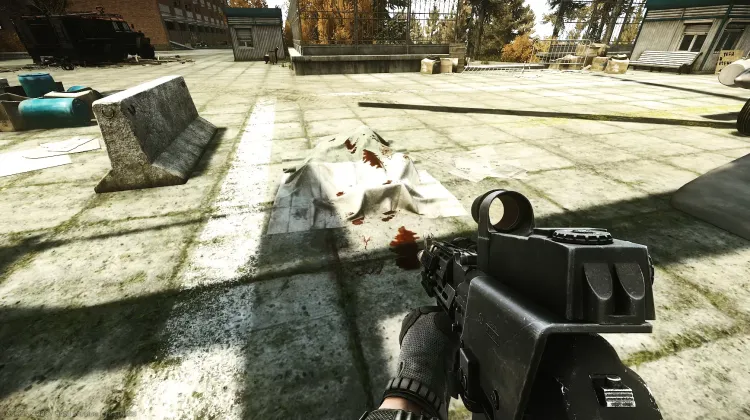
Colleague at Resort (Colleagues - Part 1)
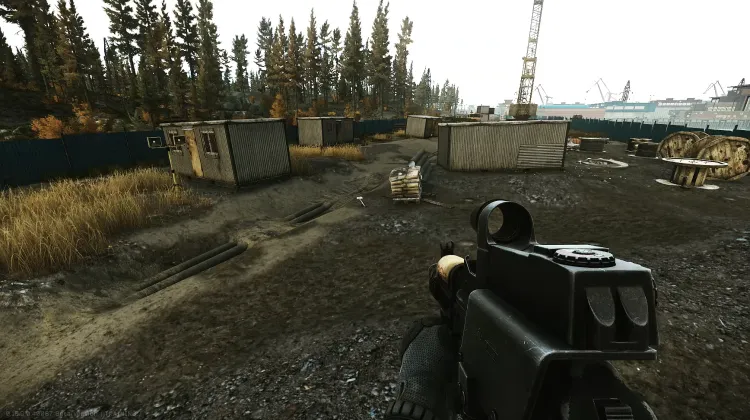
Construction Site (Needle in a Haystack)
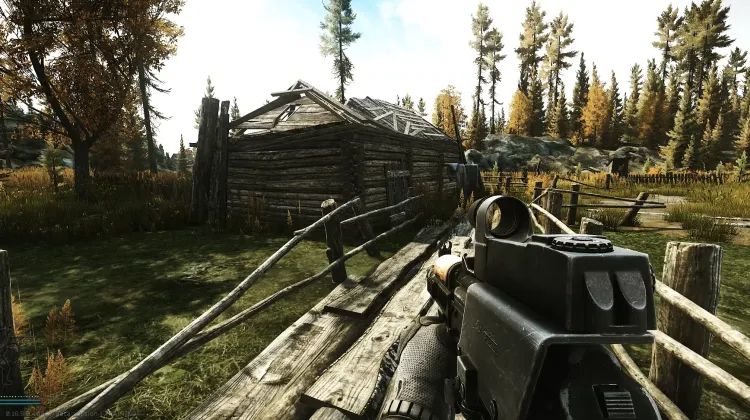
Fisherman's House (Courtesy Visit)
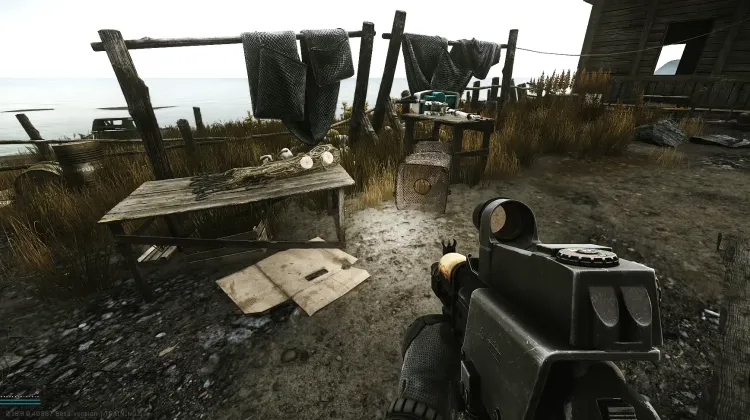
Fishing Table Hut (Wet Job - Pt. 2)
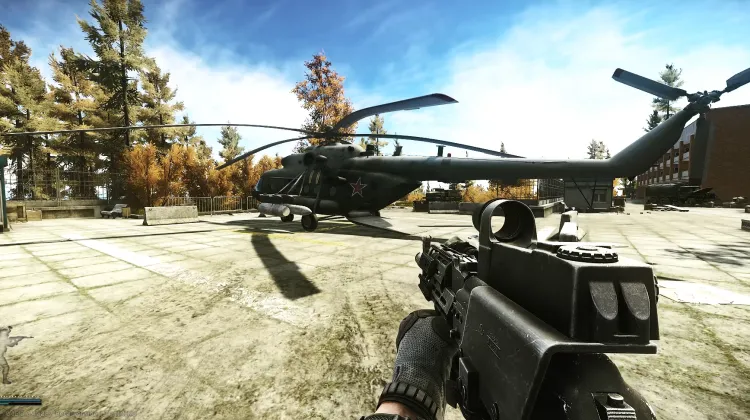
Helicopter (Spa Tour - Pt. 2)
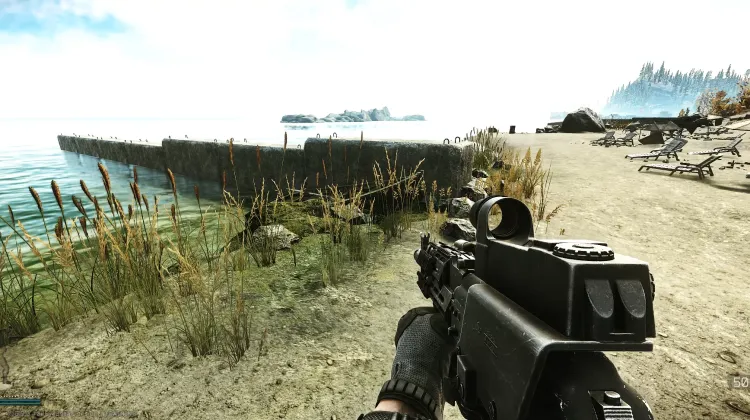
Hidden Stash (Fishing Gear)
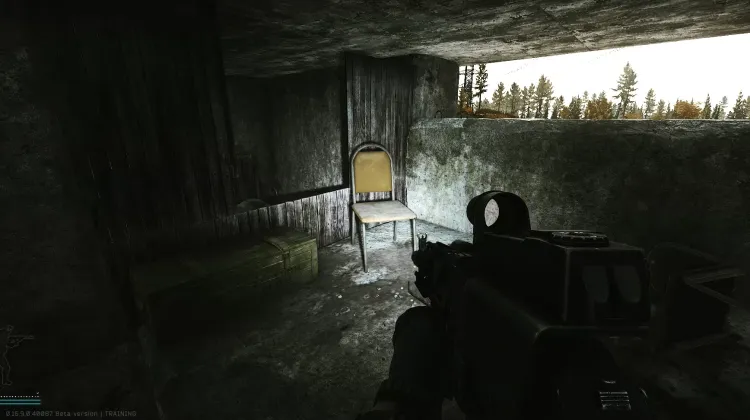
Key to the Closed Premises of the Sanatorium (Spa Tour - Part 5)
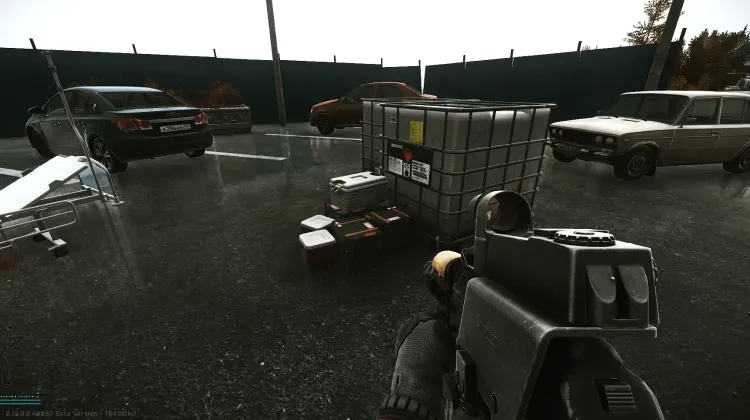
Medical Container #1 (Rigged Game)
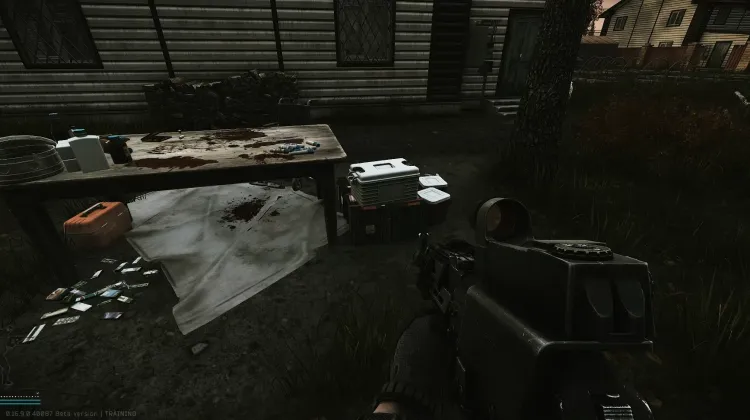
Medical Container #2 (Rigged Game)
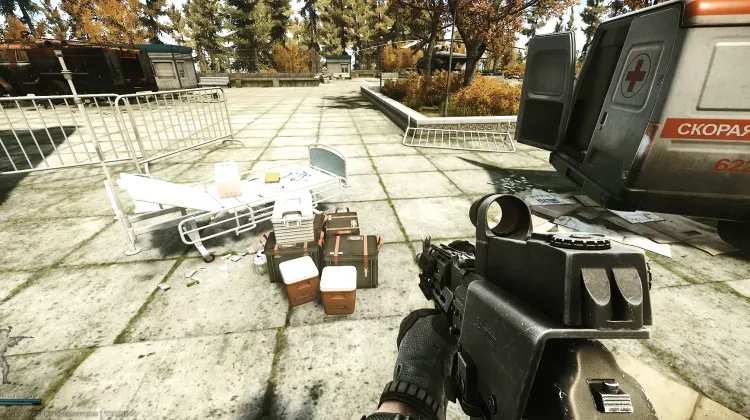
Medical Container #3 (Rigged Game)
Kein Bild
Missing Informant (The Cult - Pt. 1)
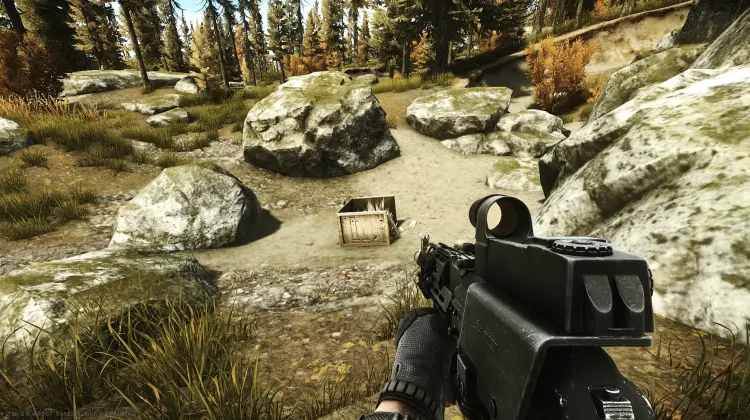
Motor Controller (Lend-Lease - Pt.1)
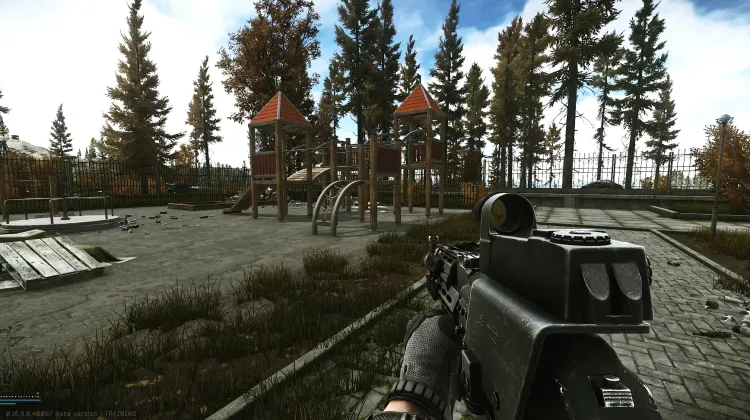
Playground (Needle in a Haystack)
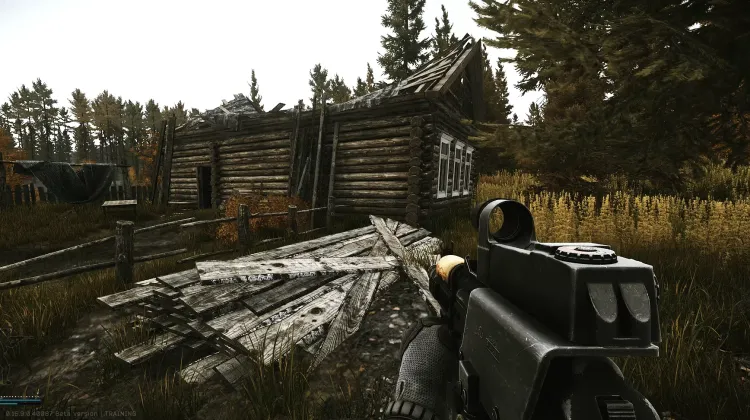
Priest's House (Courtesy Visit)
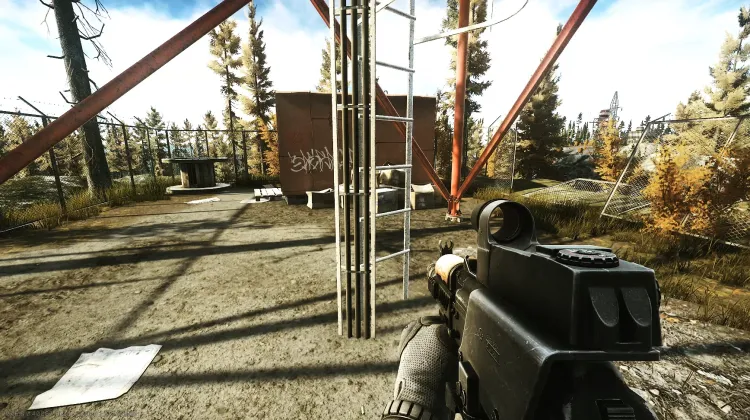
Radiotower Ladder (Signal Pt. 3)
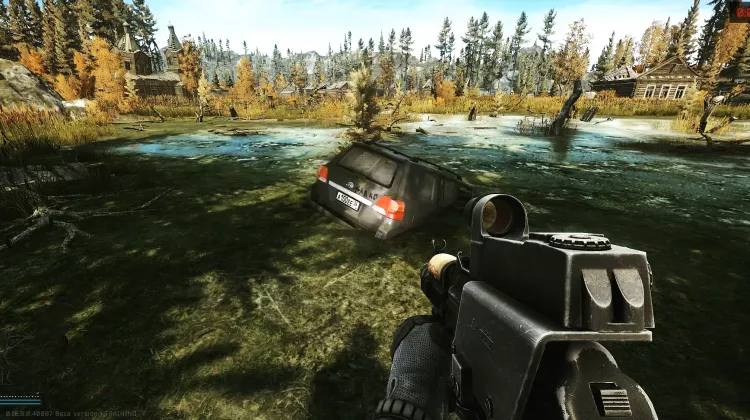
Ragman's SUV (Nothing Fishy About This)
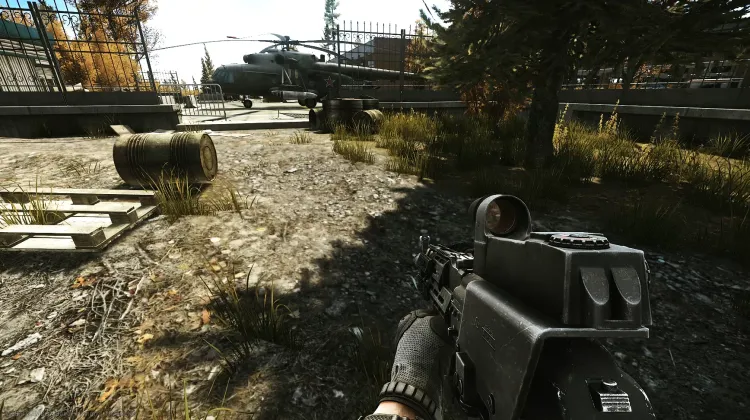
Safe Road (Spa Tour - Pt. 2)
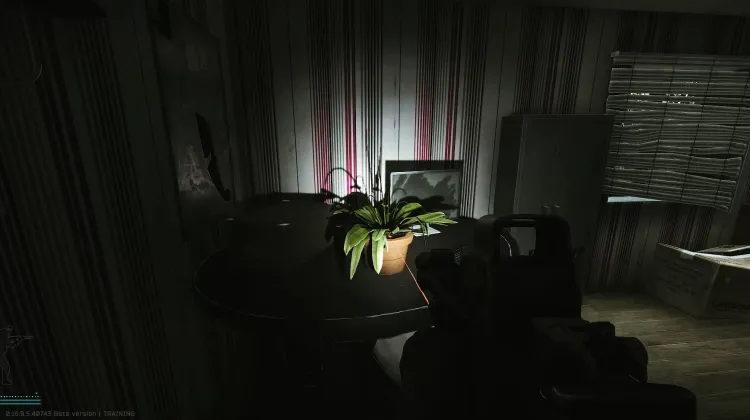
Sanitar's Oscope (Colleagues - Part 2)
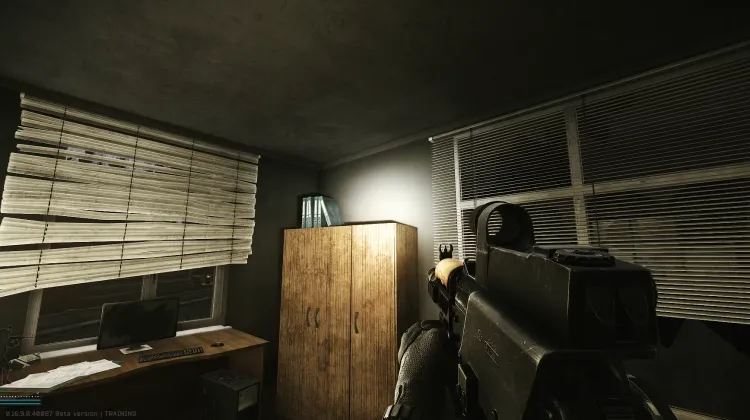
Sanitar's Surgery Kit (Colleagues - Part 2)
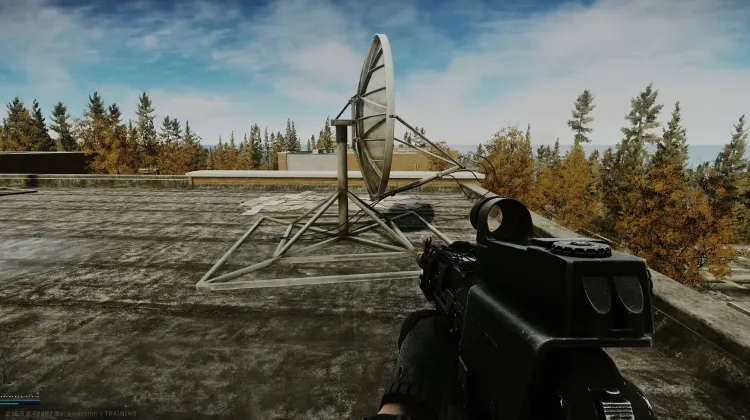
Satellite Dish (Signal - Pt.1)
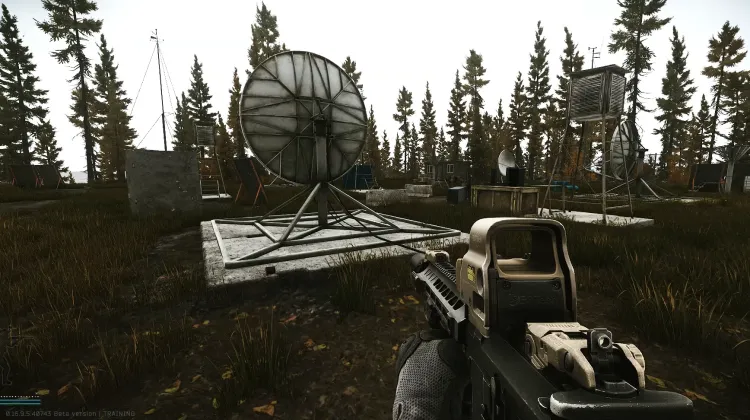
Satellite Dish (Signal - Pt.1)
Satellite Dish (Signal - Pt.3)
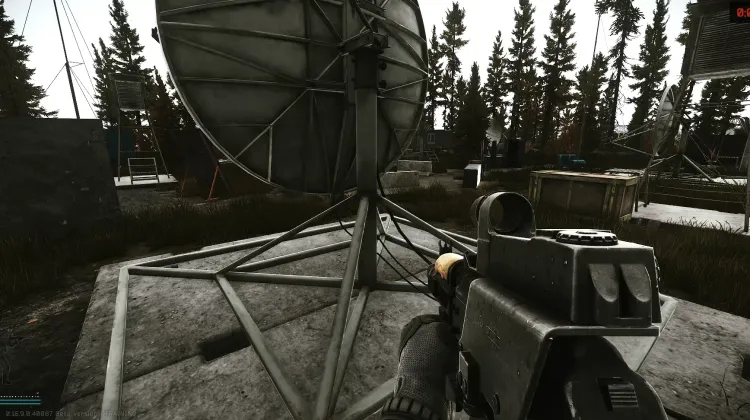
Satellite Dish (Signal - Pt.3)
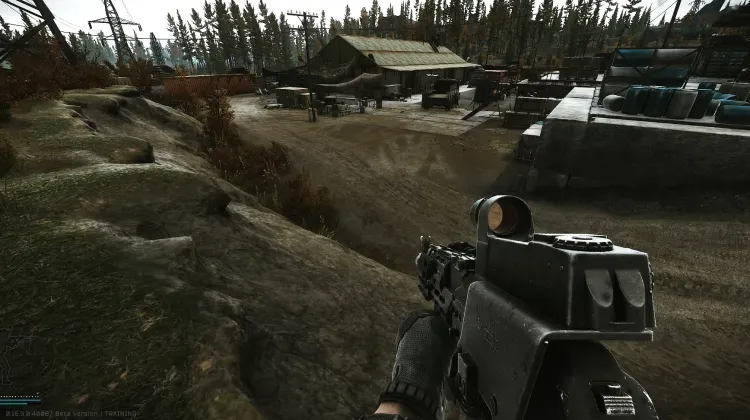
Smuggler's Base (No Swiping)
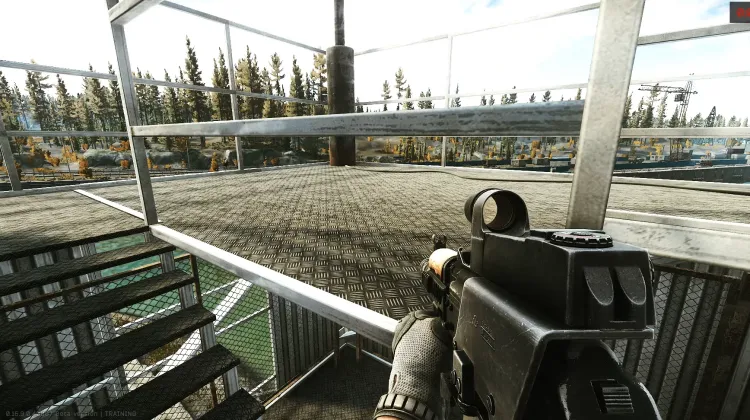
Stash Golden Rooster (Proper Comeback)
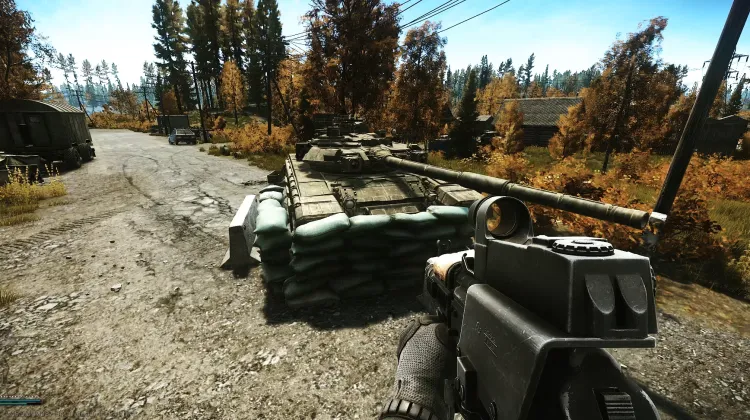
T-90 Tank (Scrap Metal)
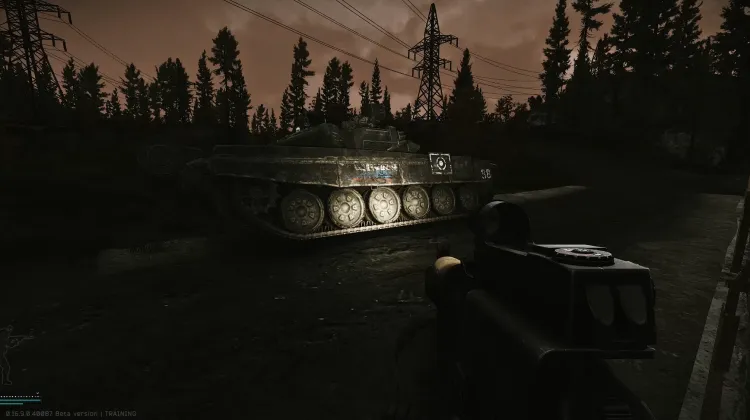
T-90 Tank (Scrap Metal)
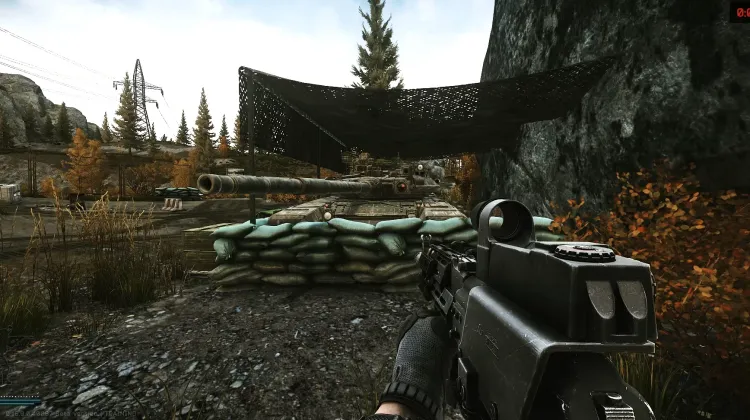
T-90 Tank (Scrap Metal)
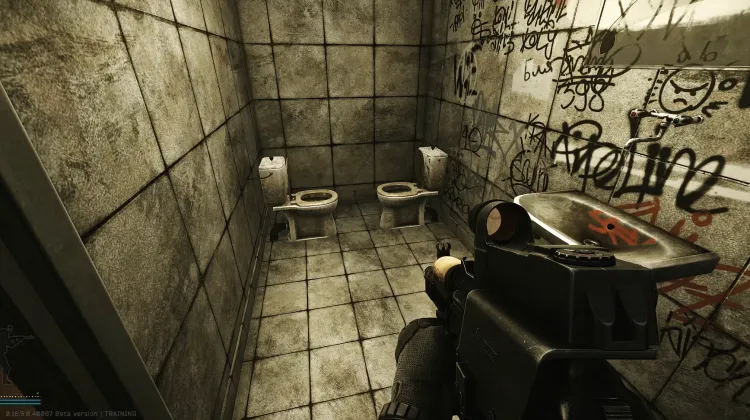
The Not-So-Lonely Bathroom (Is This A Reference)
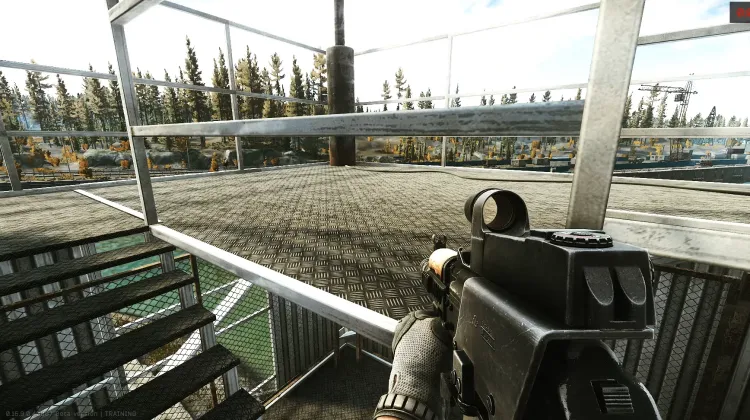
Top of Lighthouse (Viewer)
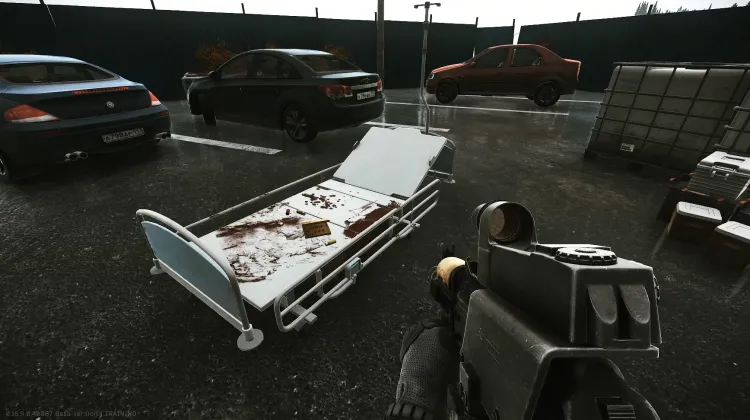
Trading Post #1 (Anesthesia)
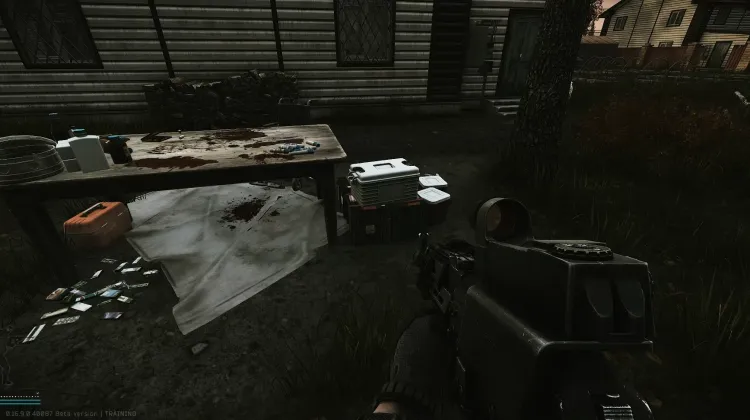
Trading Post #2 (Anesthesia)
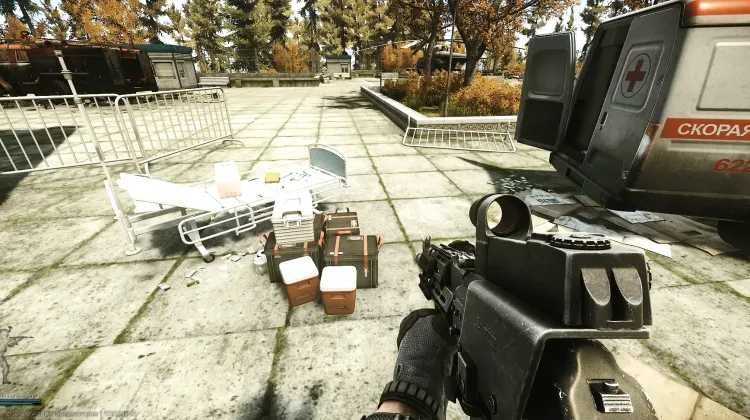
Trading Post #3 (Anesthesia)
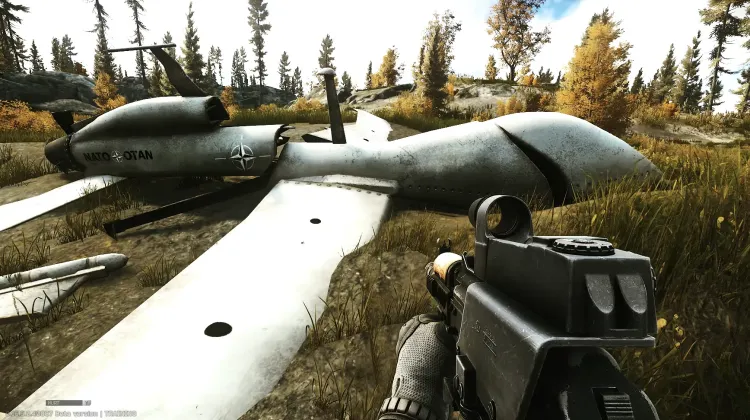
UAV #1 (Eagle Eye)
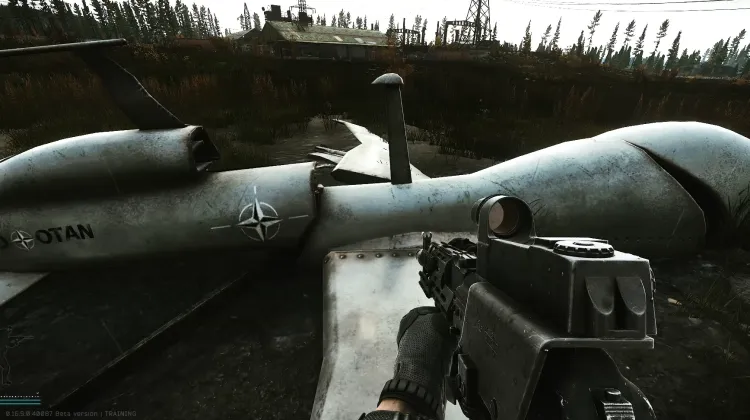
UAV #2 (Eagle Eye)
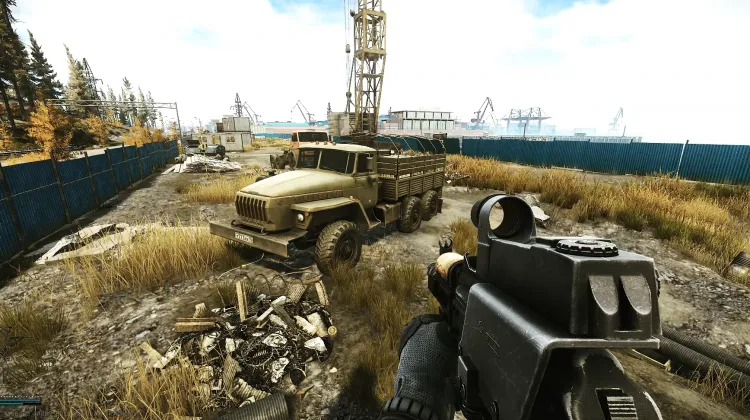
UN Truck (Humanitarian Supplies)
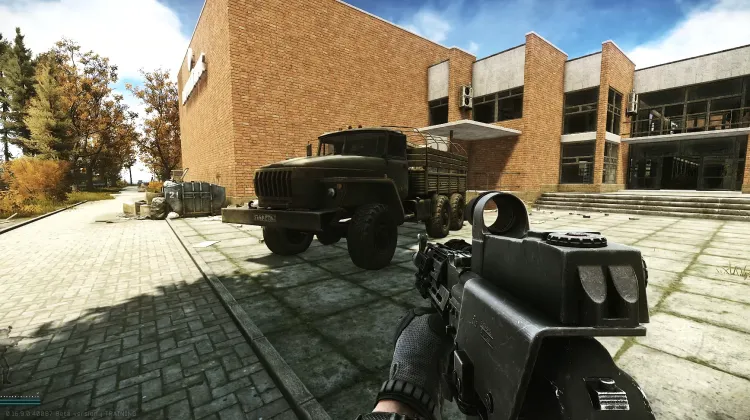
UN Truck (Humanitarian Supplies)
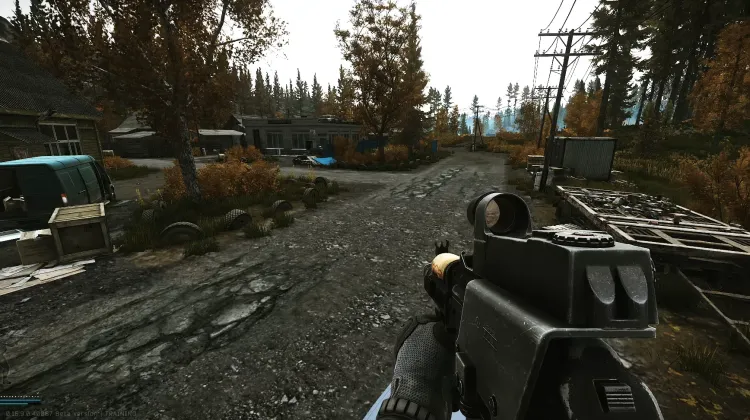
Unalive 5 SCAVs (Forester's Duty)
Kein Bild
Upside-down Chair (Is This A Reference)
-Karte für teilen
Teilen Sie die -Karte für mit Ihren Freunden! Sie können sie auch in Ihre eigene Website oder Ihren Blog einbetten.
Karte einbetten
Betten Sie diese Karte auf Ihrer eigenen Website oder Ihrem Blog ein, indem Sie den folgenden Code kopieren und zu Ihrem HTML hinzufügen:
Kartenfilter-Einstellungen
Dieser Link enthält Kartenfilter. Möchtest du diese verwenden oder deine gespeicherten Filter behalten?
Kriegsnebel zurücksetzen?
Dies löscht alle entdeckten Bereiche für diese Karte. Dies kann nicht rückgängig gemacht werden.
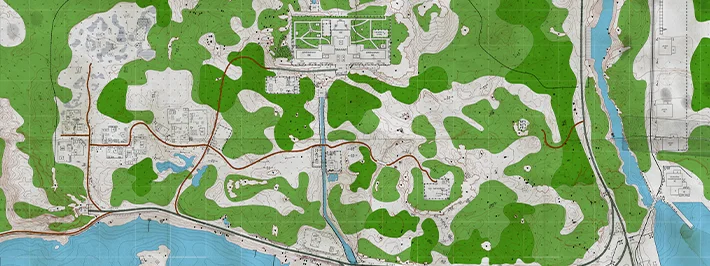
Shoreline Interaktive Karte
Von deiner Liste abgehakt? Entdecke jetzt alles, was du mit unseren interaktiven Spielkarten machen kannst. Filtere Orte, setze eigene Pins und vieles mehr. Lade Wand herunter für noch leistungsstärkere Funktionen wie Live-Standortverfolgung und Teleport!